> ## Documentation Index
> Fetch the complete documentation index at: https://docs.spurtest.com/llms.txt
> Use this file to discover all available pages before exploring further.
# MCP Setup
> Set up the Spur MCP server in Cursor, Claude Code, Claude Desktop, Claude.ai, GitHub Copilot in VS Code, or ChatGPT.
You can launch a guided setup directly from the Spur app. Go to **Integrations → MCP** and click **Setup** to open a step-by-step modal for your platform.
Authentication uses OAuth. When you connect for the first time, your browser will open to authorize access to your Spur account.
## Cursor
Click the button to install, or copy the link below and paste it into your browser.
[](cursor://anysphere.cursor-deeplink/mcp/install?name=Spur\&config=eyJ1cmwiOiJodHRwczovL2FwcC5zcHVydGVzdC5jb20vYXBpL21jcCIsImhlYWRlcnMiOnt9fQ%3D%3D)
```
cursor://anysphere.cursor-deeplink/mcp/install?name=Spur&config=eyJ1cmwiOiJodHRwczovL2FwcC5zcHVydGVzdC5jb20vYXBpL21jcCIsImhlYWRlcnMiOnt9fQ%3D%3D
```
## Claude Code
Run this command in your terminal:
```bash theme={null}
claude mcp add Spur -- npx -y mcp-remote@latest https://app.spurtest.com/api/mcp
```
If you don't have `npx` installed, you can use the HTTP transport instead:
```bash theme={null}
claude mcp add --transport http Spur https://app.spurtest.com/api/mcp
```
## Claude Desktop and Claude.ai
Go to **Settings** and navigate to the **Connectors** tab. Claude.ai users can go directly to [claude.ai/settings/connectors](https://claude.ai/settings/connectors).
 Click **Add custom connector**.
 Set the URL to `https://app.spurtest.com/api/mcp`.
 Complete the OAuth authorization flow. Your browser will open to authorize access to your Spur account.
## GitHub Copilot in VS Code
Make sure the GitHub Copilot extension is installed. Open the Copilot panel and navigate to the **MCP Servers** section.
Complete the OAuth authorization flow. Your browser will open to authorize access to your Spur account.
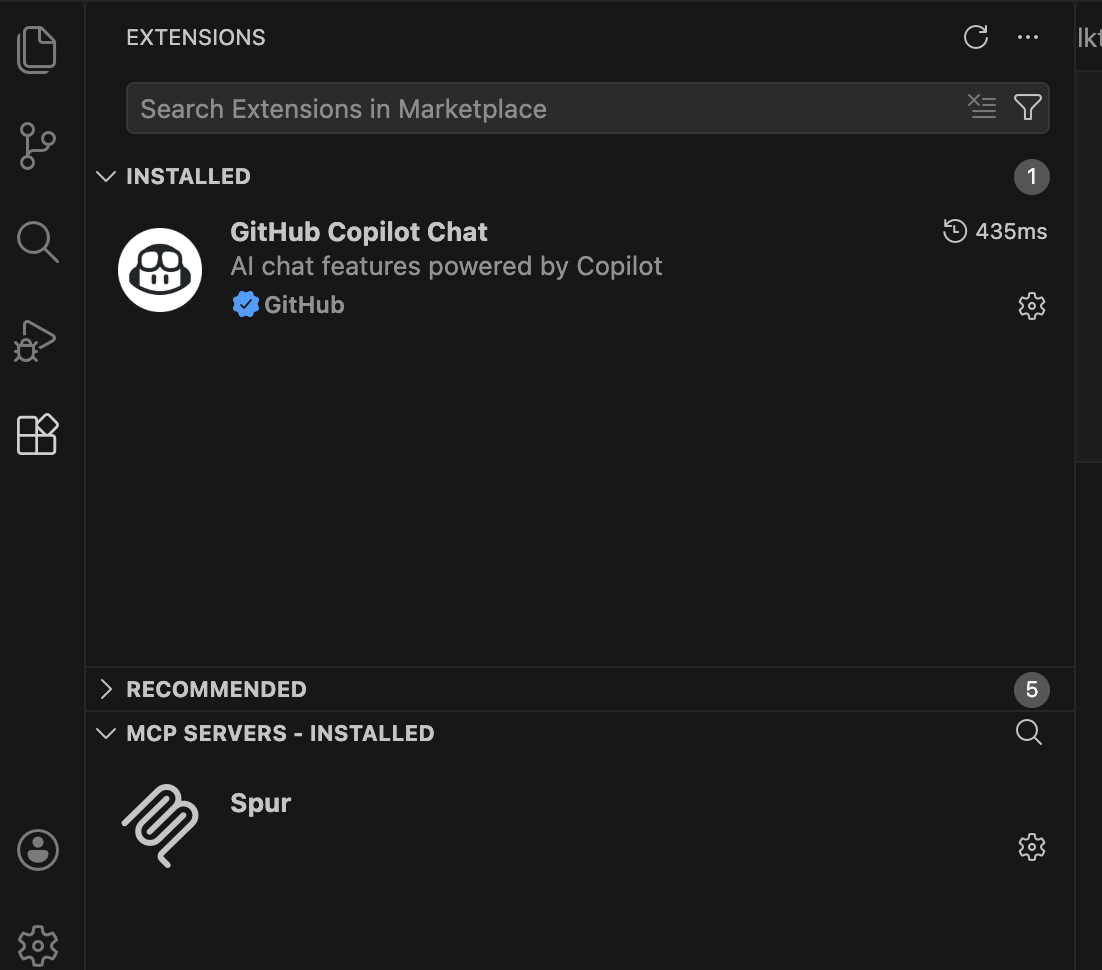
## GitHub Copilot in VS Code
Make sure the GitHub Copilot extension is installed. Open the Copilot panel and navigate to the **MCP Servers** section.
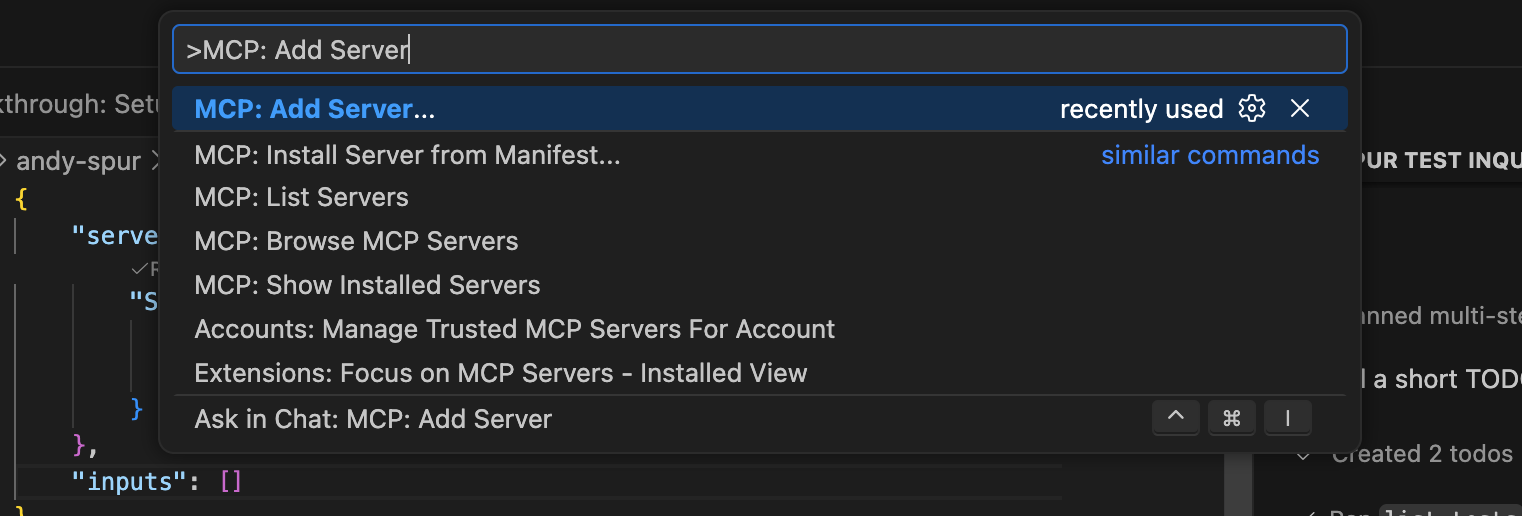
 Open the Command Palette (`Cmd+Shift+P` on Mac, `Ctrl+Shift+P` on Windows/Linux) and type **MCP: Add Server**.
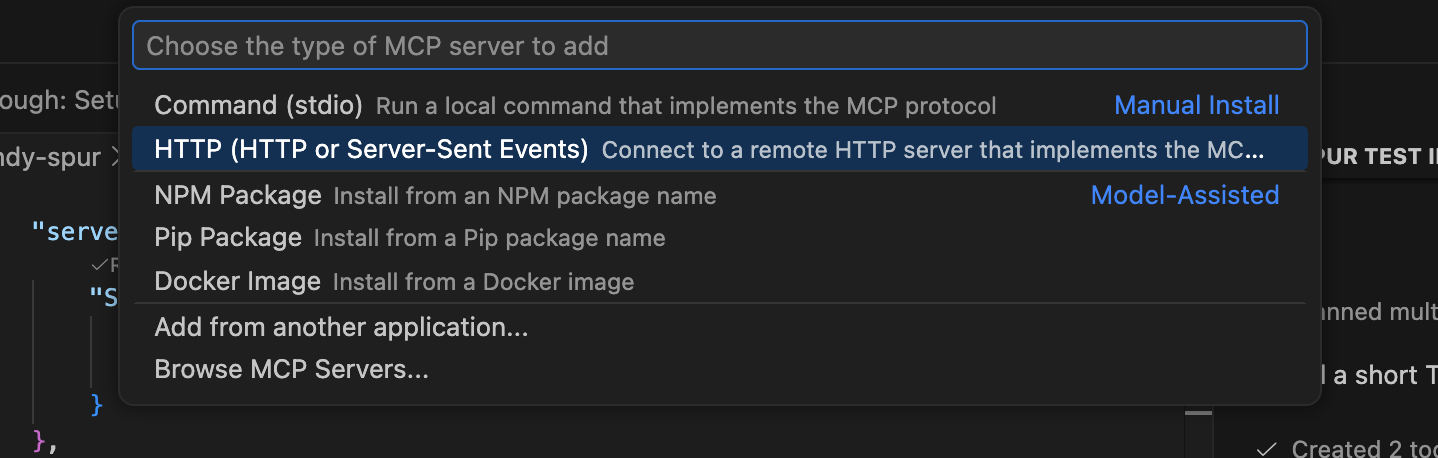
 Choose **HTTP (HTTP or Server-Sent Events)**.
 Set the URL to `https://app.spurtest.com/api/mcp`.
 Enter a server name — **Spur** is recommended.
 Complete the OAuth authorization flow. Your browser will open to authorize access to your Spur account.
## ChatGPT
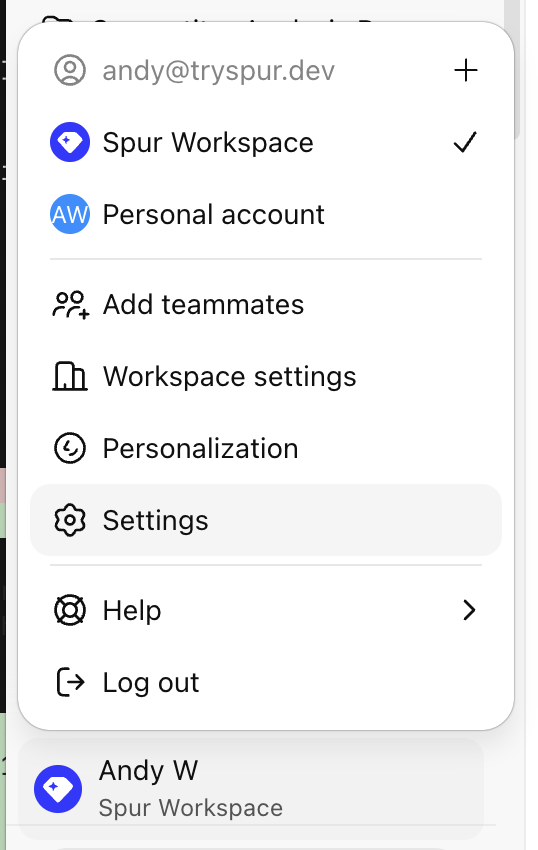
Choose **Settings** from the drop-down menu.
Complete the OAuth authorization flow. Your browser will open to authorize access to your Spur account.
## ChatGPT
Choose **Settings** from the drop-down menu.
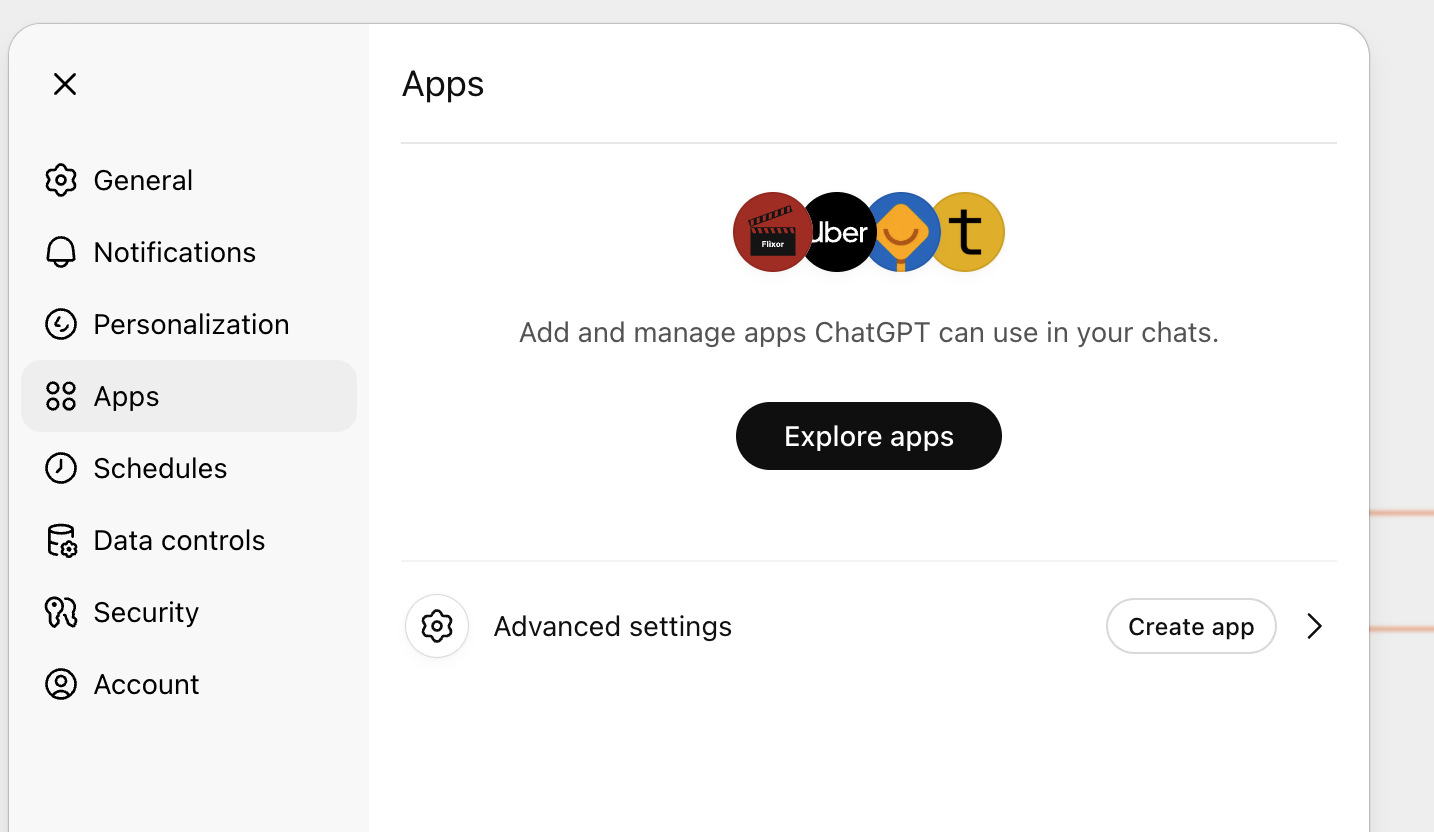
 Click **Advanced Settings** under the **Apps** tab.
 Toggle **Developer mode** on.
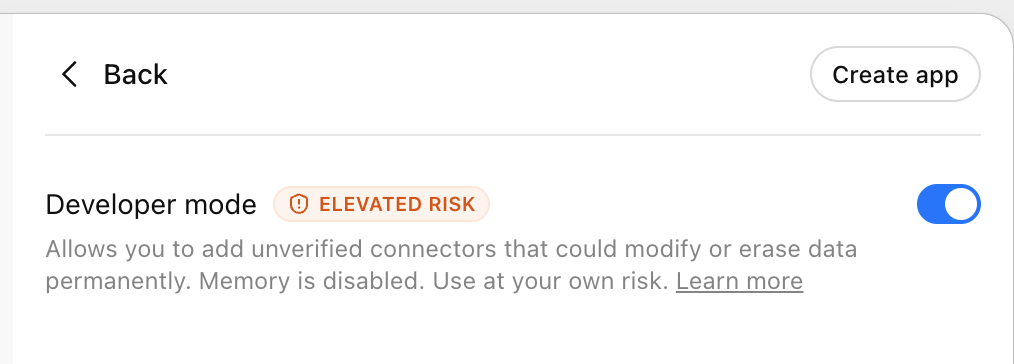 Click **Create app**.
 Set the URL to `https://app.spurtest.com/api/mcp`.
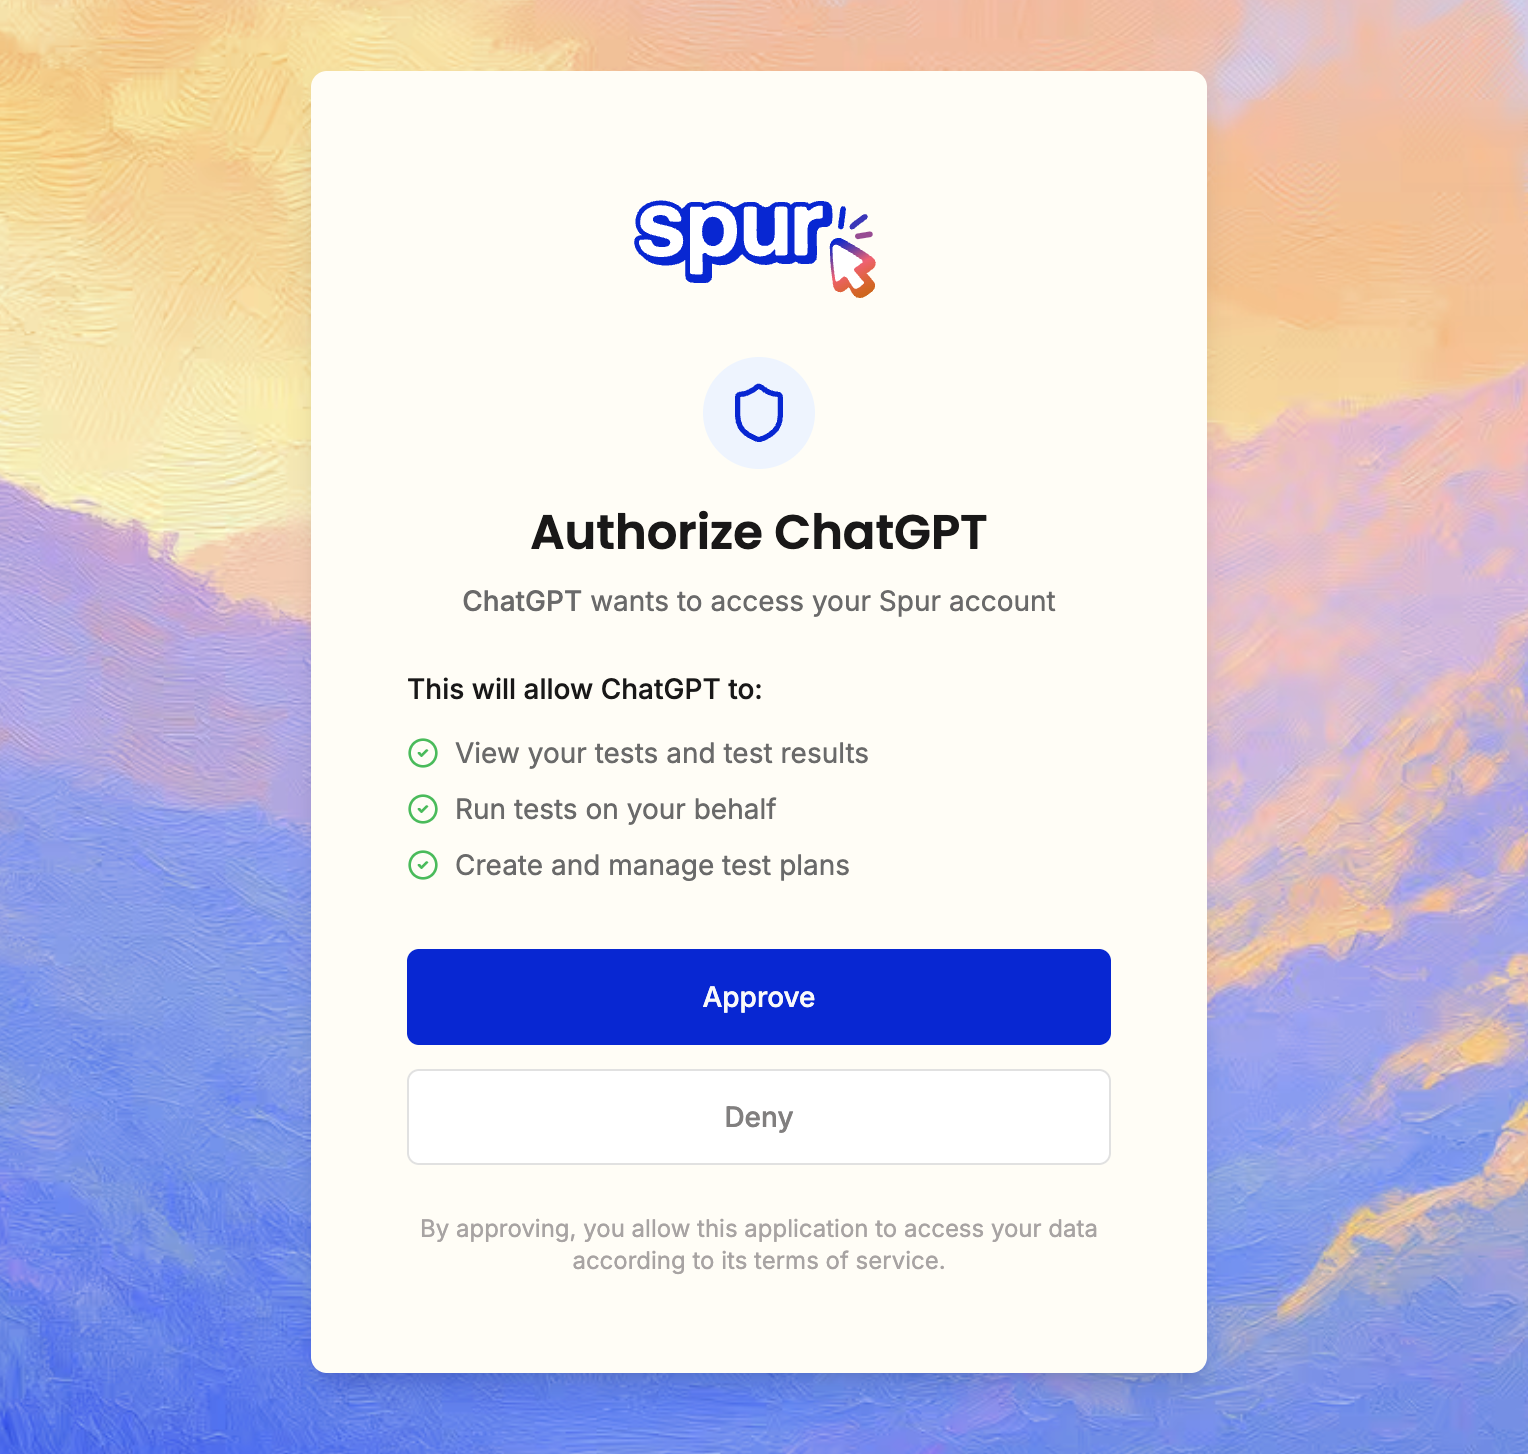
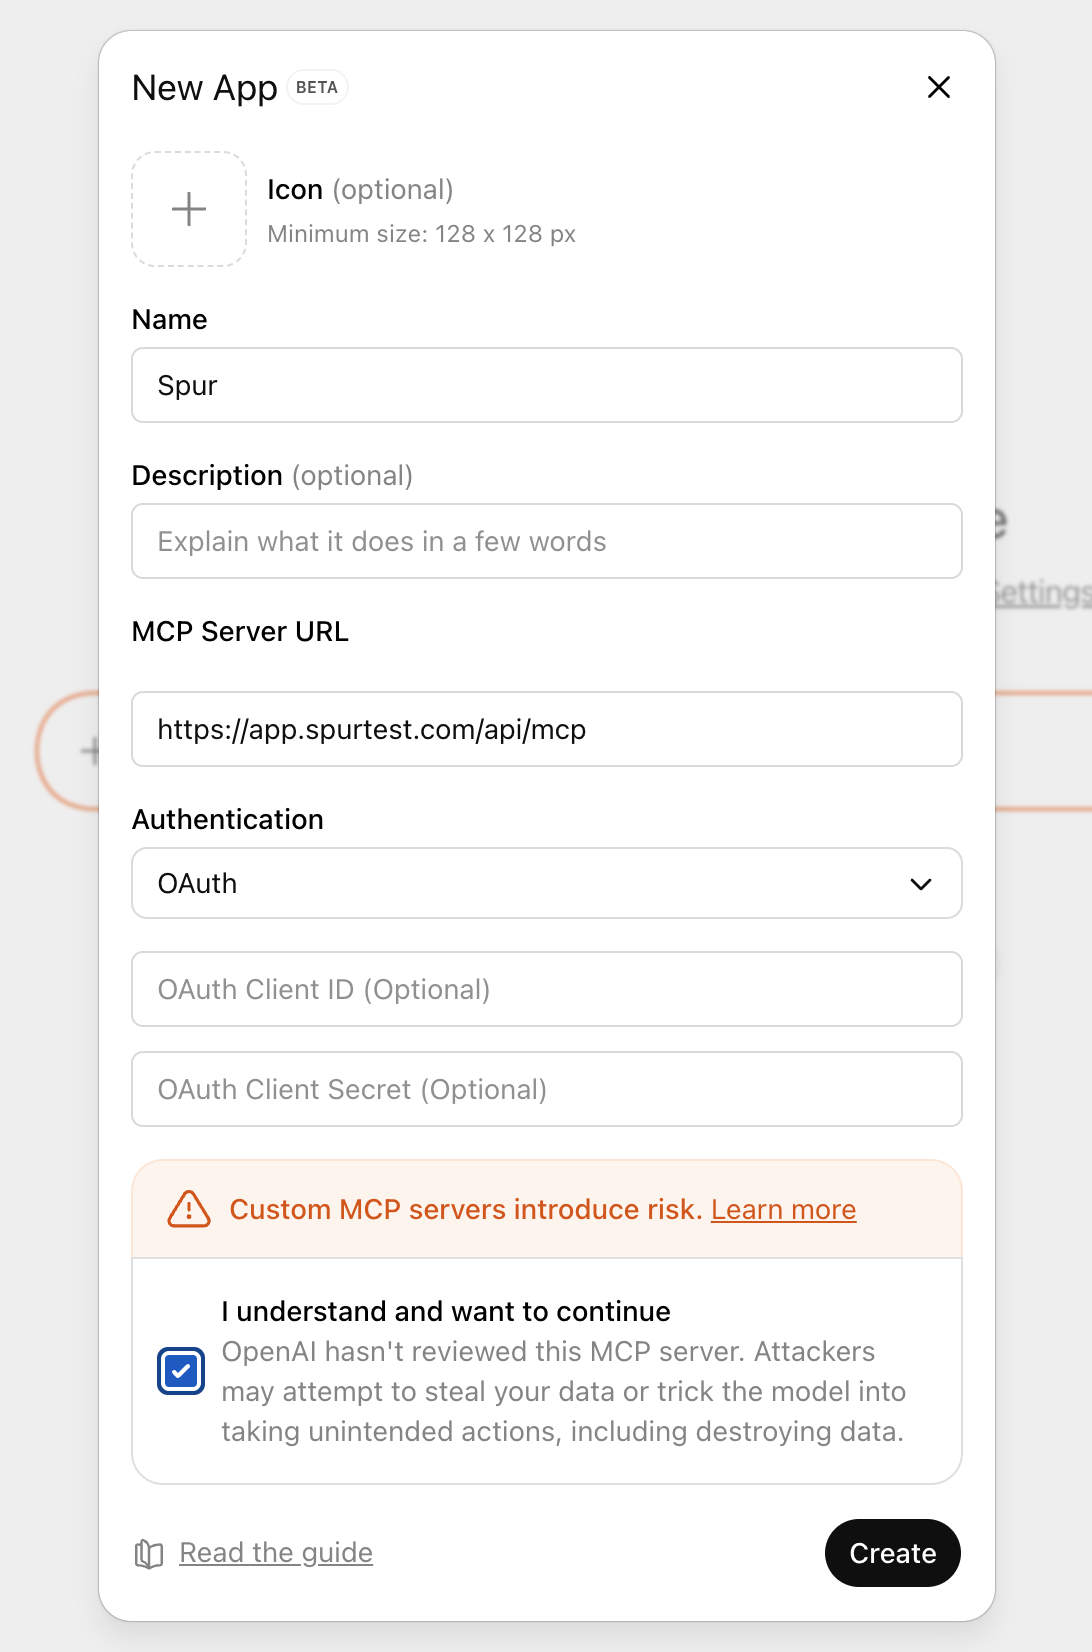 Complete the OAuth authorization flow.
 Verify the app was created successfully.
 Select **Spur** from the Connectors list.
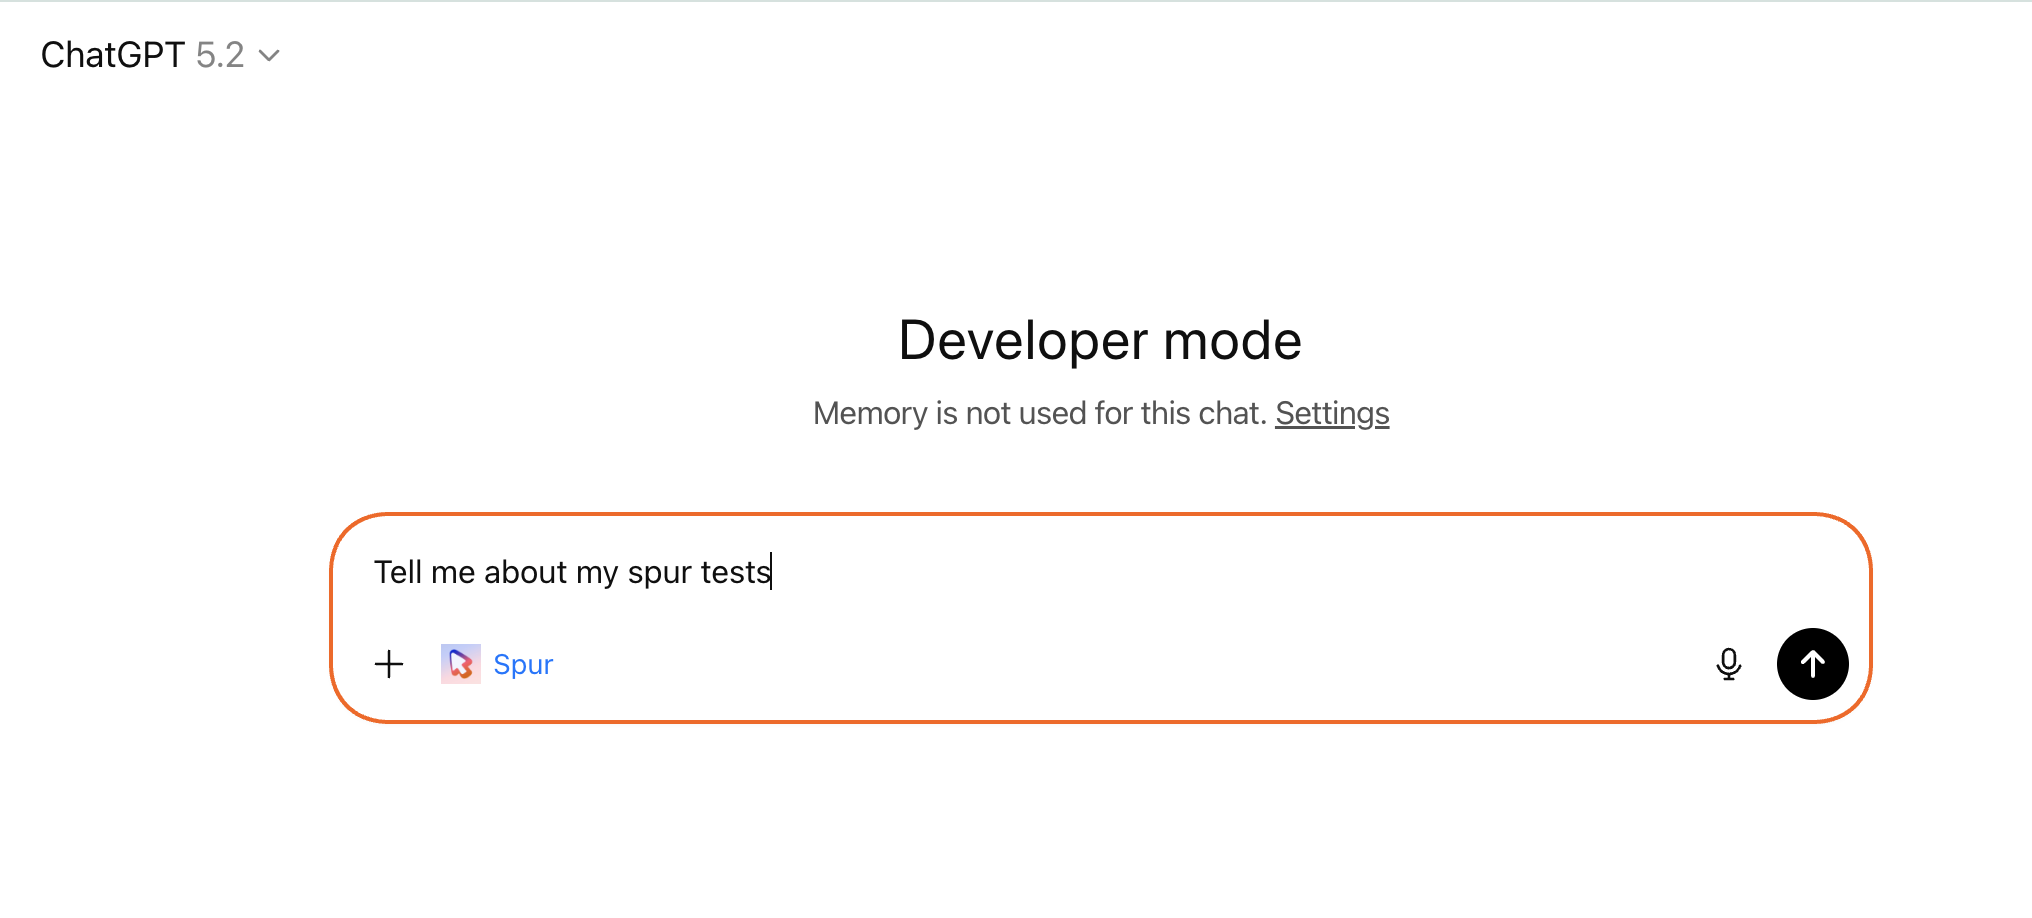
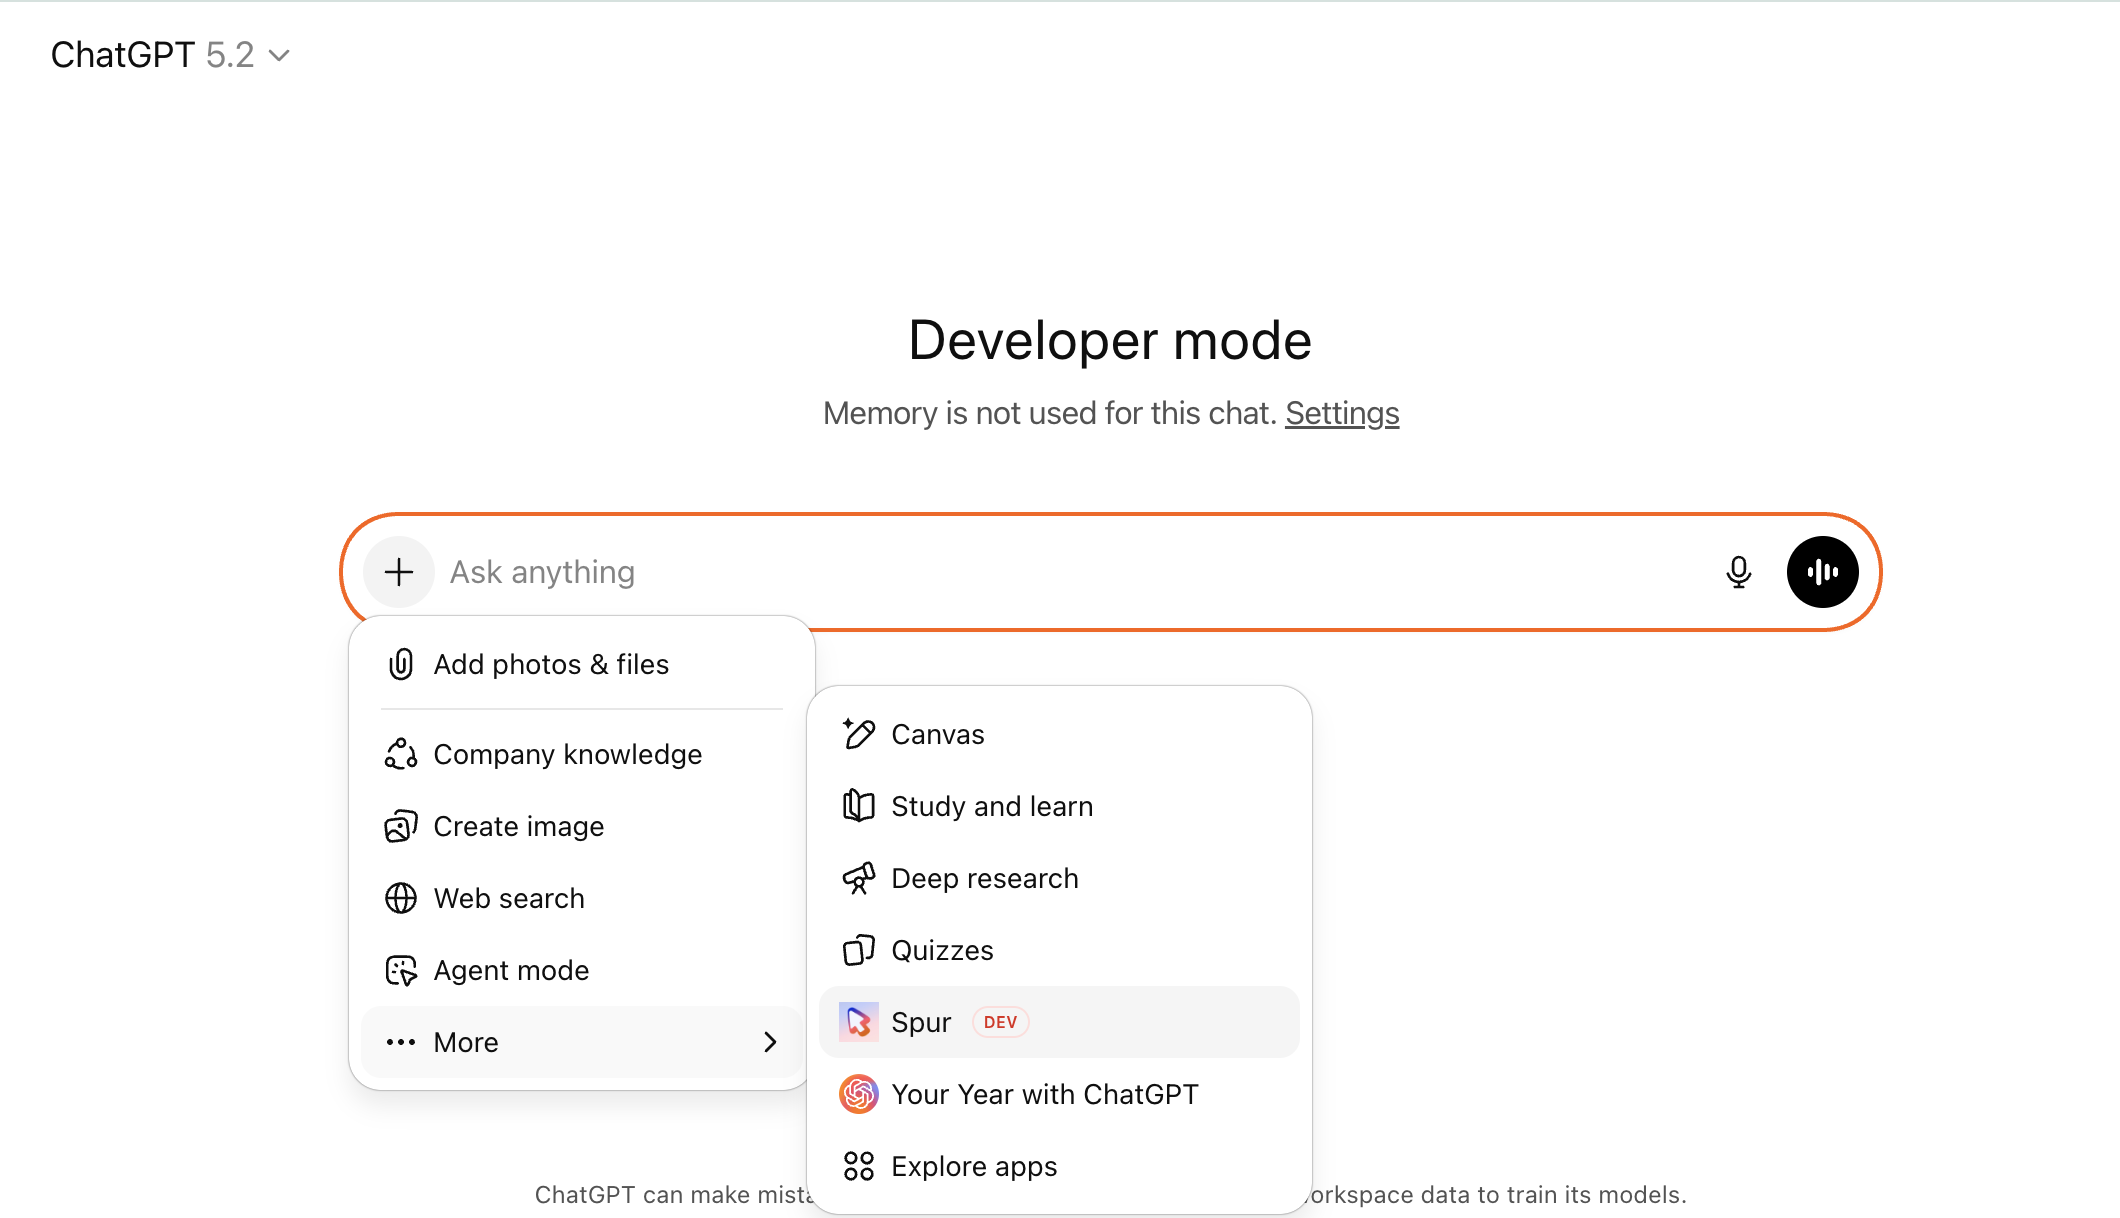 You're all set — start using Spur through ChatGPT.