> ## Documentation Index
> Fetch the complete documentation index at: https://docs.spurtest.com/llms.txt
> Use this file to discover all available pages before exploring further.
> Environment-specific variables that store configuration values like URLs, credentials, API keys, and custom settings. Properties enable tests to adapt automatically based on the environment they're running in.
# Properties
## What are Properties?
Environment variables allow you to parameterize your tests with environment-specific values like URLs, credentials, API keys, and configuration settings. Properties are key-value pairs associated with specific environments that automatically apply when tests run in those environments.
## Variable Types
Store base domains and full URLs for your application.
URL variables are validated to ensure they're valid URLs. They must include the protocol (http\:// or https\://).
Store a username and password combination to be used in all HTTPS requests.
Encrypted variables to store values useable in test steps.
Secret variables are write-only after creation. You can replace them but cannot view the current value.
Custom HTTP headers sent with every request in that environment.
Headers are useful for feature flags or routing requests to specific backend services.
## How to Create Properties
Navigate to the Environments page and switch from the **Web URL tab** to the **Properties tab**.
 Click the **+ Add Property** button at the extreme right to begin creating a new property.
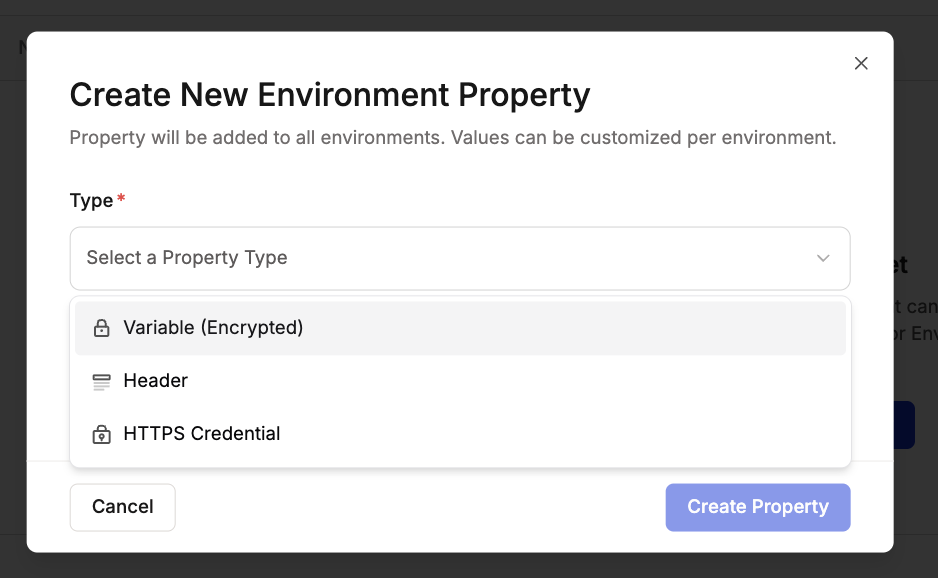
 Select a property type - **Header, Variable or HTTPS Configuration**. Each type serves different purposes as explained in the Variable Types section above.
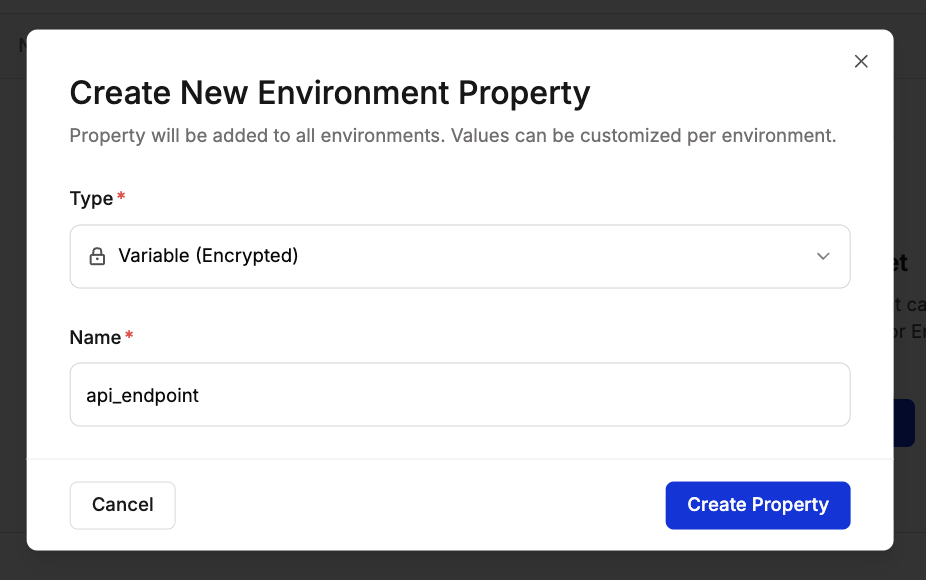
 Enter a descriptive name for your property and click **Create Property**.
 All configured environments will display in the table. For each environment, set whether the property is required and enter the appropriate value.
Mark a variable as required for each environment to specify if the environment must have a value for the variable.
**Required Variables** must have values in all environments before tests can run.
**Optional Variables** can be left empty in some environments, allowing tests to run without them.
**Note:** You can also apply the same value to other properties automatically by clicking Apply value to all environments option
All configured environments will display in the table. For each environment, set whether the property is required and enter the appropriate value.
Mark a variable as required for each environment to specify if the environment must have a value for the variable.
**Required Variables** must have values in all environments before tests can run.
**Optional Variables** can be left empty in some environments, allowing tests to run without them.
**Note:** You can also apply the same value to other properties automatically by clicking Apply value to all environments option
 Click **Create Property** and a new property is created. This is available to all tests running in the configured environments.
 Once created, properties automatically apply to tests running in their configured environments.
The Spur Agent uses the appropriate property value based on which environment the test executes in.
## Best Practices
* **Use descriptive names**: Make property names self-explanatory for team collaboration
* **Mark required properties appropriately**: Only mark properties as required if tests cannot run without them
* **Use Secrets for sensitive data**: Store passwords, API keys, and tokens as Secret variables for security
* **Validate URL variables**: Ensure all URL variables include the protocol (https\://)
* **Document property purposes**: Add clear descriptions when creating properties to help team members understand their use
* **Apply values across environments strategically**: Use "apply to all environments" only when values are truly universal
Once created, properties automatically apply to tests running in their configured environments.
The Spur Agent uses the appropriate property value based on which environment the test executes in.
## Best Practices
* **Use descriptive names**: Make property names self-explanatory for team collaboration
* **Mark required properties appropriately**: Only mark properties as required if tests cannot run without them
* **Use Secrets for sensitive data**: Store passwords, API keys, and tokens as Secret variables for security
* **Validate URL variables**: Ensure all URL variables include the protocol (https\://)
* **Document property purposes**: Add clear descriptions when creating properties to help team members understand their use
* **Apply values across environments strategically**: Use "apply to all environments" only when values are truly universal