> ## Documentation Index
> Fetch the complete documentation index at: https://docs.spurtest.com/llms.txt
> Use this file to discover all available pages before exploring further.

# Verification

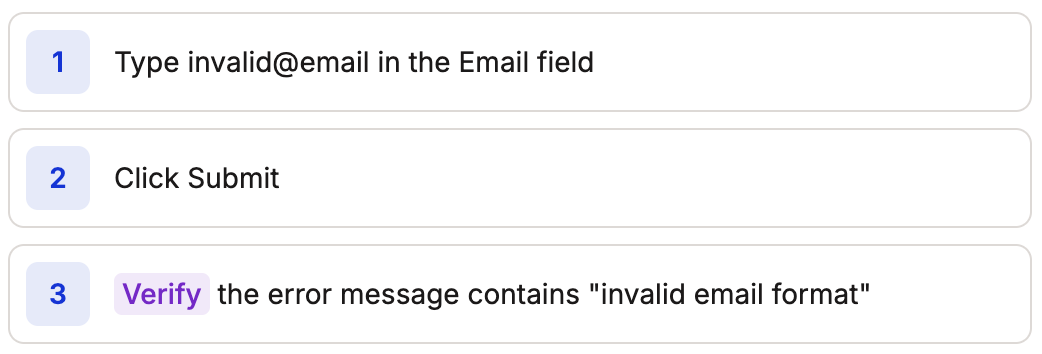
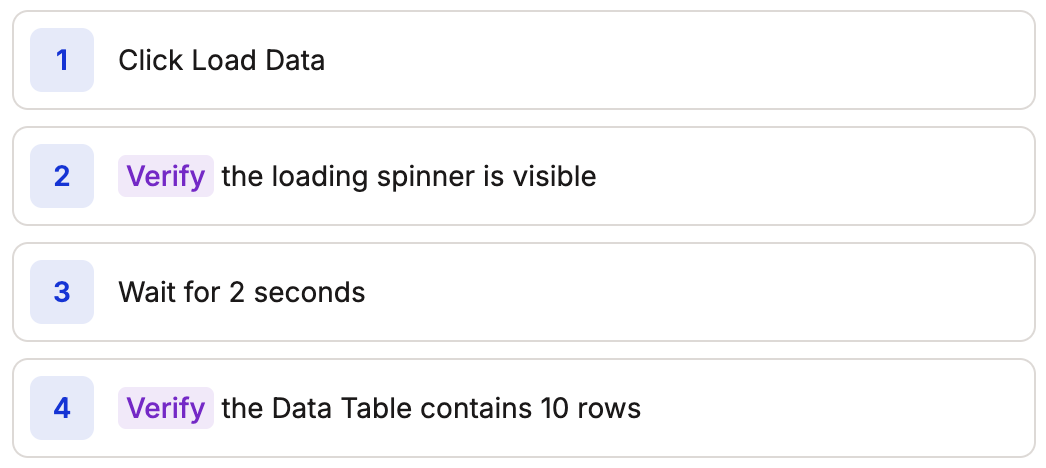
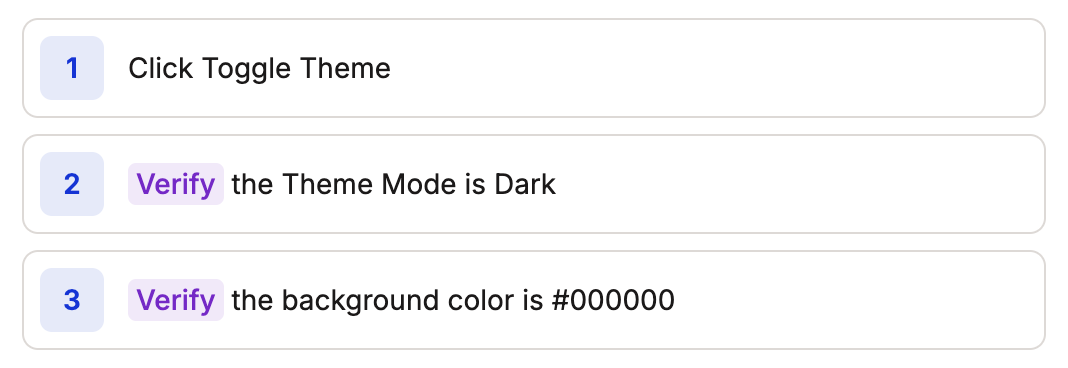
> Verify actions check that elements appear correctly and content matches expectations.

## Steps to use Verify Action

<Steps>
  <Step title="Type Verify">
    Begin by typing `Verify` to author a verify action.

    <Frame>
      <img src="https://mintcdn.com/spur/SU7JWaNfJJg63kTF/images/Verify/verify_pre.png?fit=max&auto=format&n=SU7JWaNfJJg63kTF&q=85&s=ff8f3f1a8d3ab033ca0f0604b69de388" alt="" width="1052" height="136" data-path="images/Verify/verify_pre.png" />
    </Frame>
  </Step>

  <Step title="Write Your Assertion">
    Note what element/state you want to check.

    <Frame>
      <img src="https://mintcdn.com/spur/SU7JWaNfJJg63kTF/images/Verify/verify_initial.png?fit=max&auto=format&n=SU7JWaNfJJg63kTF&q=85&s=4840028a44c769de7552d8f4a1489afc" alt="" width="1042" height="120" data-path="images/Verify/verify_initial.png" />
    </Frame>
  </Step>

  <Step title="Execute Code and View Results">
    After executing your verify action, you can view the result of your assertion.

    <Frame>
      <img src="https://mintcdn.com/spur/SU7JWaNfJJg63kTF/images/Verify/verify_correct.png?fit=max&auto=format&n=SU7JWaNfJJg63kTF&q=85&s=6ef05092c62e7ec475c04f289333f0b9" alt="" width="1052" height="122" data-path="images/Verify/verify_correct.png" />
    </Frame>
  </Step>
</Steps>

## Basic Usage

<AccordionGroup>
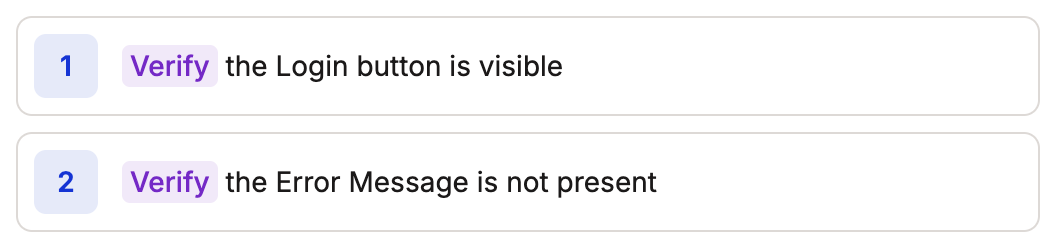
  <Accordion title="Element Presence">
    <Frame>
      <img src="https://mintcdn.com/spur/SU7JWaNfJJg63kTF/images/Verify/verify_ex_3.png?fit=max&auto=format&n=SU7JWaNfJJg63kTF&q=85&s=bfe07baf4f80f3ae06242af614a08257" alt="" width="1060" height="246" data-path="images/Verify/verify_ex_3.png" />
    </Frame>
  </Accordion>

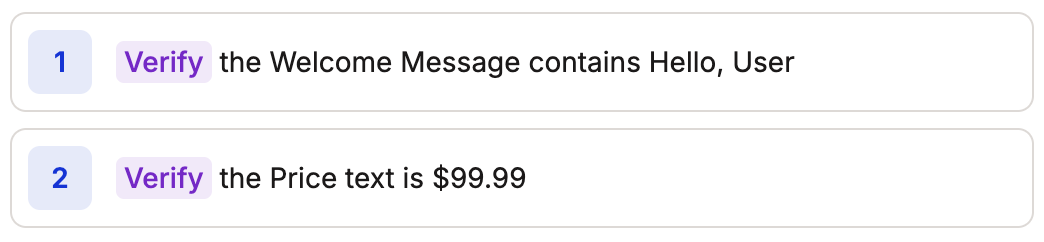
  <Accordion title="Content Validation">
    <Frame>
      <img src="https://mintcdn.com/spur/SU7JWaNfJJg63kTF/images/Verify/verify_ex_4.png?fit=max&auto=format&n=SU7JWaNfJJg63kTF&q=85&s=17d28e3f8964a194de67ddde1bf500b0" alt="" width="1044" height="242" data-path="images/Verify/verify_ex_4.png" />
    </Frame>
  </Accordion>

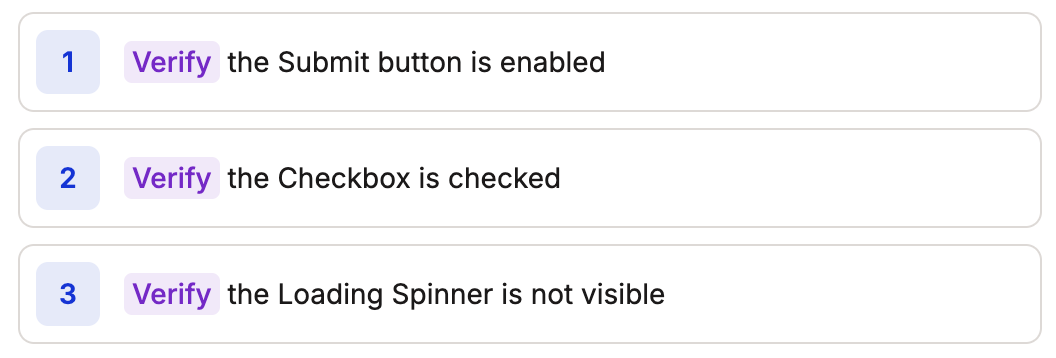
  <Accordion title="State Checks">
    <Frame>
      <img src="https://mintcdn.com/spur/SU7JWaNfJJg63kTF/images/Verify/verify_ex_2.png?fit=max&auto=format&n=SU7JWaNfJJg63kTF&q=85&s=f9252d1a593075c3006225b9acf7f5f6" alt="" width="1056" height="358" data-path="images/Verify/verify_ex_2.png" />
    </Frame>
  </Accordion>

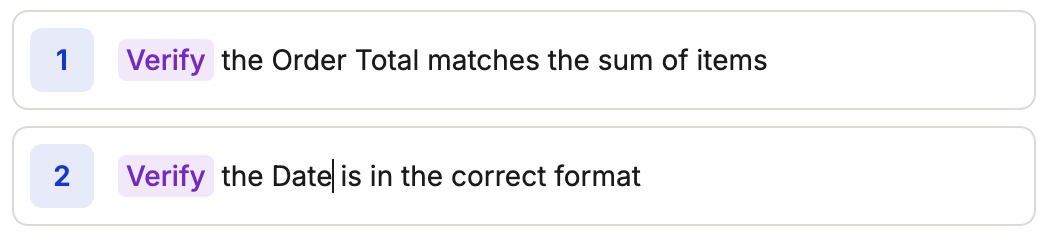
  <Accordion title="Custom Verification">
    <Frame>
      <img src="https://mintcdn.com/spur/SU7JWaNfJJg63kTF/images/Verify/verify_ex_5.png?fit=max&auto=format&n=SU7JWaNfJJg63kTF&q=85&s=1eb05e9d16c507a6a7747d8f46755ba3" alt="" width="1048" height="240" data-path="images/Verify/verify_ex_5.png" />
    </Frame>
  </Accordion>
</AccordionGroup>

## Common Testing Flows

<AccordionGroup>
  <Accordion title="Form Validation">
    <Frame>
      <img src="https://mintcdn.com/spur/SU7JWaNfJJg63kTF/images/Verify/verify_ex_6.png?fit=max&auto=format&n=SU7JWaNfJJg63kTF&q=85&s=283abd513b9519e77fd4620e13ad1dbe" alt="" width="1042" height="354" data-path="images/Verify/verify_ex_6.png" />
    </Frame>
  </Accordion>

  <Accordion title="Content Loading">
    <Frame>
      <img src="https://mintcdn.com/spur/SU7JWaNfJJg63kTF/images/Verify/verify_ex_7.png?fit=max&auto=format&n=SU7JWaNfJJg63kTF&q=85&s=aa620fa88771e8cf597b4bbcf02e9d66" alt="" width="1046" height="468" data-path="images/Verify/verify_ex_7.png" />
    </Frame>
  </Accordion>

  <Accordion title="UI State">
    <Frame>
      <img src="https://mintcdn.com/spur/SU7JWaNfJJg63kTF/images/Verify/verify_ex_8.png?fit=max&auto=format&n=SU7JWaNfJJg63kTF&q=85&s=d85e8a4788a7184b49d8e92d5111fe95" alt="" width="1068" height="368" data-path="images/Verify/verify_ex_8.png" />
    </Frame>
  </Accordion>
</AccordionGroup>

## Best Practices

1. **Be Specific**: Use clear, specific selectors and expected values
2. **Timing**: Add appropriate waits before verifications when needed
3. **Error Messages**: Include meaningful error messages for failures
4. **State Management**: Verify important state changes after actions
5. **Multiple Conditions**: Combine verifications when needed

<Frame caption="example of combined verifications">
  <img src="https://mintcdn.com/spur/SU7JWaNfJJg63kTF/images/Verify/verify_multiple.png?fit=max&auto=format&n=SU7JWaNfJJg63kTF&q=85&s=22e922dd3e9d4b8727b95a33556d2107" alt="" width="1038" height="134" data-path="images/Verify/verify_multiple.png" />
</Frame>

6. **Dynamic Content**: Use flexible matching when appropriate

<Frame caption="example of flexible matching">
  <img src="https://mintcdn.com/spur/SU7JWaNfJJg63kTF/images/Verify/verify_dynamic.png?fit=max&auto=format&n=SU7JWaNfJJg63kTF&q=85&s=8fc8f8975203f8d1a2ab2948ad602c39" alt="" width="1042" height="116" data-path="images/Verify/verify_dynamic.png" />
</Frame>

7. **Complex Validation**: Use JavaScript for advanced verification
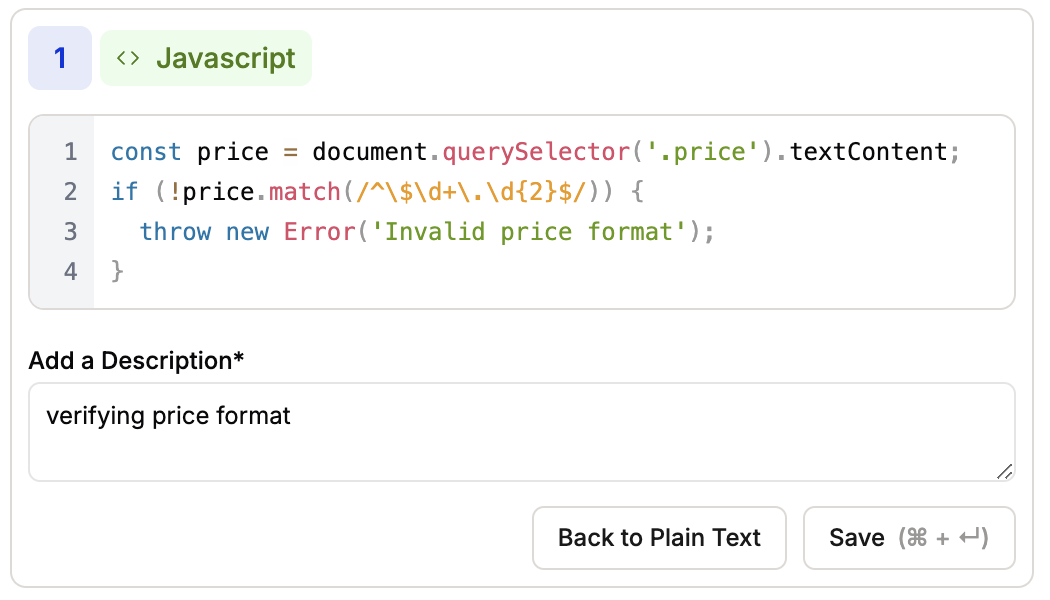
<Frame caption="example of javascript for verification">
  <img src="https://mintcdn.com/spur/SU7JWaNfJJg63kTF/images/Verify/verify_advanced.png?fit=max&auto=format&n=SU7JWaNfJJg63kTF&q=85&s=78dbfbacafb660cacf4a83f742aade3f" alt="" width="1050" height="600" data-path="images/Verify/verify_advanced.png" />
</Frame>

## Troubleshooting

When a verification fails, Spur provides:

* Detailed error messages
* Screenshots of the failure state
* DOM state at time of failure
* Console logs and network requests

This information helps quickly identify and fix issues in your tests.