> ## Documentation Index
> Fetch the complete documentation index at: https://docs.spurtest.com/llms.txt
> Use this file to discover all available pages before exploring further.
# Video to Test Generation
> Import existing Playwright, Selenium or other automation scripts and transform them into Spur test steps that can be executed with the Spur Agent. For imports beyond Playwright and Selenium, reach out to your dedicated CSM for assistance.
## Overview
Video to Test Generation enables you to create tests by simply recording yourself navigating through your application.
Spur analyzes your video, detects actions and converts them into structured test steps while eliminating manual test authoring and accelerating test coverage creation.
The fastest way is to simply paste a **Loom link** and click **Generate**. In seconds, your recording becomes a fully structured test.
**Supported Video Formats:**
* MP4
* MOV
* AVI
* Loom recording links
Video files are limited to 30MB. For larger recordings, use Loom links which have no size restrictions.
## Quick Start with Loom
The easiest and most fun way to create tests from video:
1. Record your workflow in Loom (with narration for best results)
2. Copy the Loom link
3. Follow the Steps below!
## Best Practices for Recording
* **If speaking, describe what actions you're taking and what rules exist for the action**: Narration provides context that improves test step accuracy and validation logic
* **Record at a steady pace to ensure accurate step detection**: Avoid rushing through actions; give each interaction 2-3 seconds
* **Perform clear, distinct actions**: Make intentional clicks and interactions rather than hovering or exploring
* **Avoid rapid mouse movements**: Slow, deliberate cursor movement helps the AI detect your intended actions
* **Include any necessary waiting times in your recording**: If pages load slowly or animations play, let them complete in the recording
## How to Generate Tests from Video
Open your Spur Dashboard. Click **New** and choose **Test** from the dropdown menu to begin the test creation process.
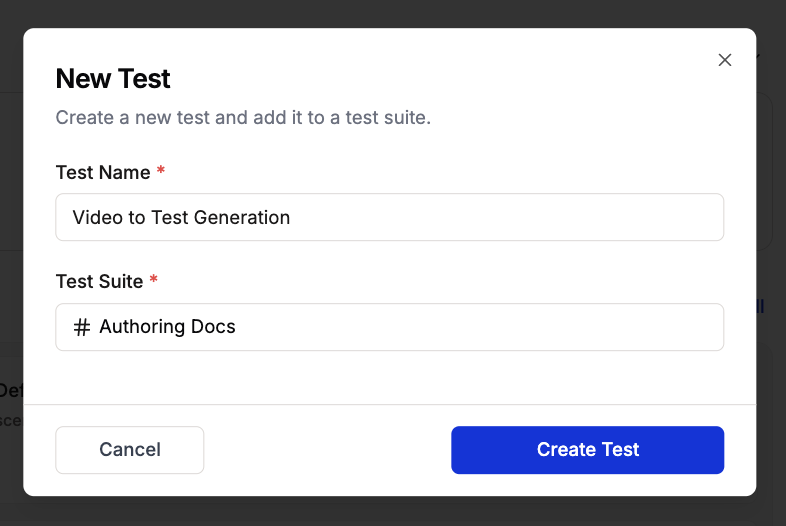
 Enter a name for your test and add it to an existing Test Suite or create a new one. Click **Create Test** to proceed.
 The Test Editing Side Peek will open and fill in the Test URL field. Reference [Environments](/authoring-tests/environments/environments) for configuring environment-specific URLs.
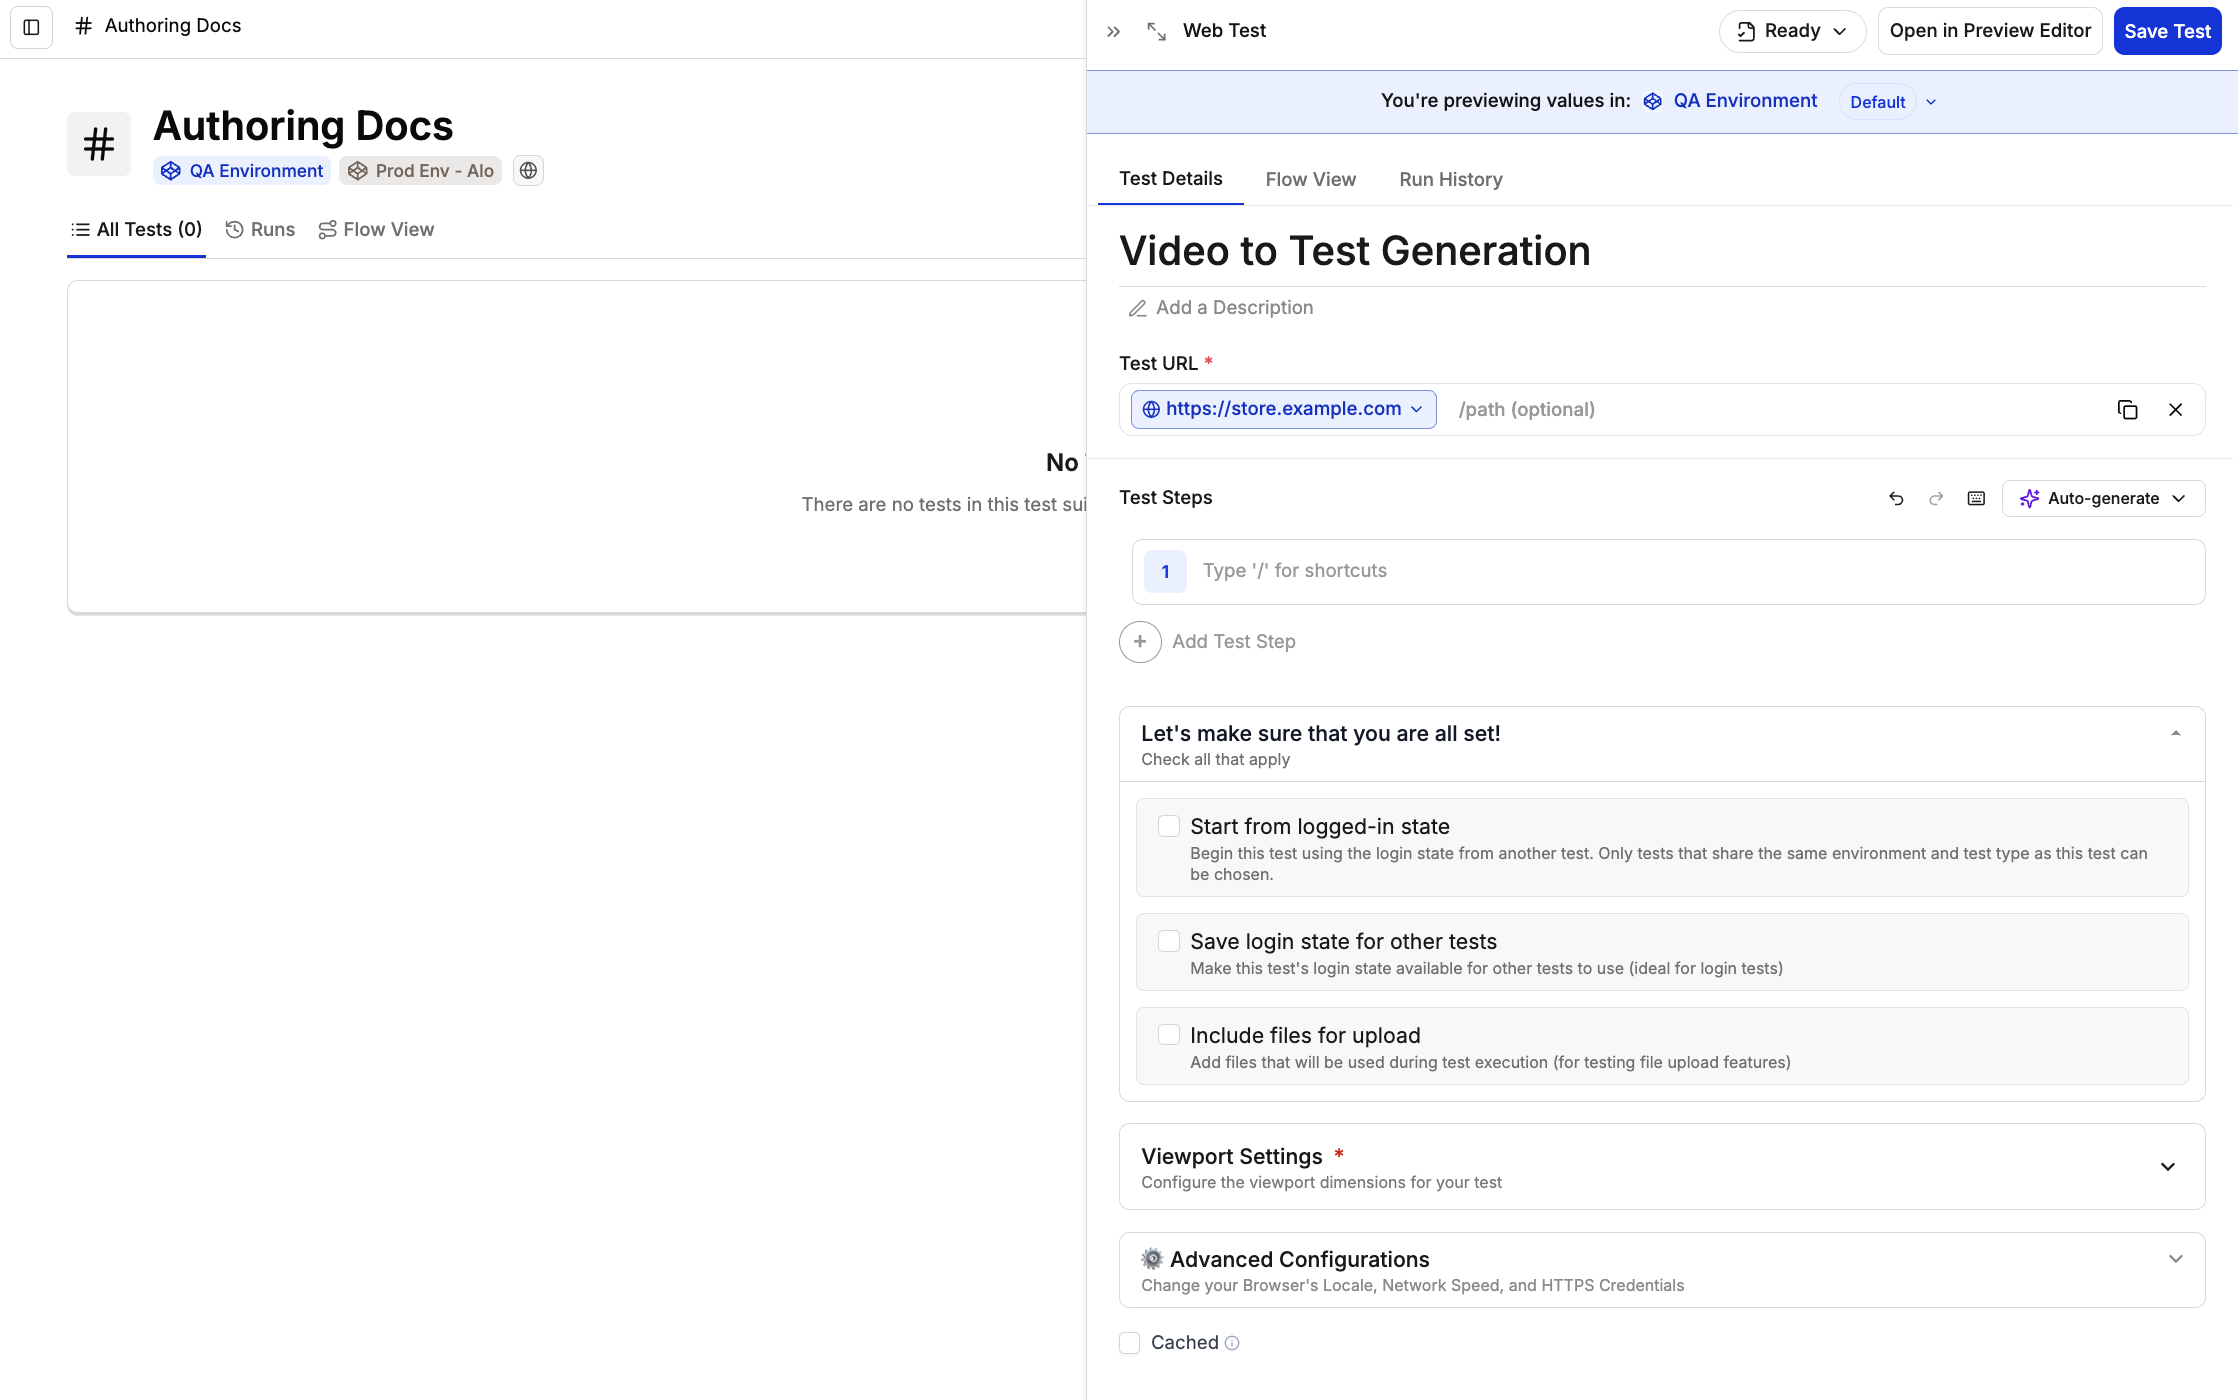 Locate the **Auto-generate** button in the Test Steps section and click **Video or Loom Link** to access the video import feature.
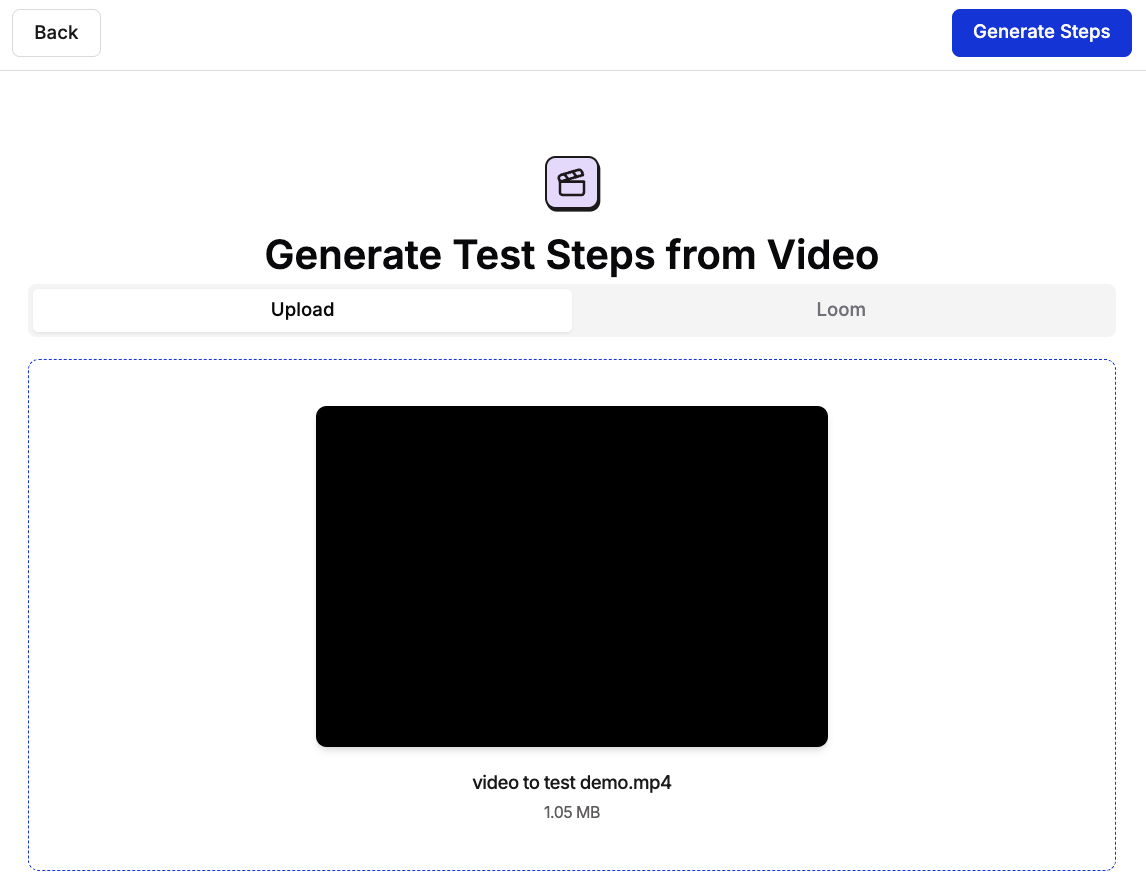
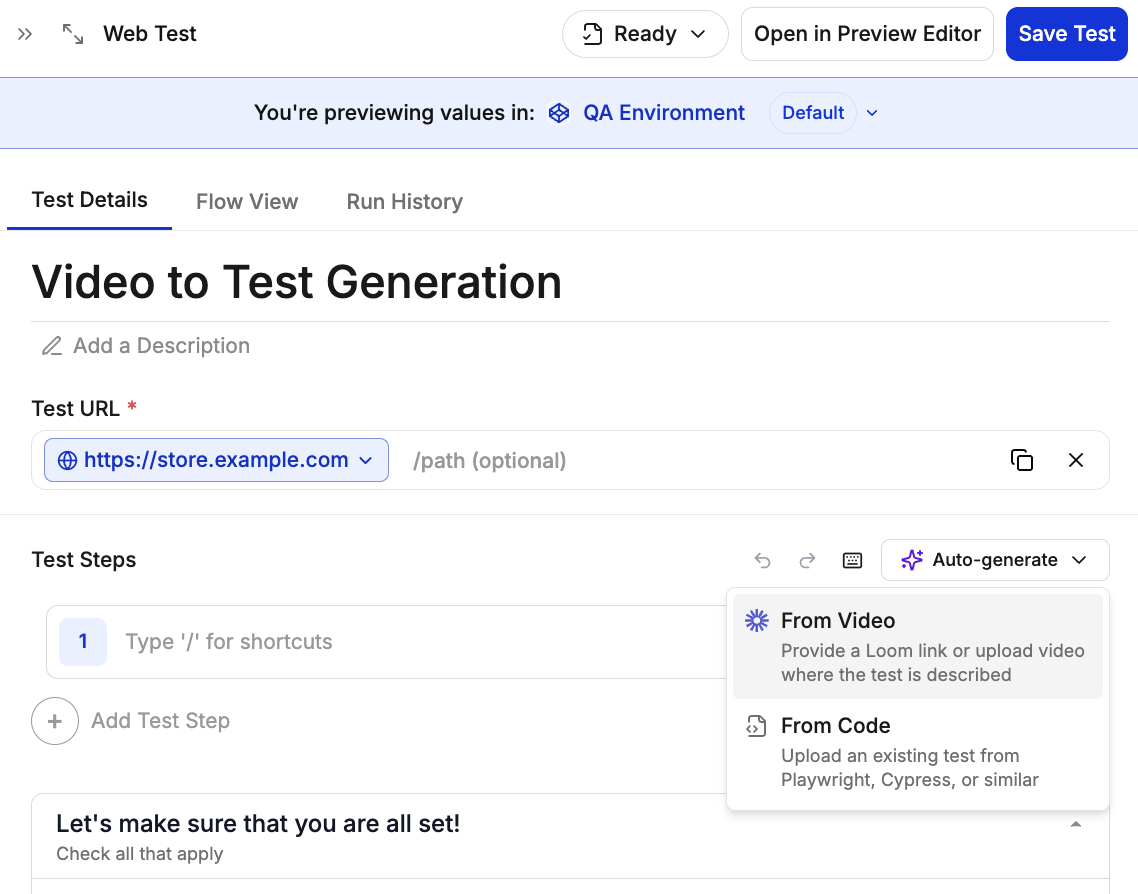 From the **Generate Test Steps from Video** window, choose your preferred method:
Simply paste your Loom recording URL and click **Generate Steps**. That's it and your test steps will be generated in seconds!
From the **Generate Test Steps from Video** window, choose your preferred method:
Simply paste your Loom recording URL and click **Generate Steps**. That's it and your test steps will be generated in seconds!
 Loom recordings must be made within the last two weeks of uploading to generate tests.
Choose a video file from your computer if you have a local recording (supports files up to 30MB).
Loom recordings must be made within the last two weeks of uploading to generate tests.
Choose a video file from your computer if you have a local recording (supports files up to 30MB).
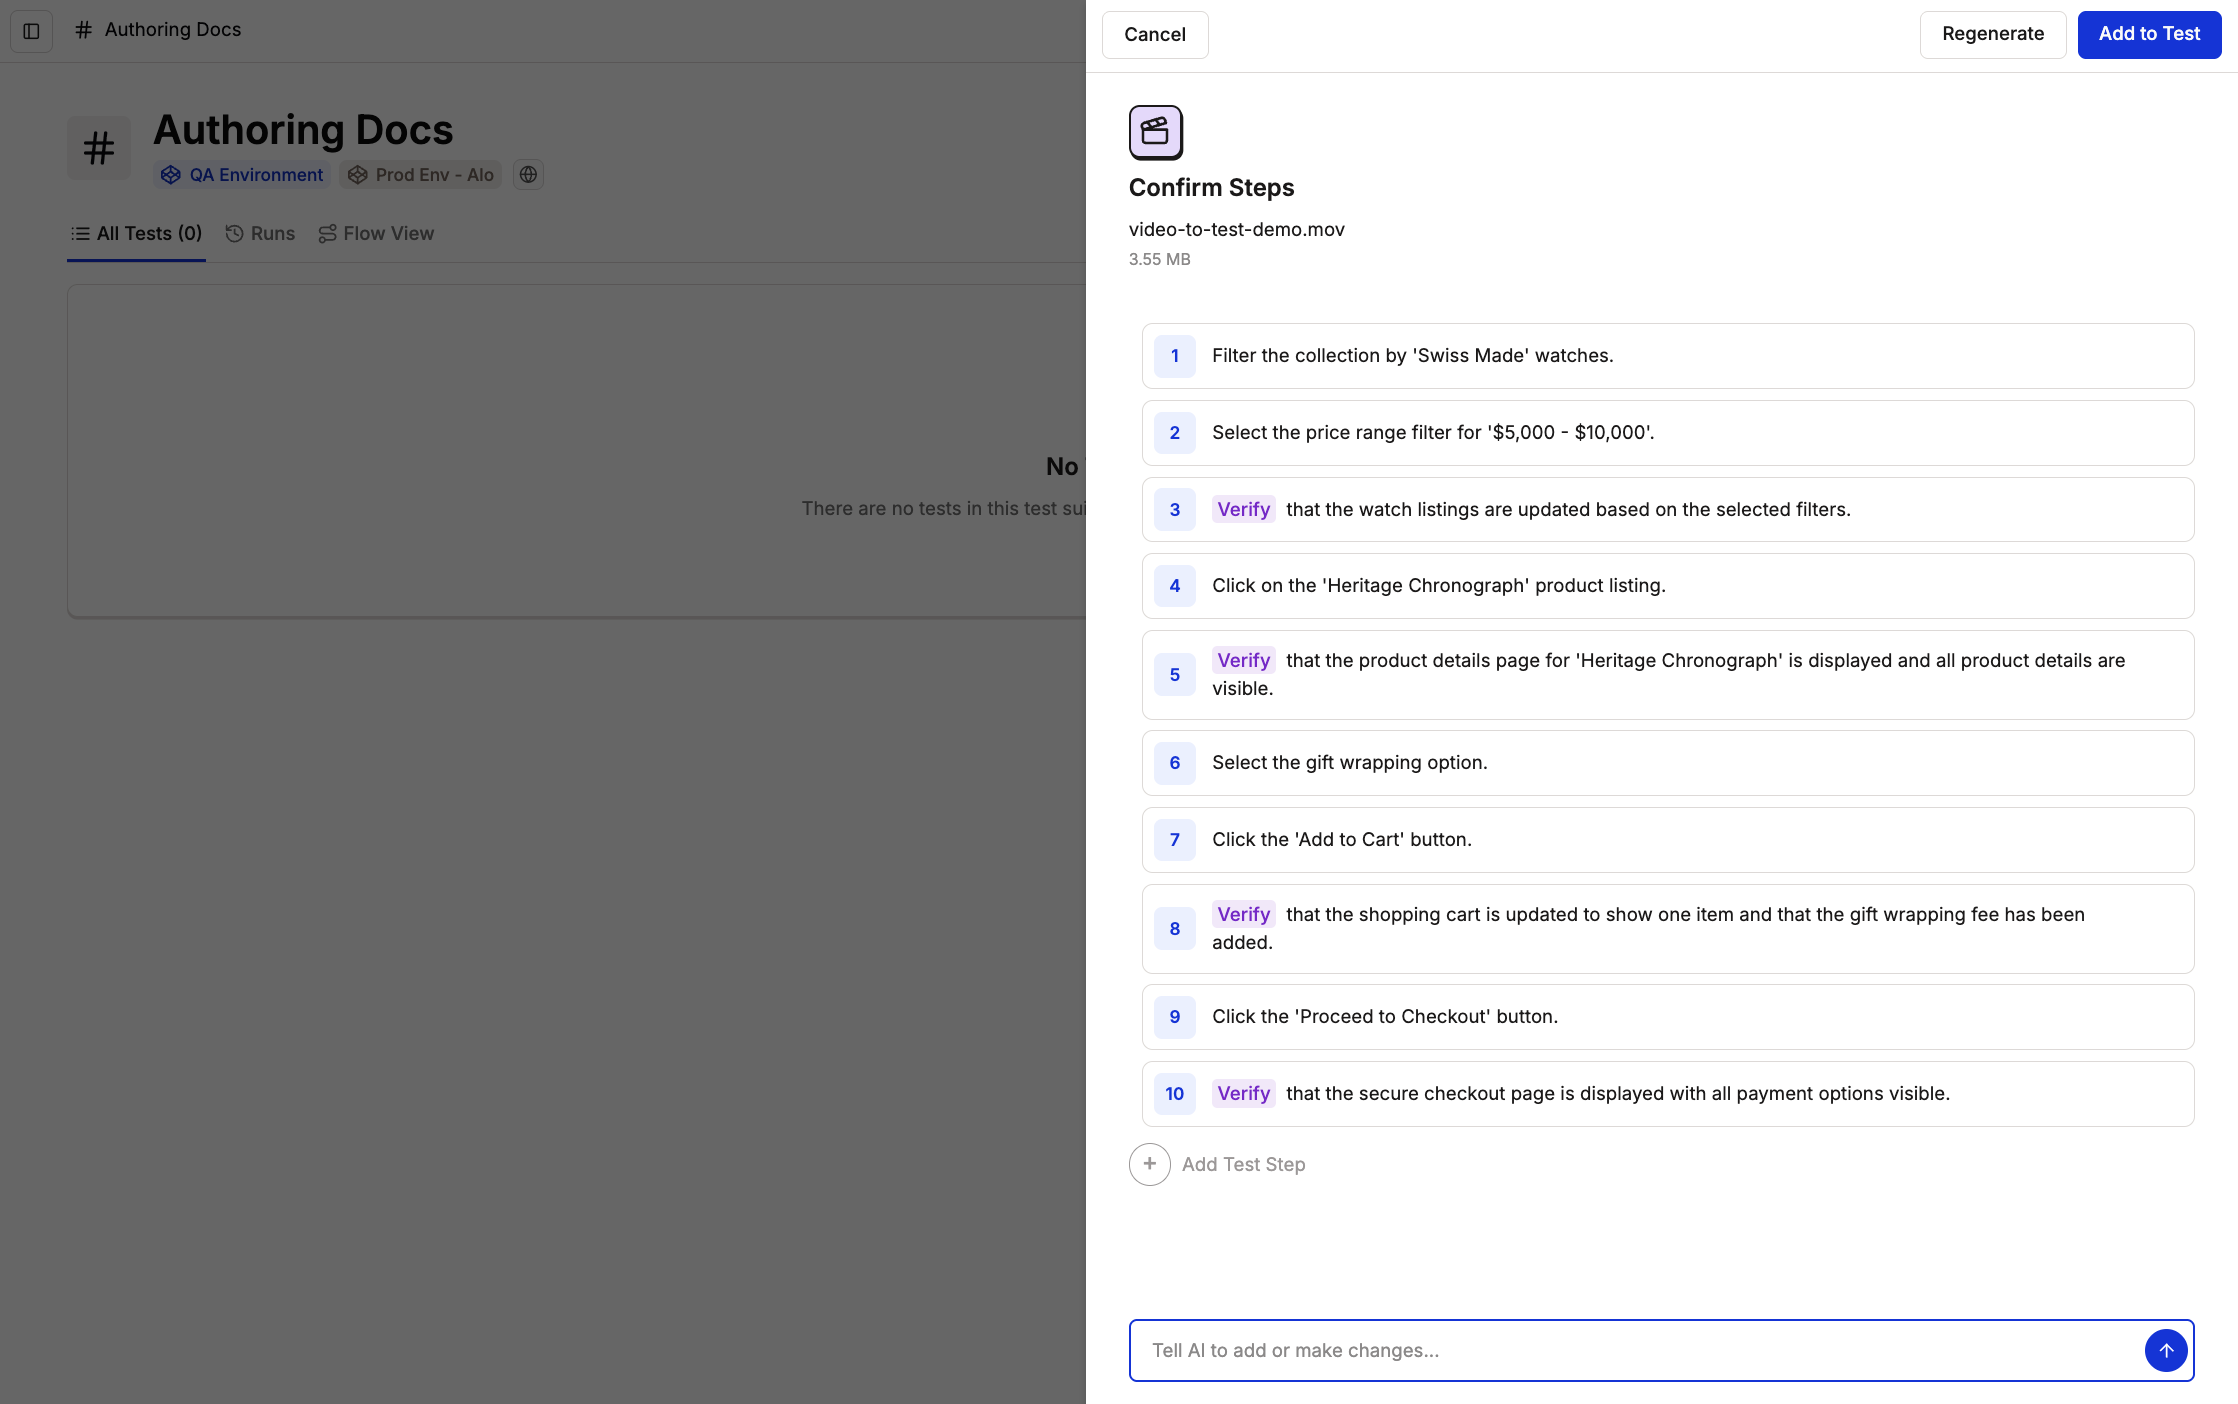
 Once you've selected your method, click **Generate Steps** and Spur will process your video and extract actions into test steps.
Spur analyzes your video and creates structured test steps based on your actions. Review the generated steps and determine if you need to add any additional test steps.
If there are any errors or you want to refine the steps, you can:
* Click **Regenerate** to load the video or loom link again
* **Ask the AI** to add or make changes to specific steps
* Add new steps using the **Add Test Step** button
* Manually edit test steps in the list
Once satisfied, click **Add to Test** to continue.
Once you've selected your method, click **Generate Steps** and Spur will process your video and extract actions into test steps.
Spur analyzes your video and creates structured test steps based on your actions. Review the generated steps and determine if you need to add any additional test steps.
If there are any errors or you want to refine the steps, you can:
* Click **Regenerate** to load the video or loom link again
* **Ask the AI** to add or make changes to specific steps
* Add new steps using the **Add Test Step** button
* Manually edit test steps in the list
Once satisfied, click **Add to Test** to continue.
 You will return to the Test Editing Side Peek with the generated steps added to your test.
Configure viewport settings, [Advanced Configurations](/authoring-tests/test-side-peek/advanced-configurations), and caching options as needed. Reference [Create Your First Test](/getting-started/first-test) for detailed guidance on these settings.
After configuration, click **Save Test** to save your video-generated test.
You will return to the Test Editing Side Peek with the generated steps added to your test.
Configure viewport settings, [Advanced Configurations](/authoring-tests/test-side-peek/advanced-configurations), and caching options as needed. Reference [Create Your First Test](/getting-started/first-test) for detailed guidance on these settings.
After configuration, click **Save Test** to save your video-generated test.
 Your test is now saved and you can view it in your selected Test Suite. The test is ready to run with the Spur Agent.
