Prerequisites
Before creating a Test Plan, ensure you have:- At least one configured test suite with completed setup
- Environments configured for your application
- Understanding of which test suites you want to include
How to Create Test Plans
Navigate to Test Plans
Open your Spur Dashboard and locate Test Plans in the left navigation menu under the Tests section.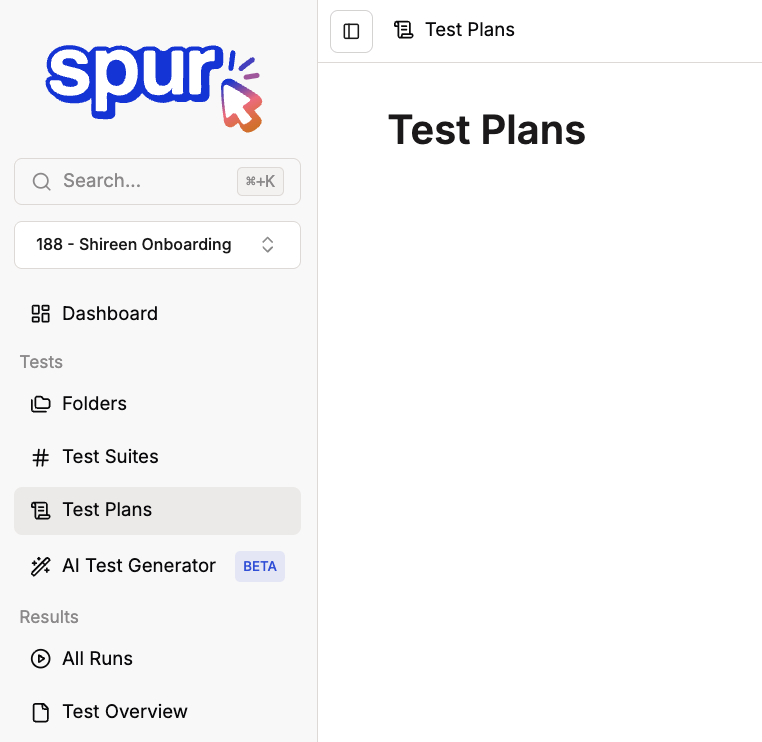
Create Your First Test Plan
On the Test Plans page, click the Create Test Plan button to begin setup.
Configure Plan Details
Complete the initial configuration form with your Test Plan information: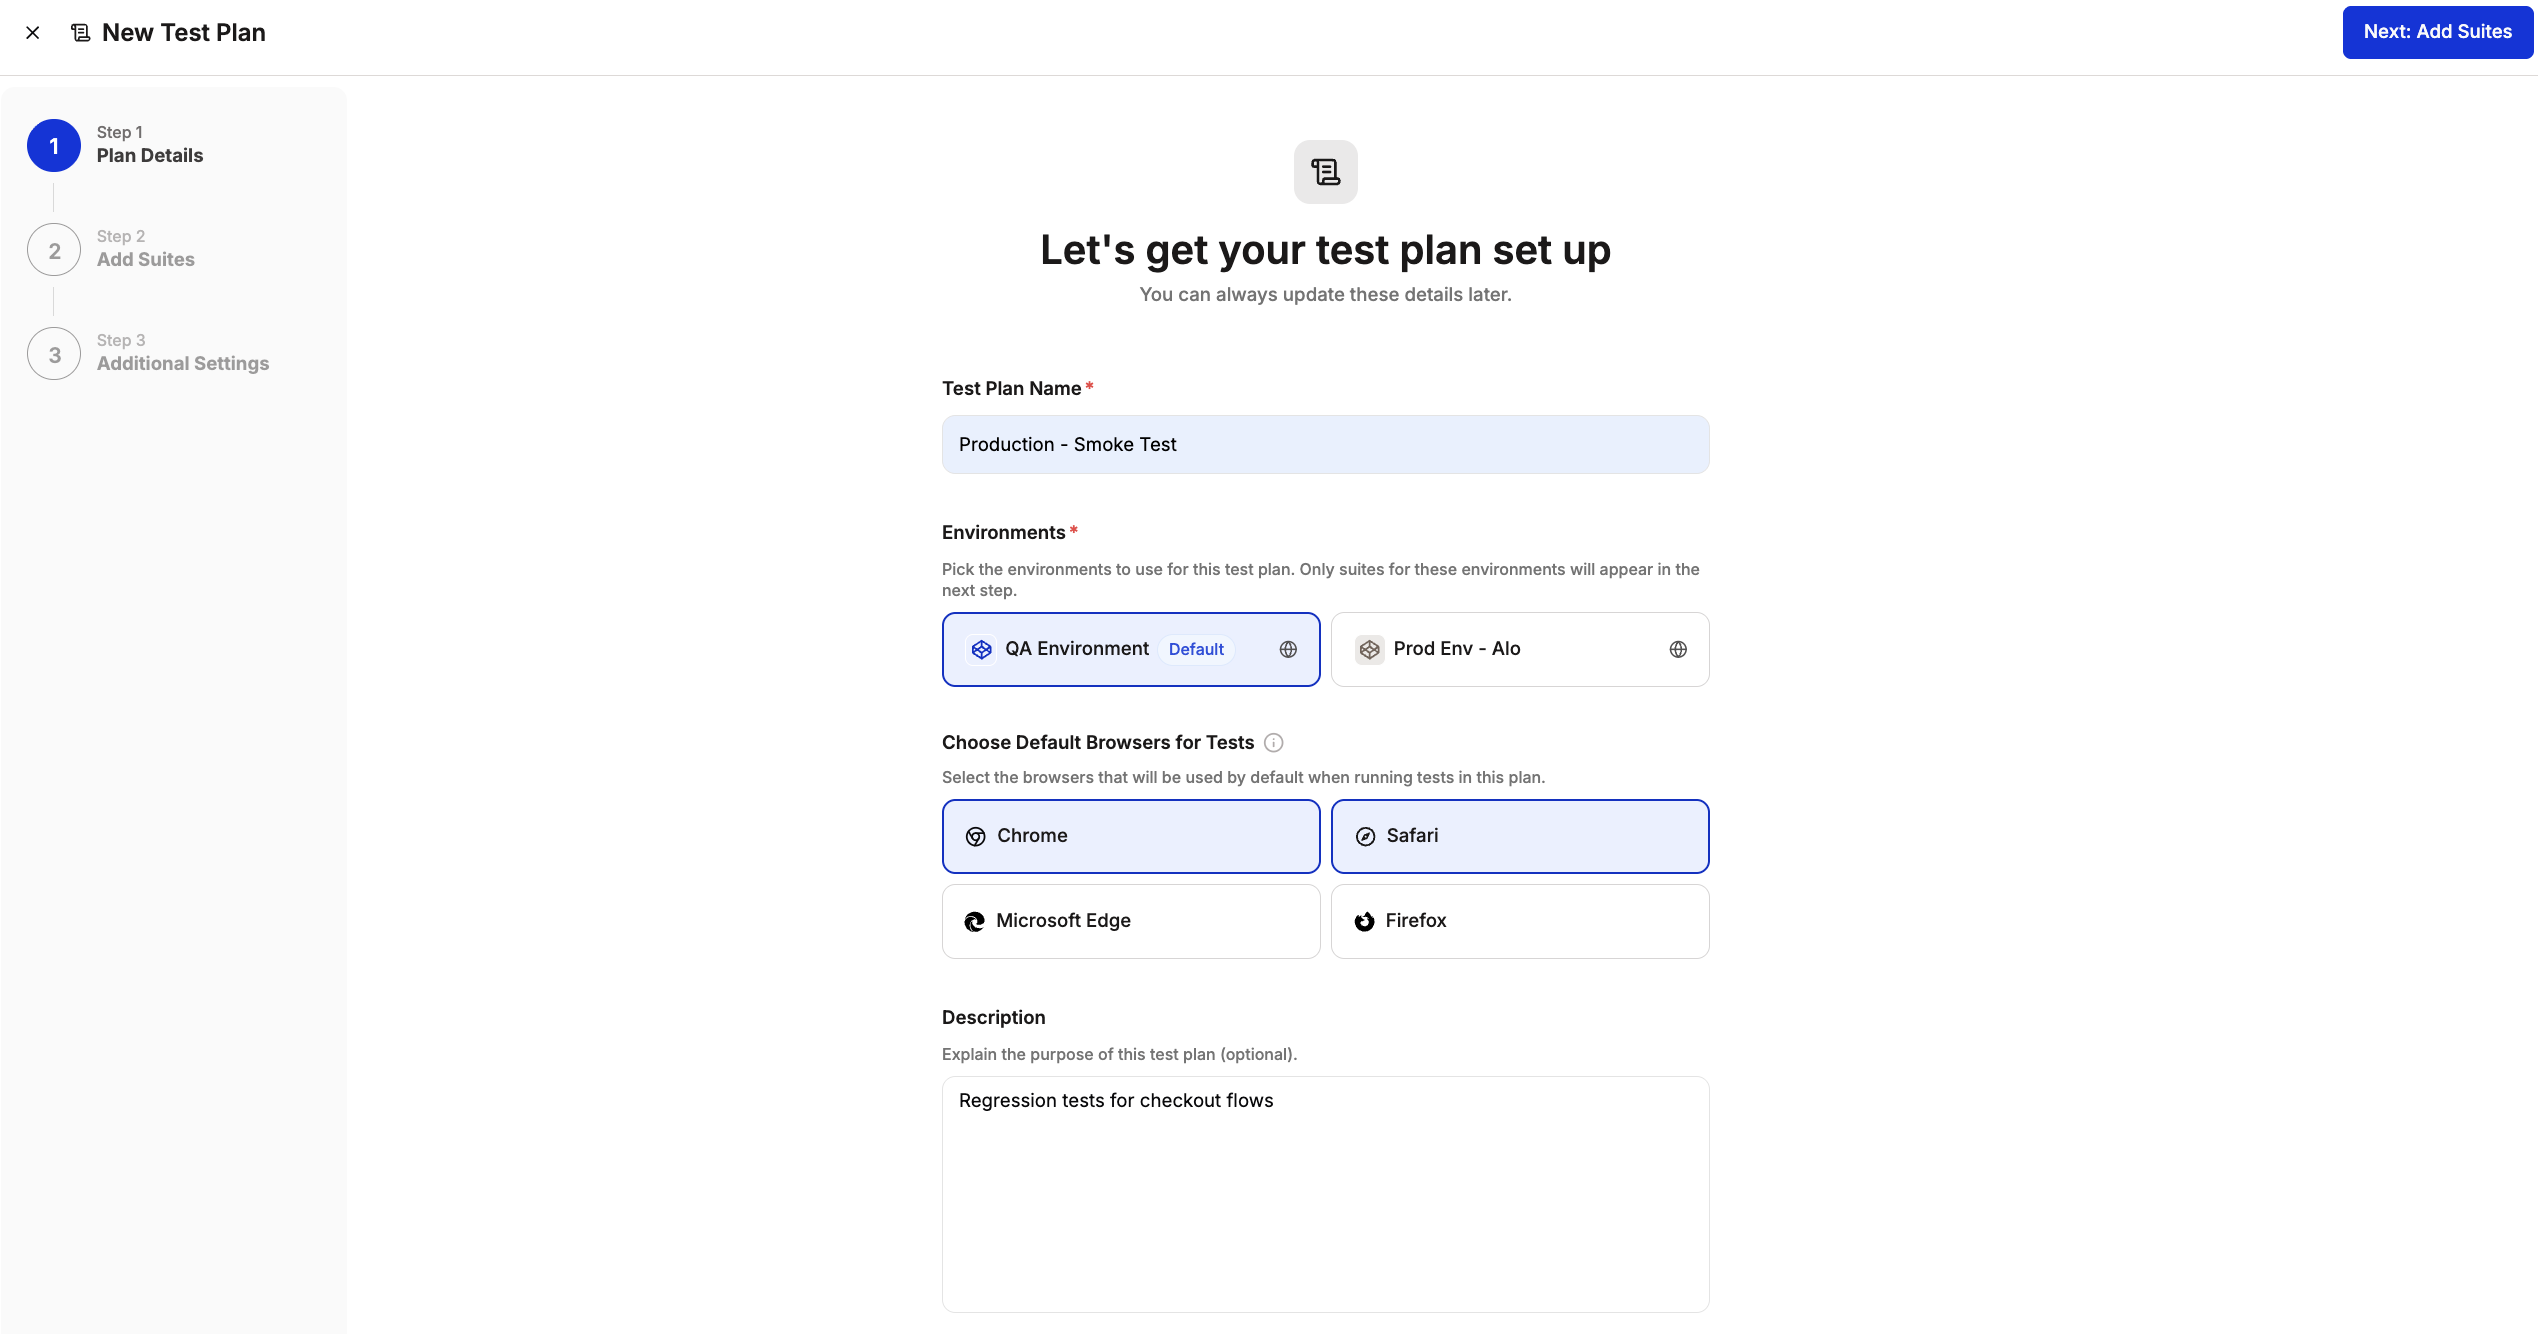
- Test Plan Name – Enter a descriptive name that clearly identifies the purpose (e.g., “Production - Smoke Test”)
- Environments – Select which environments this Test Plan will test against. Choose from your configured environments.
- Choose Default Browsers for Tests – Select the browsers that tests will run on by default. Available options include Chrome, Safari, Microsoft Edge, and Firefox.
- Description – Add optional context explaining the Test Plan’s purpose (e.g., “Regression tests for checkout flow”)
Add Test Suites
Select which test suites to include in your Test Plan. Use the search bar to find specific suites quickly.You can customize what runs in your Test Plan by: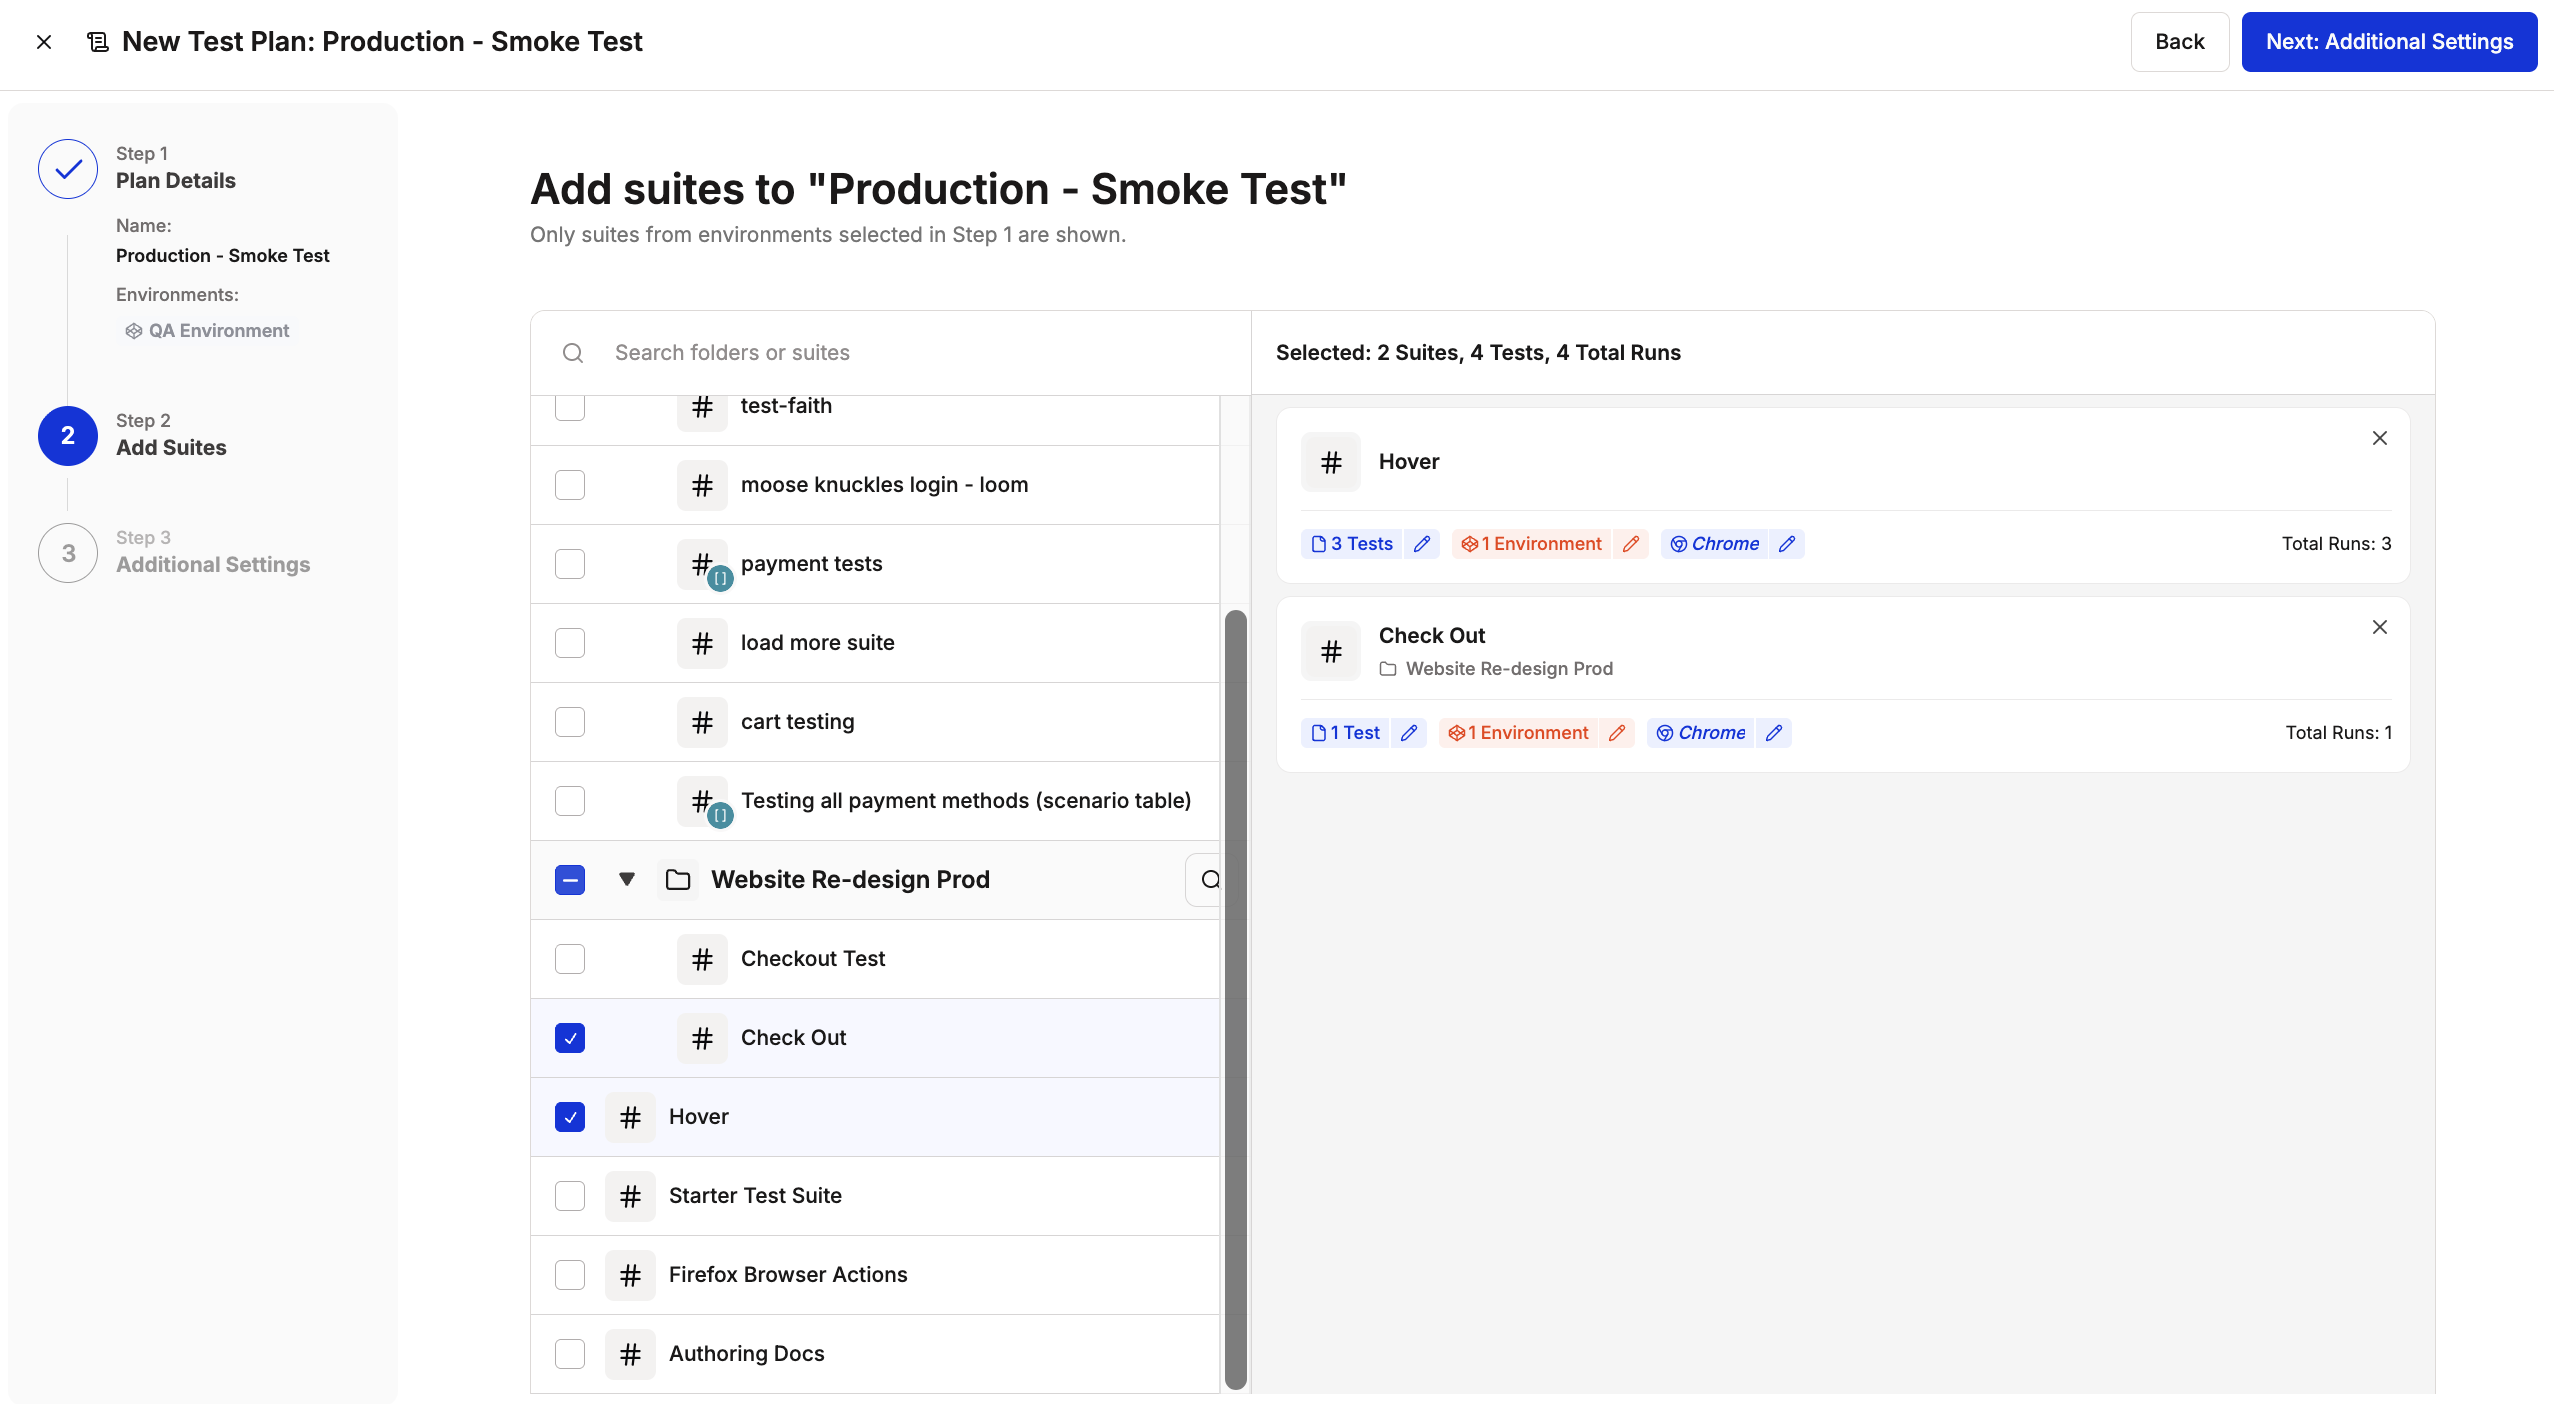
Only test suites with matching environments and completed configuration can be added to your Test Plan.
- Select Specific Tests – Choose individual tests from each test suite instead of running the full suite
- Choose Environments – Specify which environments (e.g. staging, production) the tests should run against
- Configure Browser Coverage – Define which browsers and devices each suite will run on
Configure Additional Settings
Customize how your Test Plan executes and integrates with your workflow: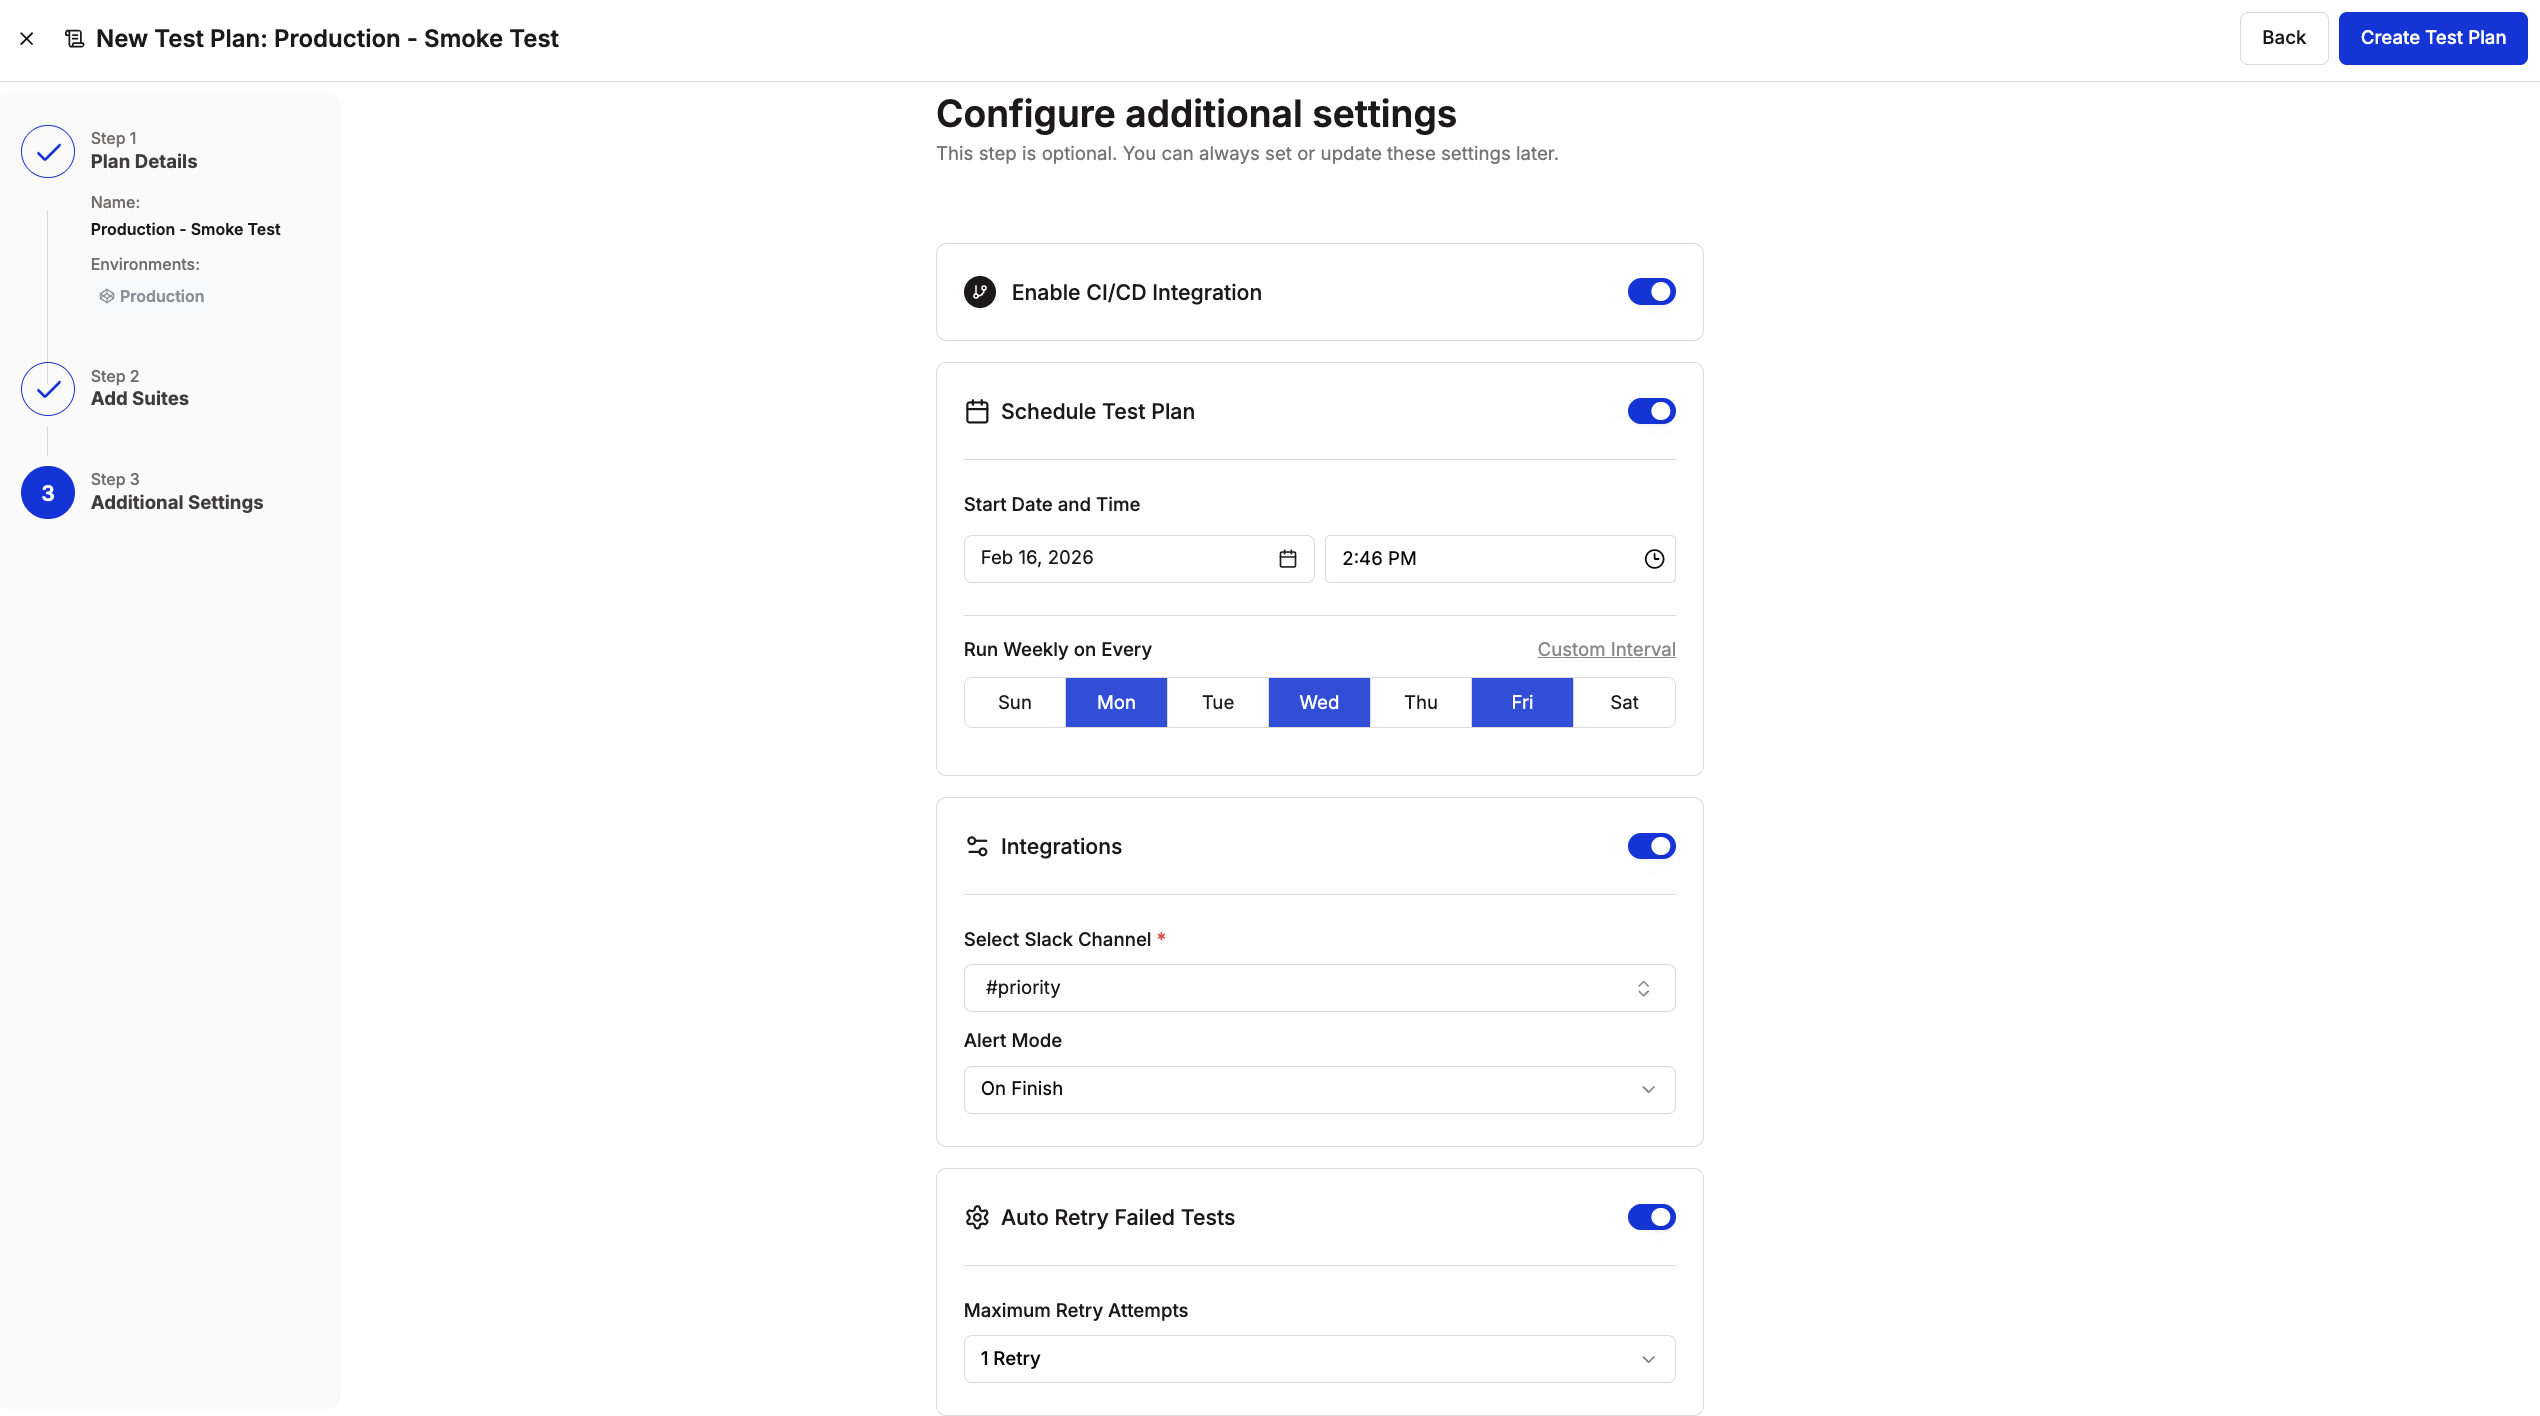
- Enable CI/CD Integration – Toggle on to connect this Test Plan to your deployment pipeline for automated testing.
- Schedule Test Plan – Configure when your Test Plan runs:
- Set the start date and time
- Select which days of the week to run (for recurring schedules)
- Choose custom intervals if needed
- Integrations – Connect to communication channels:
- Select your Slack channel from the dropdown
- Configure alert preferences (when to notify: on finish, on fail, on every run). See Alerts and Notifications for details.
- Auto Retry Failed Tests – Set the maximum number of retry attempts (1, 2, or 3) for failed tests. See Retry on Failure for how this works.
Create Test Plan
Review your configuration and click Create Test Plan to save. Your Test Plan is now created and ready to execute.
Next Steps
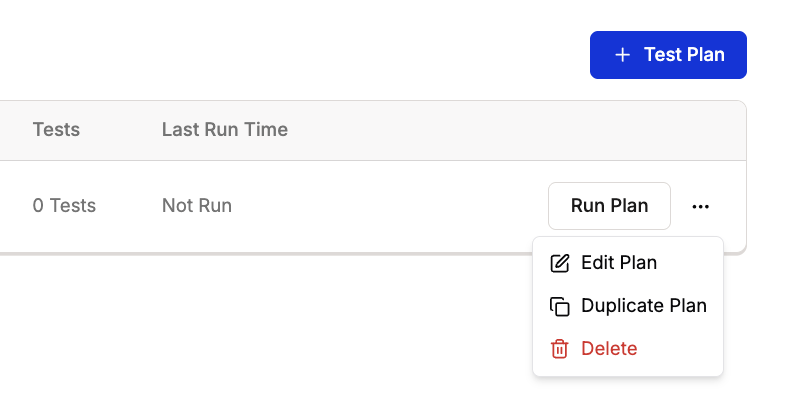
After creating your Test Plan, you can:- Run the Test Plan immediately using the Run Plan button.
- Configure additional suites by editing the Test Plan.
- Set up automated scheduling for recurring test execution.
- View results post-execution to analyze test outcomes.