
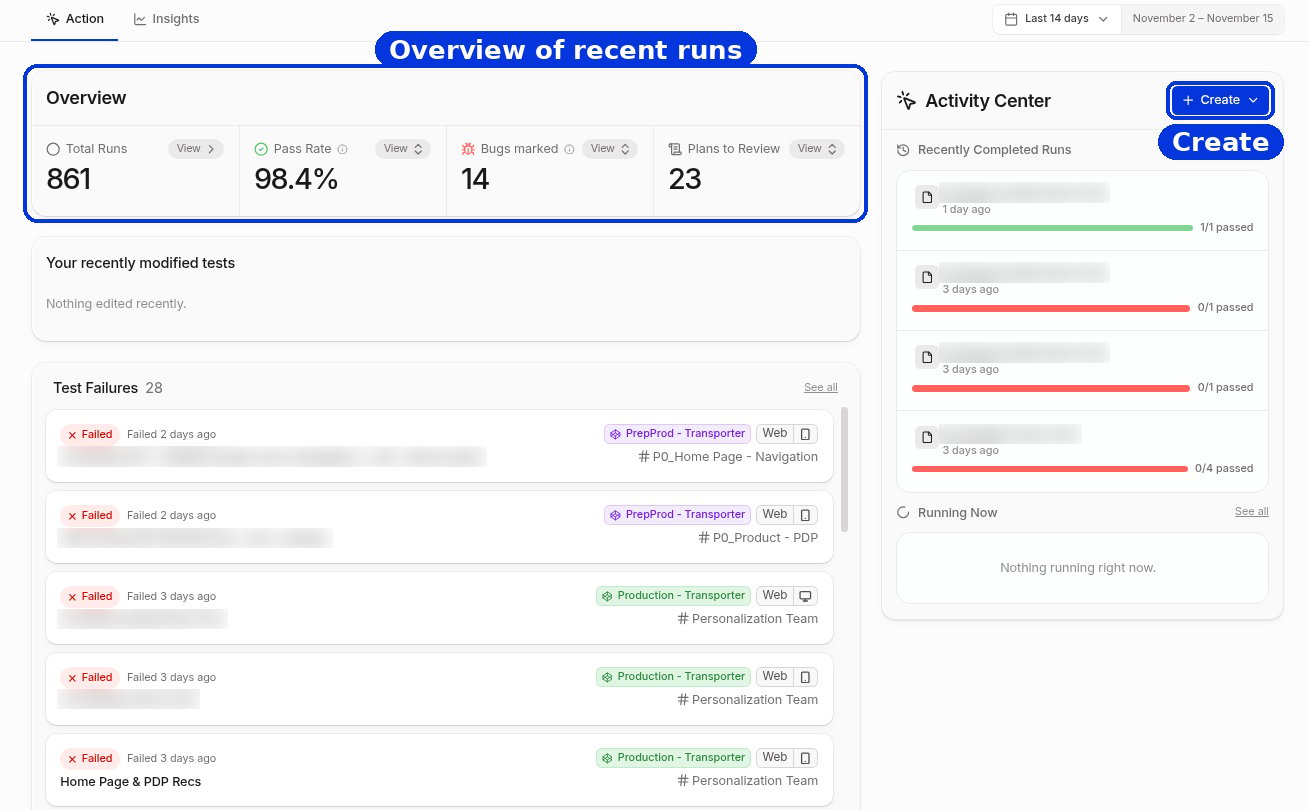
The dashboard is your home base
- Overview shows your recent runs, pass rate, bugs marked, and Test Plans waiting for review.
- Create adds a test, Test Suite, folder, Scenario Table, or Test Plan.
How Spur is different
- No selectors or code. You write
Click on Sign In, not an XPath. The agent finds the button on the screen. - No access to your codebase. Spur tests deployed URLs and app builds from its own cloud.
Failures and warnings
Every run ends with a result for each step.- Failed: the test did not do what you asked. Look at the step, its screenshot, and the agent’s reasoning to see why.
- Warning: Spur noticed something that is not a hard failure, such as a cosmetic glitch. If a warning is expected, you can suppress it so it stops showing up.
Your first week
1
Set up your workspace
Sign in, invite your team, and add the site you want to test. Set up your workspace.
2
Organize your tests
Learn how folders, suites, and tests fit together. Organize your tests.
3
Write and run one short test
Three to five plain-English steps is enough. Write your first web test.
4
Put it on a schedule
Add your tests to a Test Plan and let Spur run them for you. Run and schedule your first plan.
Helpful next reads
Web prompting guide
How to write steps the agent follows reliably.
Example tests by use case
Real test steps for login, search, cart, email, and more.