
Overview
Drafts are a way to mark tests as work-in-progress within your test suite. They are functionally identical to regular tests but are labeled as “Draft” for organization purposes. Drafts are always added to a test suite and can be converted back to “Ready” status when complete.Drafts exist within test suites from the moment you create them. The “Draft” status simply indicates the test is still being developed or refined.
How to Create Drafts
1
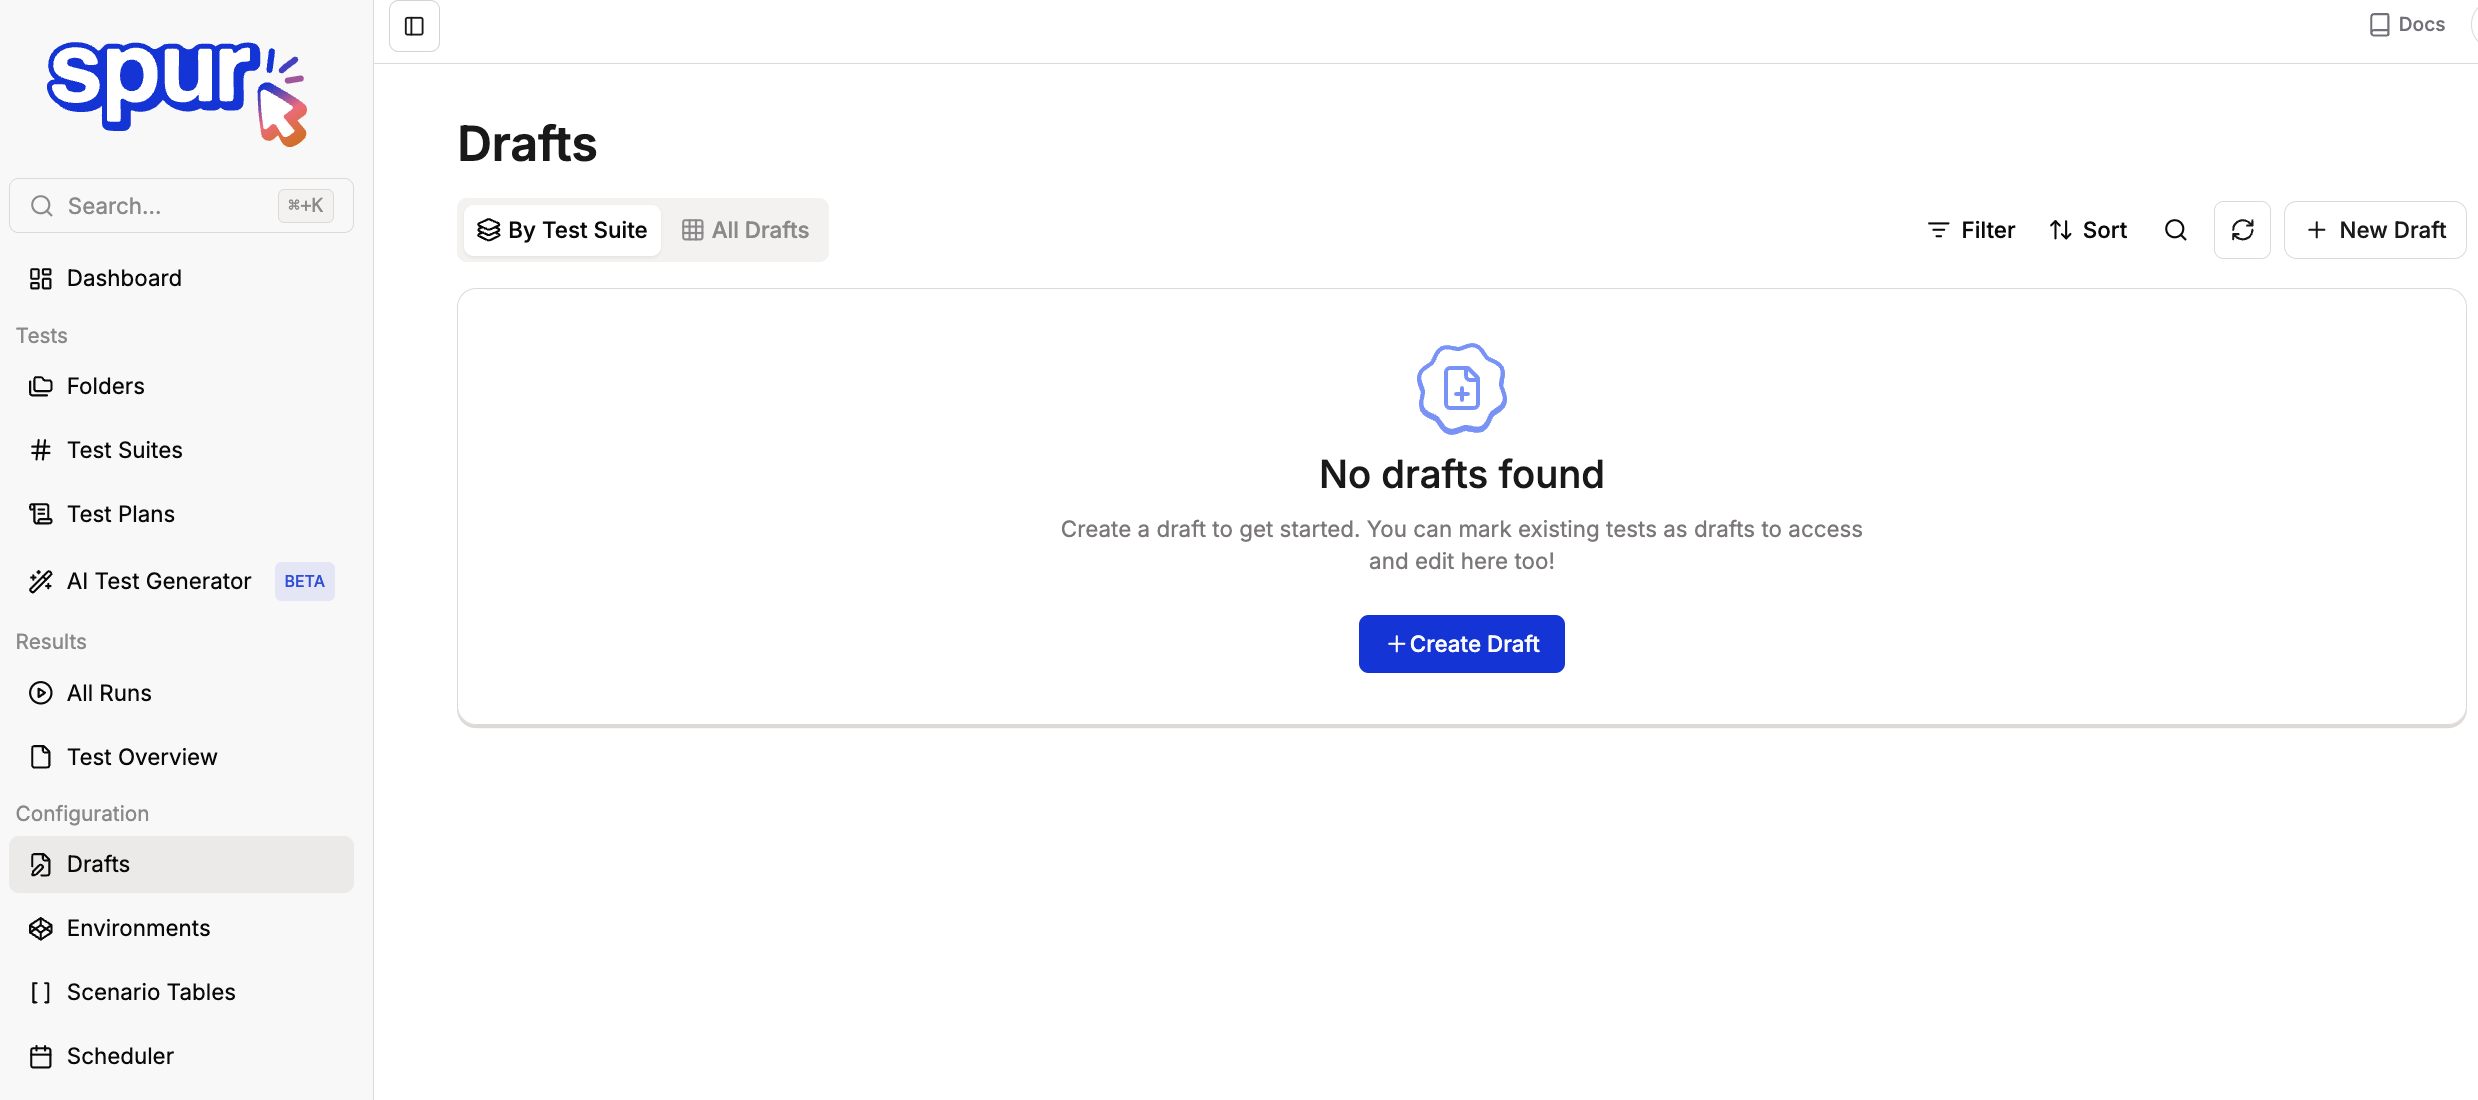
Navigate to Drafts under Configurations in your Spur Dashboard and click Create Draft
2
Choose a Test Suite for your draft and click Create Draft
If you don’t have existing test suites, see Test Suites to create one first.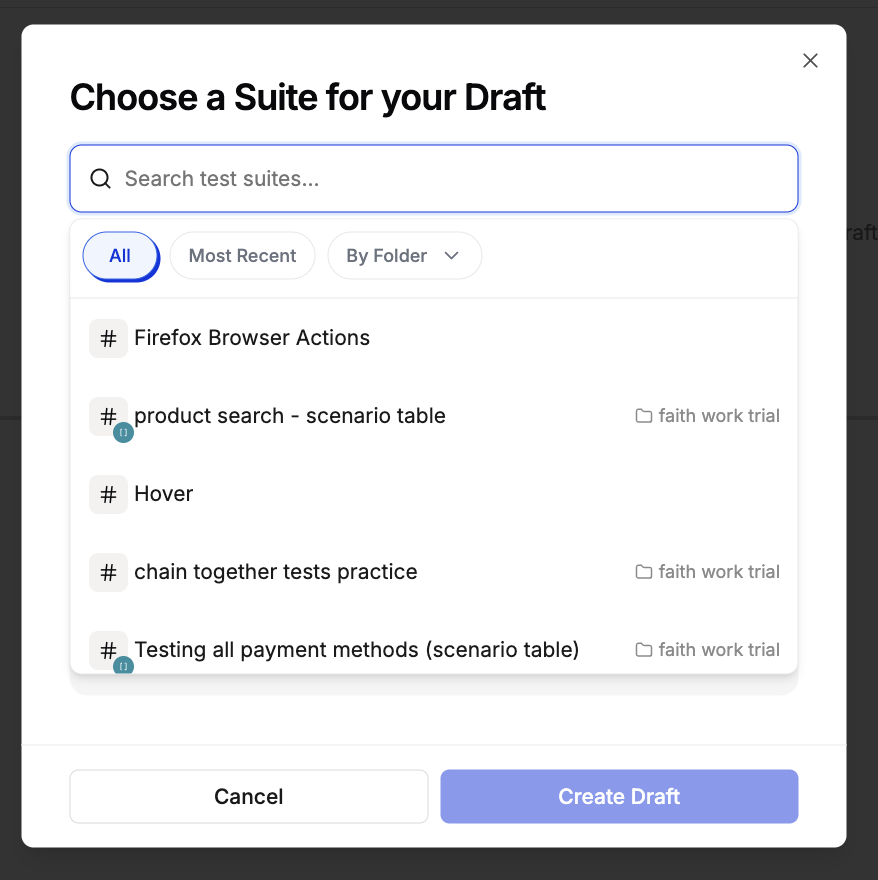
3
Write your test by adding the test name, test URL, test steps, and configuration options
See How to Write Your First Test for detailed guidance, then click Save Test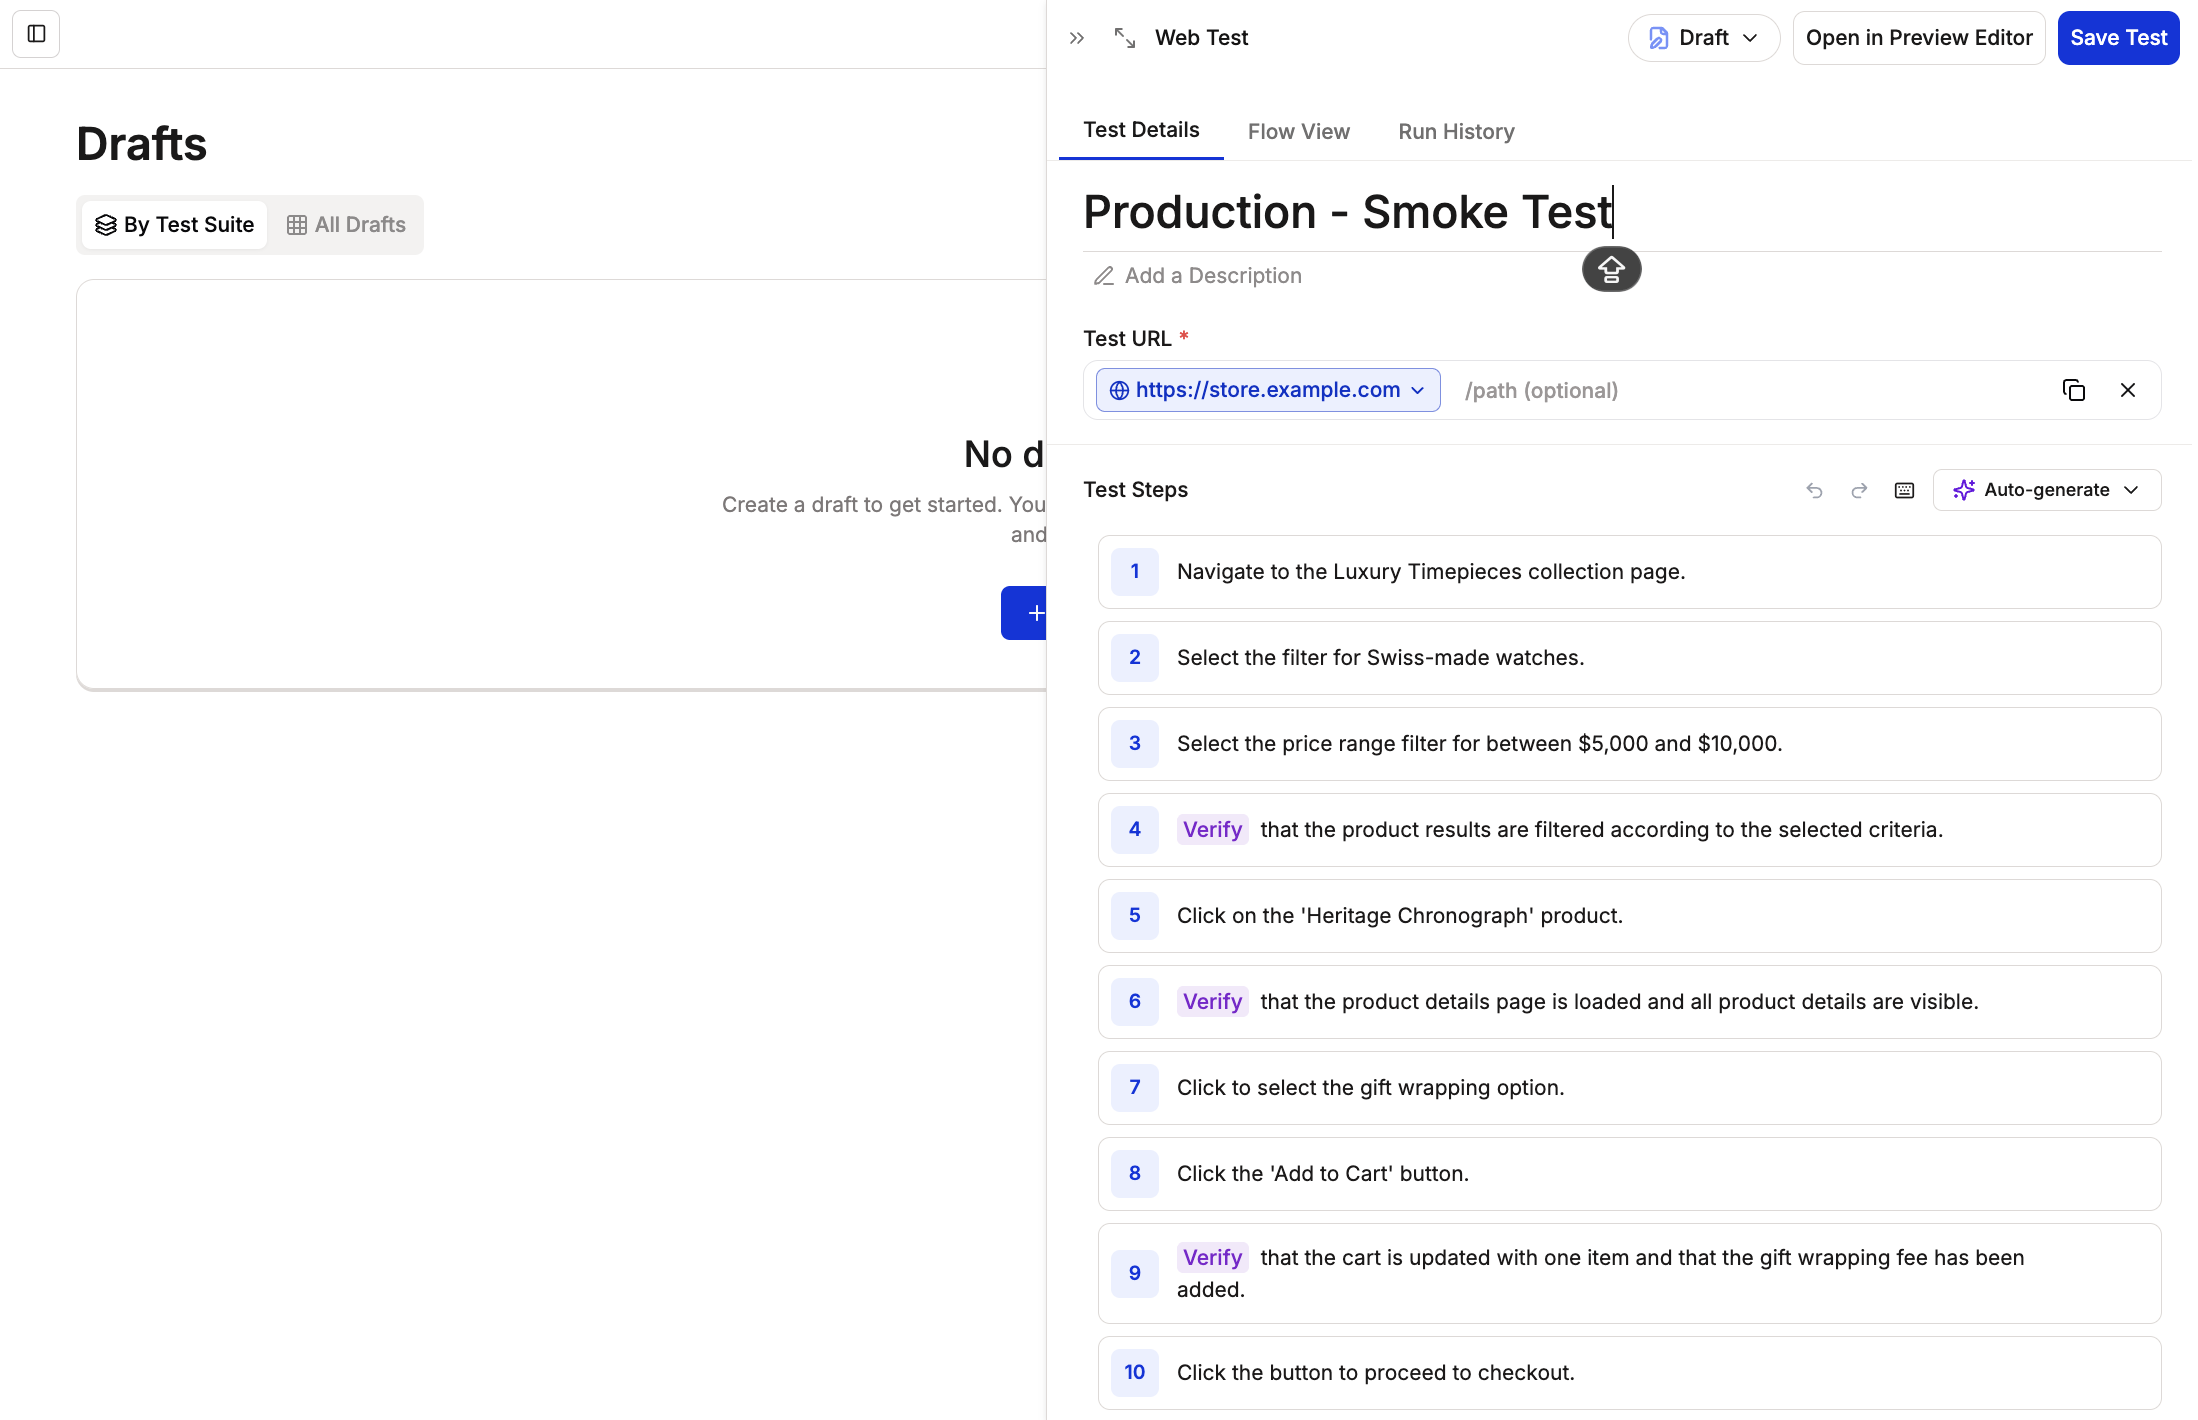
4
View your drafts by Test Suite or view all Drafts together
Your saved draft now appears in the Drafts section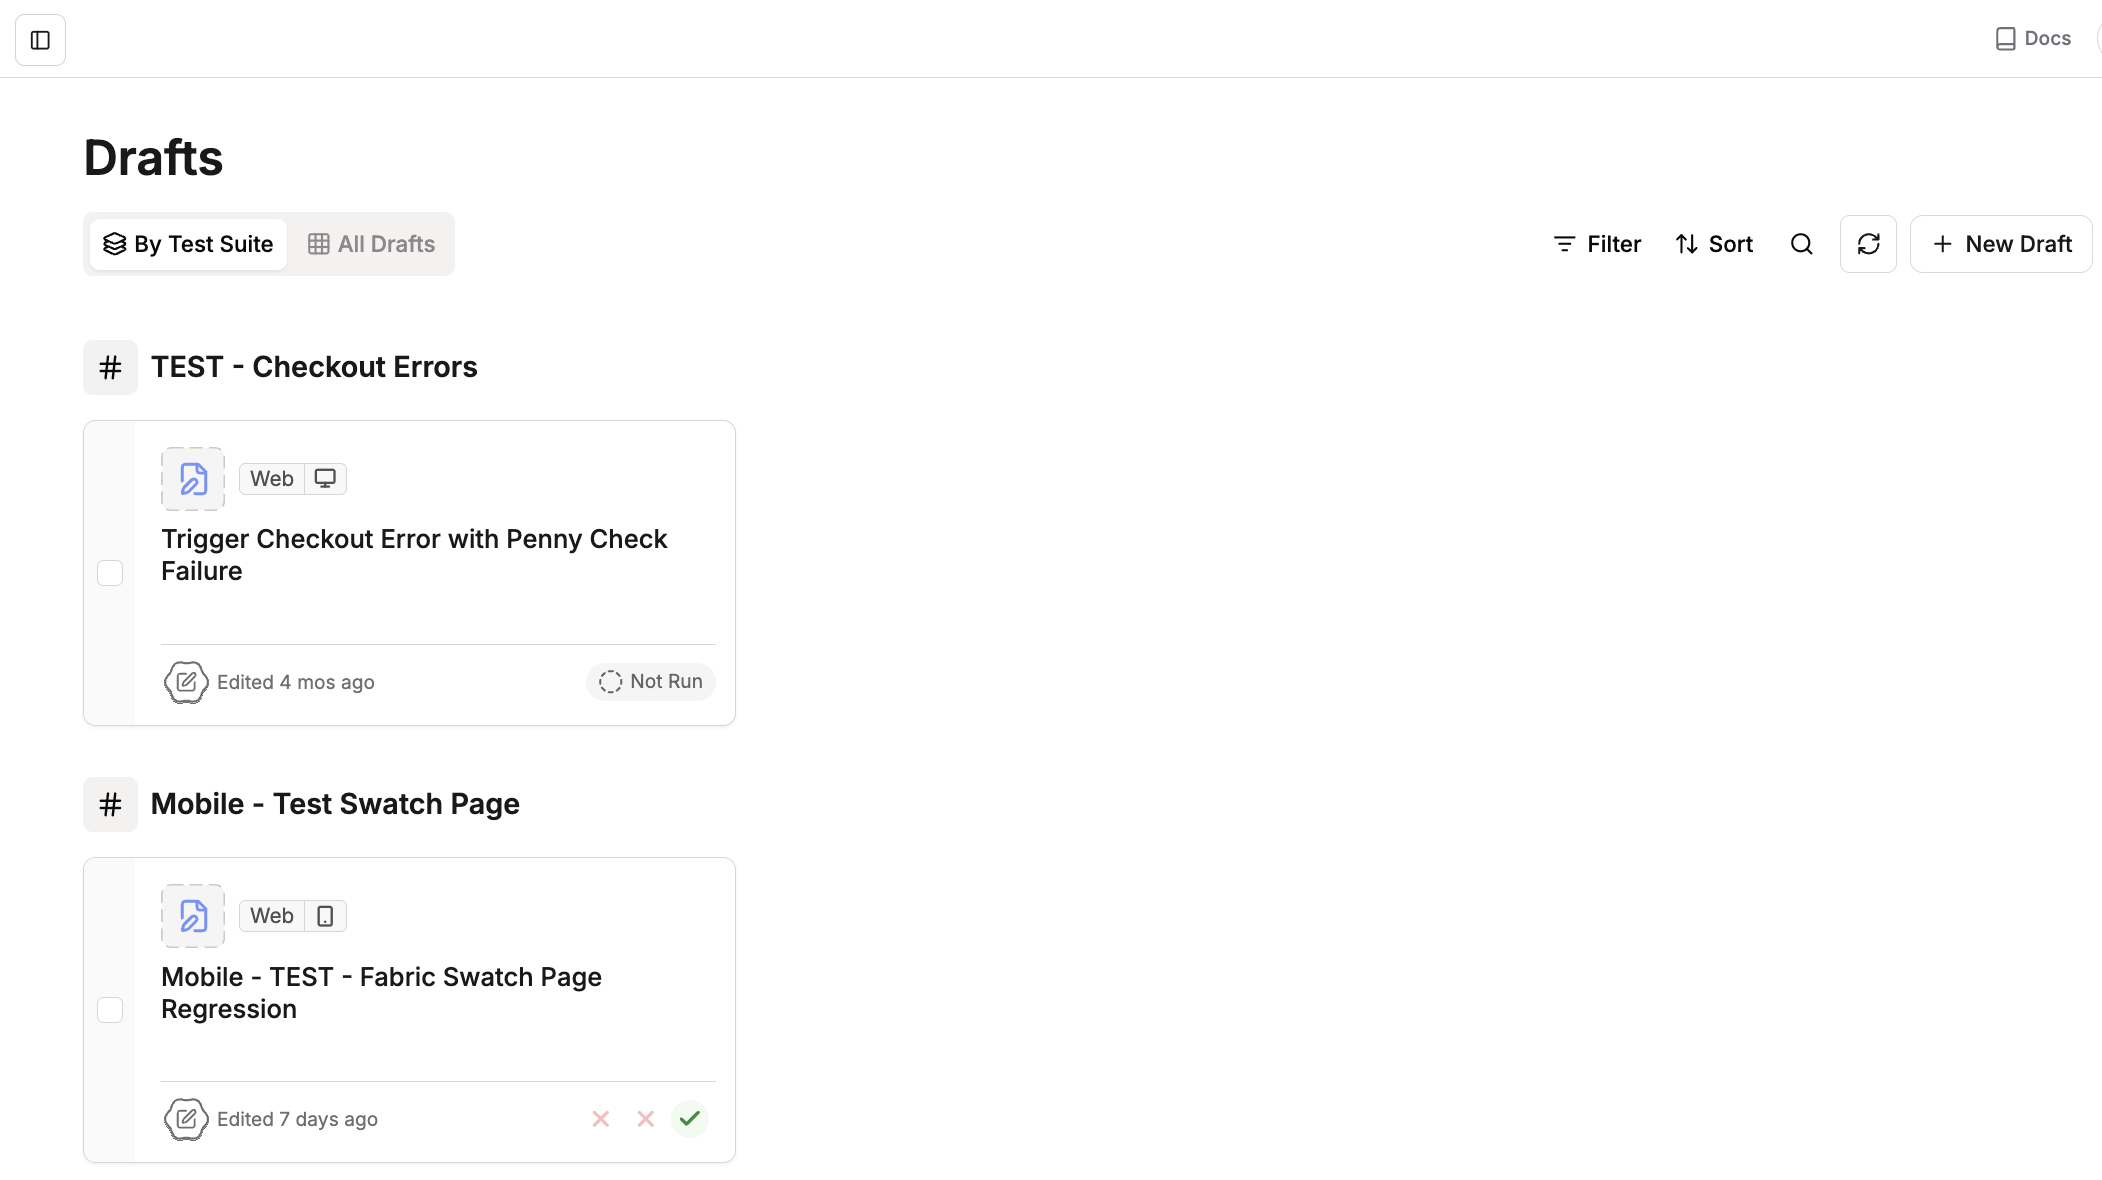
Convert Existing Tests to Drafts
1
Navigate to Test Suites
Navigate to Test Suites in your Spur Dashboard. Click and open the Test Suite you want to turn to a draft.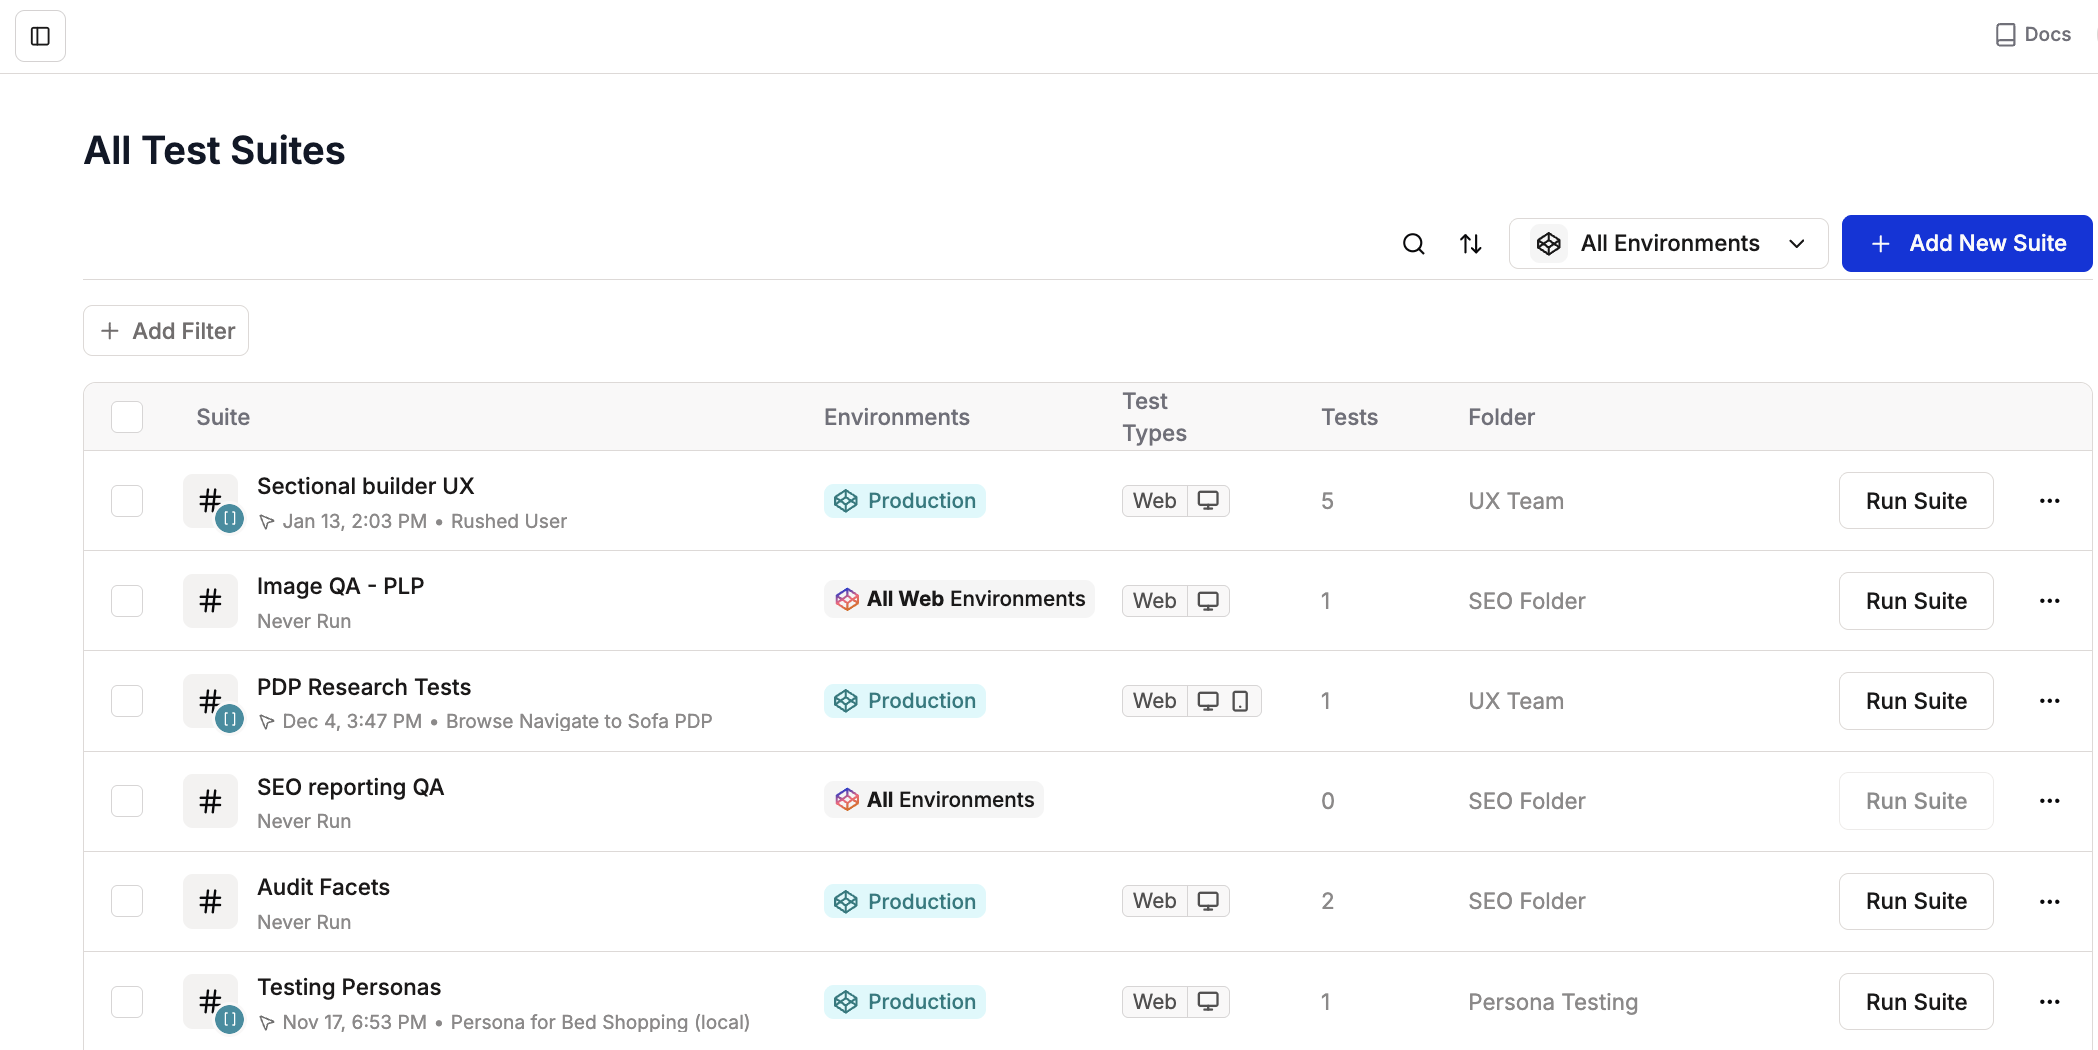
2
Choose a Test
Choose a Test you want to turn into a draft and click the three dot menu.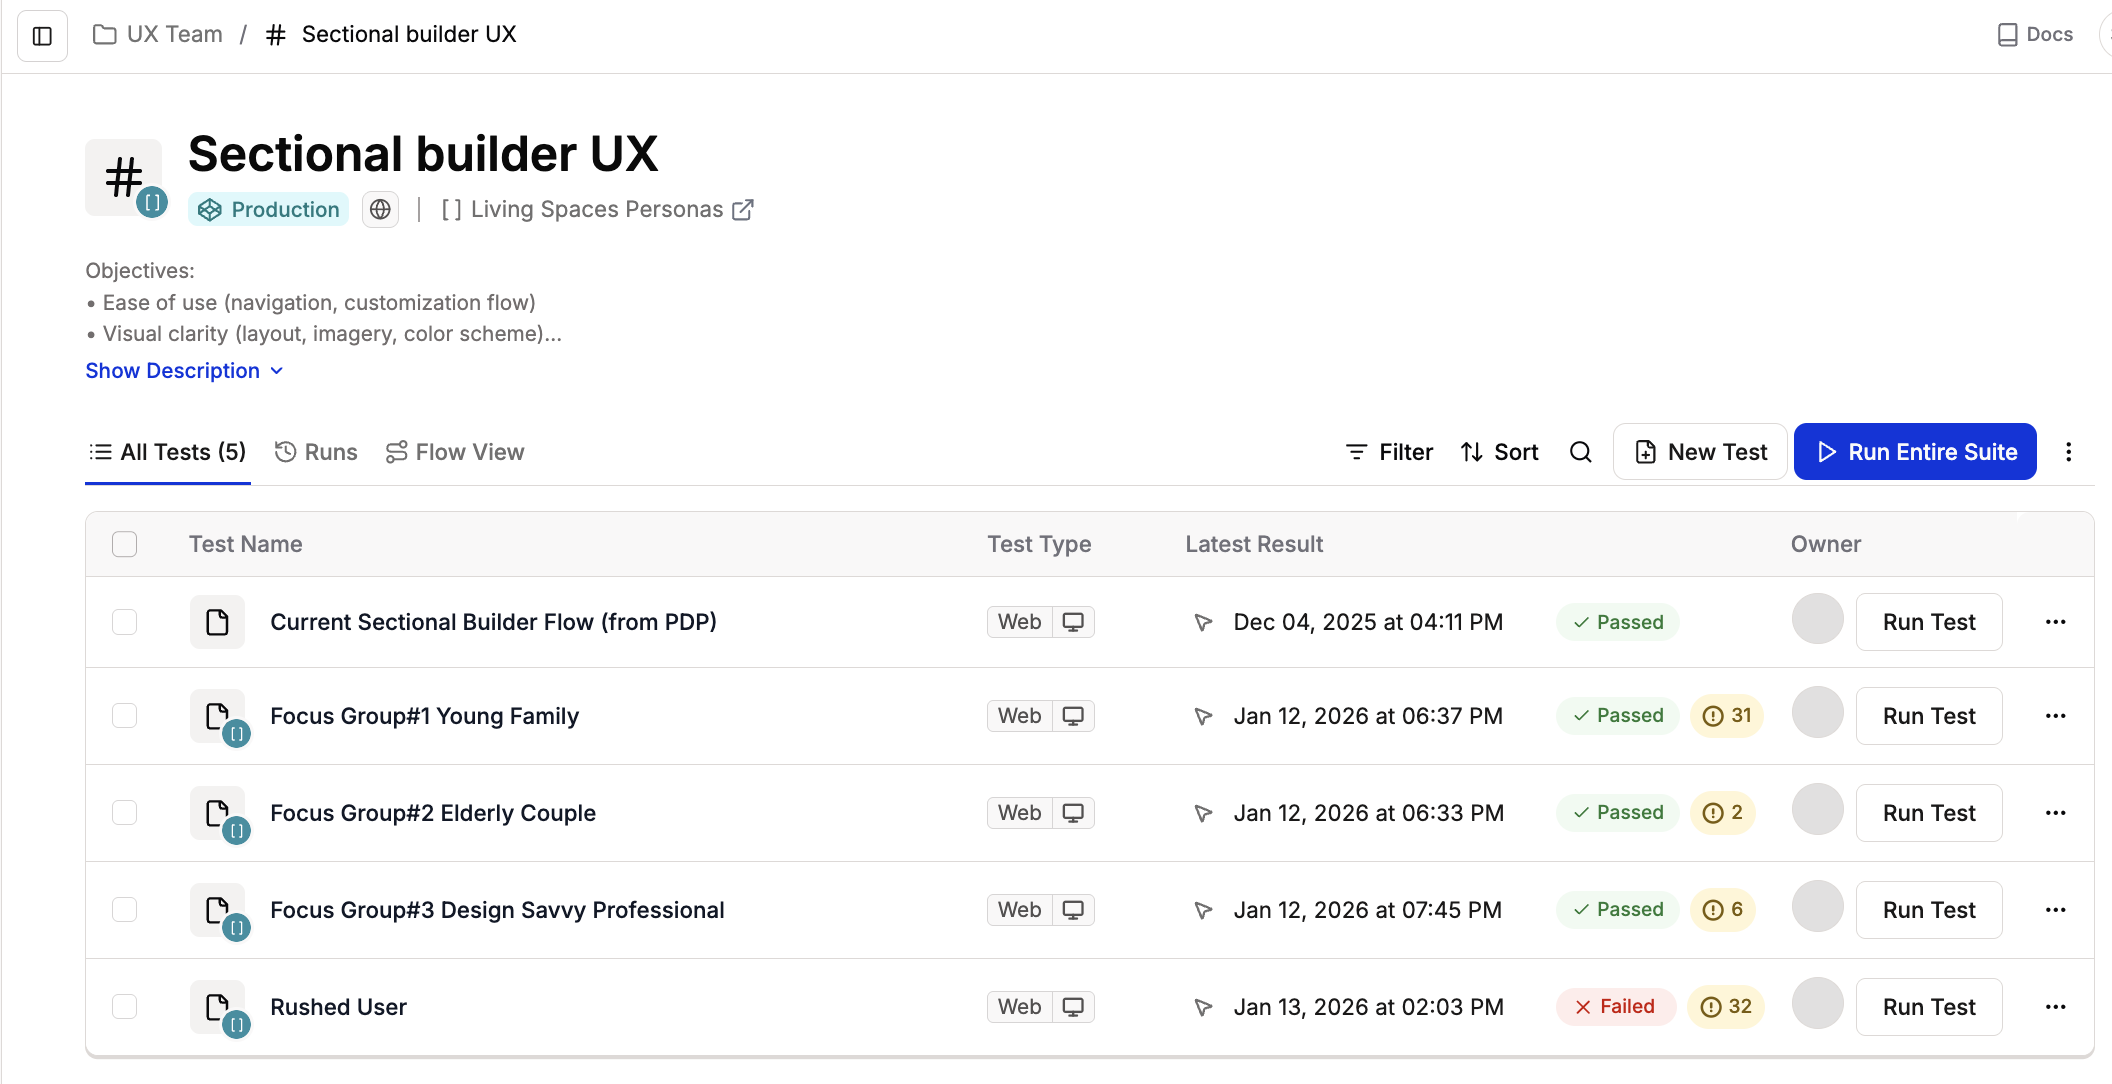
3
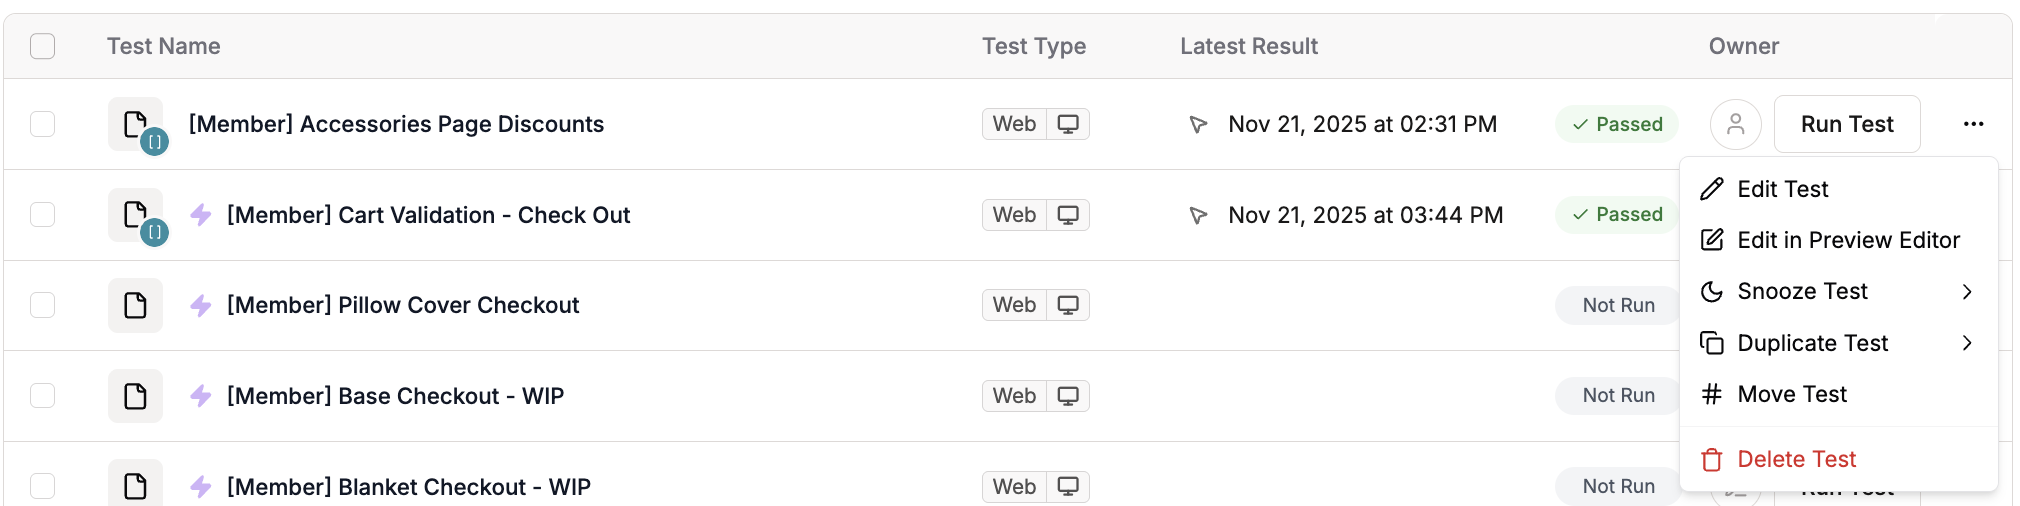
Choose edit test from the Dropdown Menu option.
4
Open Test Side Peek
Test side peek window open, click Ready at the top of the test.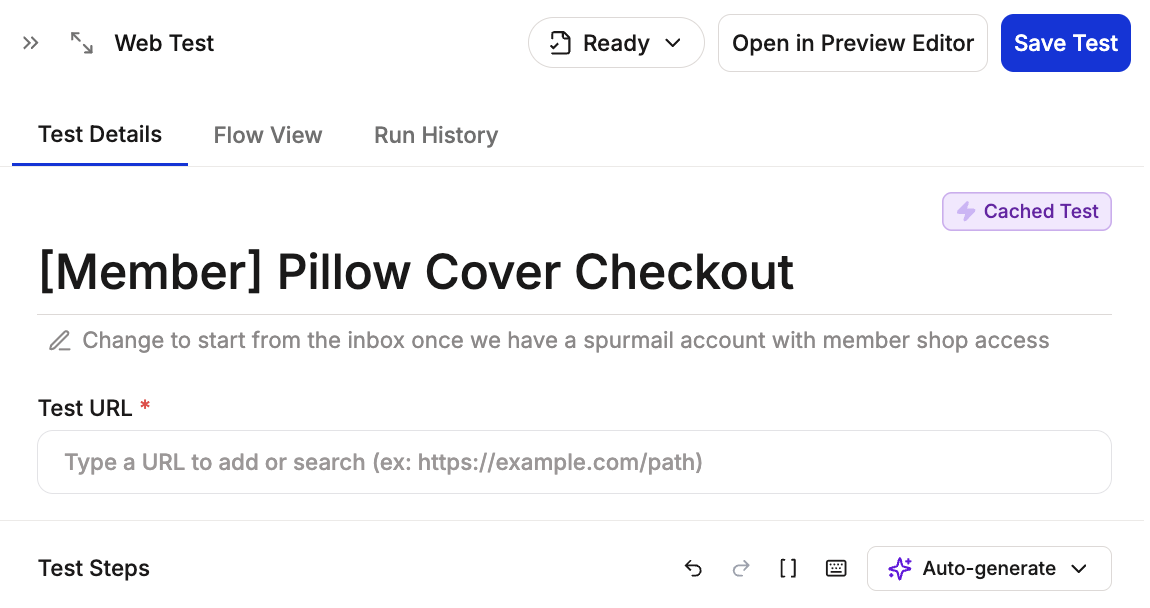
5
Choose Draft Status
Dropdown menu appears asking to choose between Draft and Ready. Choose draft to convert your existing test to a draft.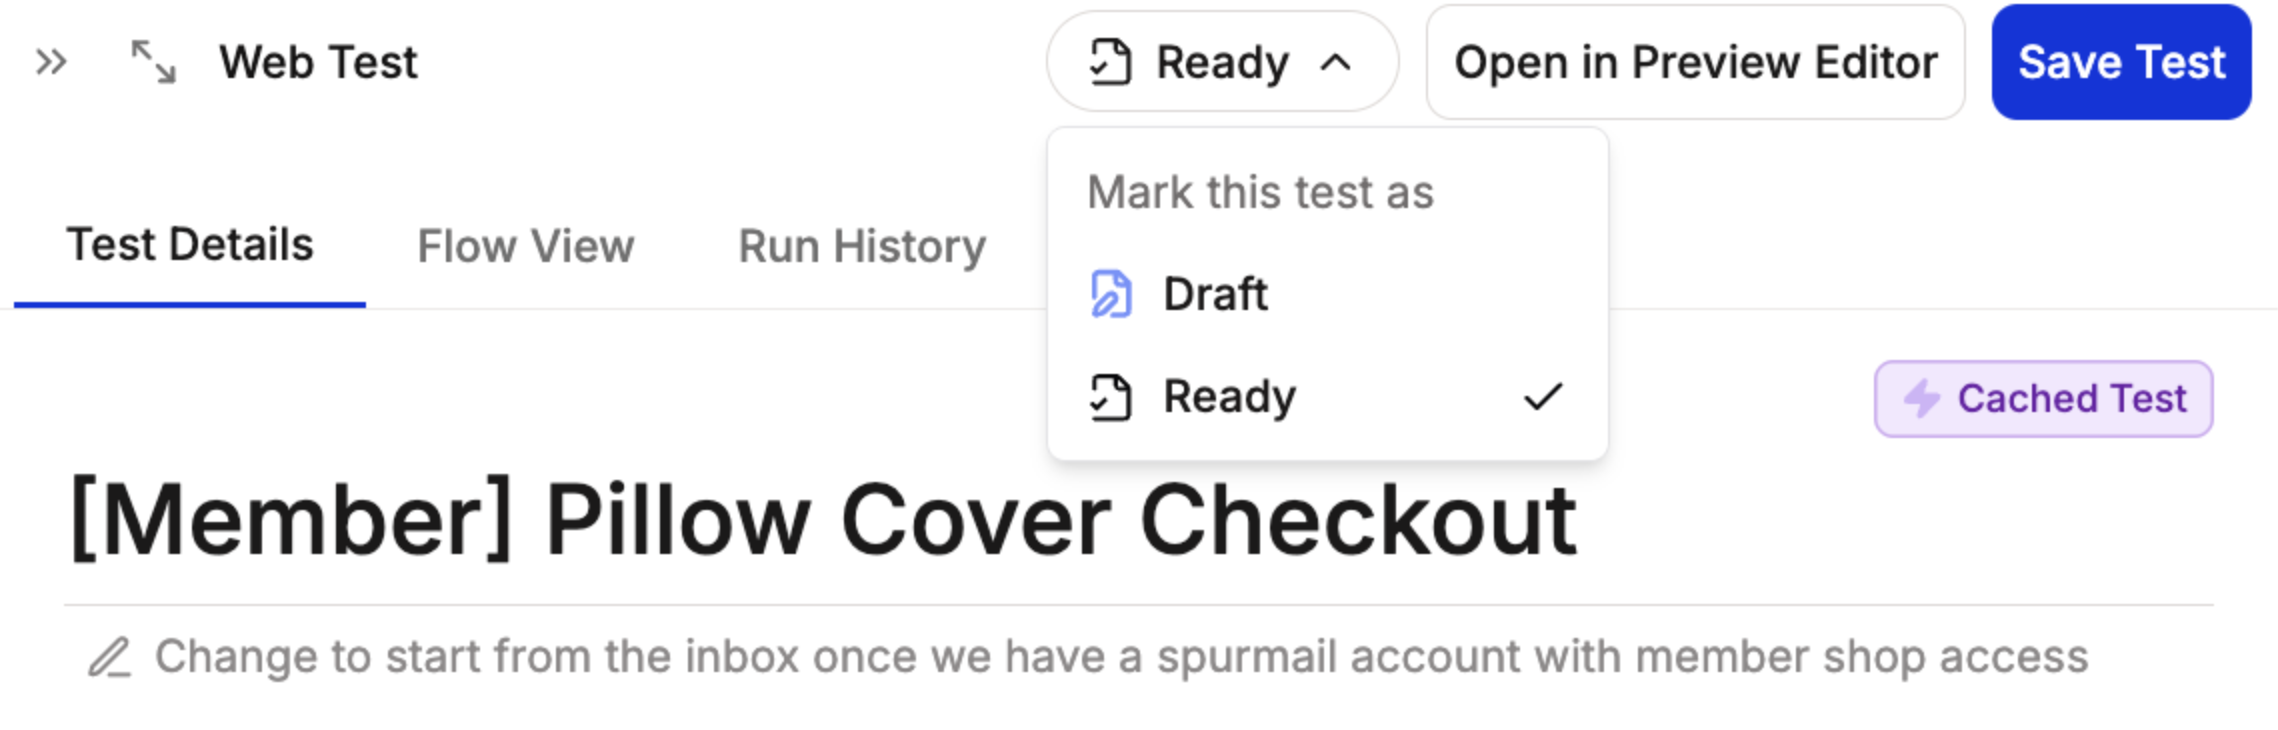
6
Review Draft Status
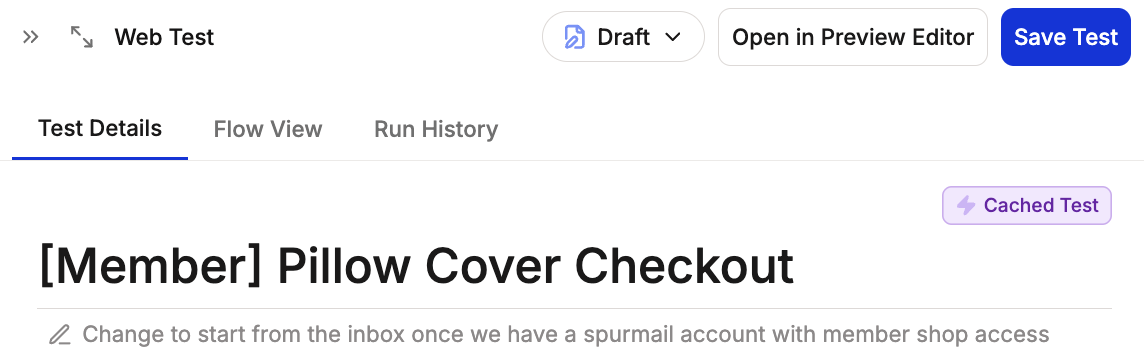
7
Save your Test
Click Save Test. Your test is now converted to a draft and appears in the Drafts section.