✨ Using Scenario Properties in a Test Step
Once you’ve connected a Scenario Table to a test, you can use its properties directly in your test steps to create dynamic, data-driven tests.Property Insertion with [
In the test step editor, type the [ key to trigger the Scenario Property Menu. This menu will show all available properties from the Scenario Table you’ve linked to this test.
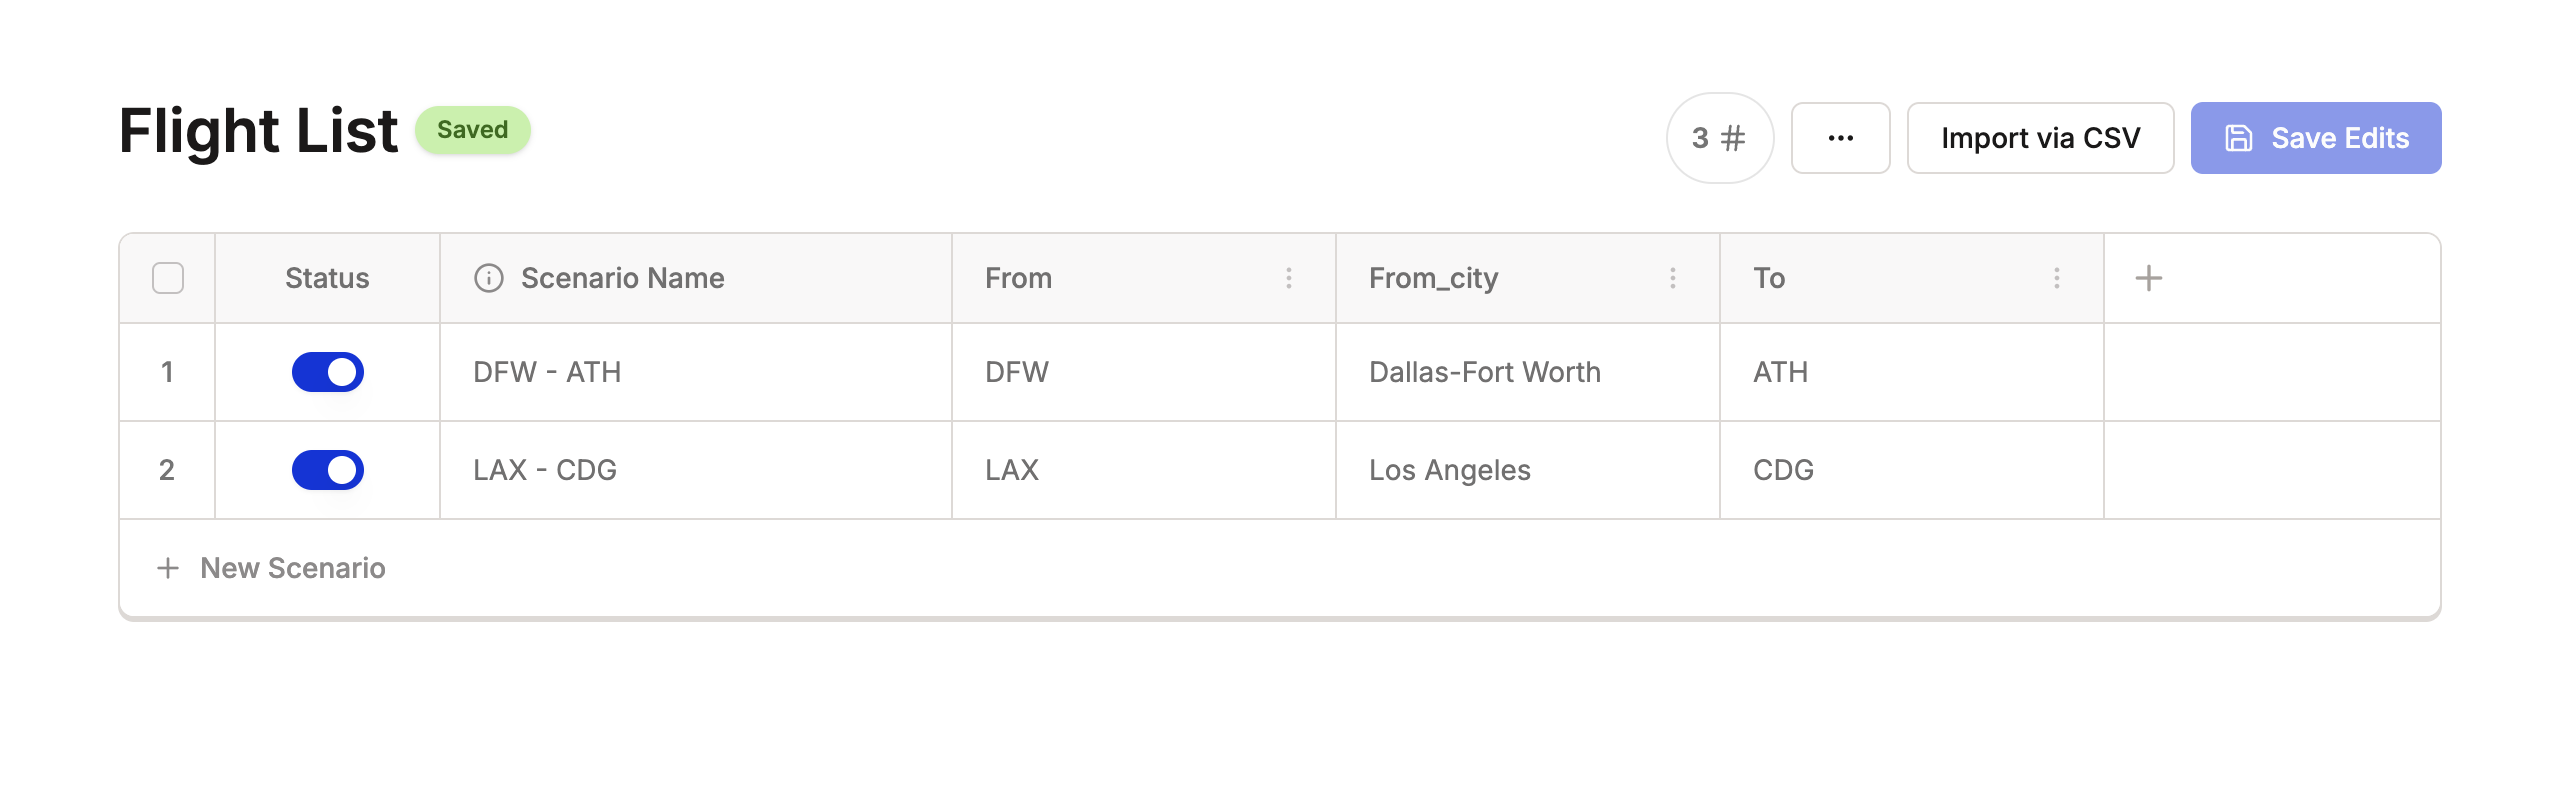
For example, if your table contains:
[ will let you choose between:
FromFrom_cityTo
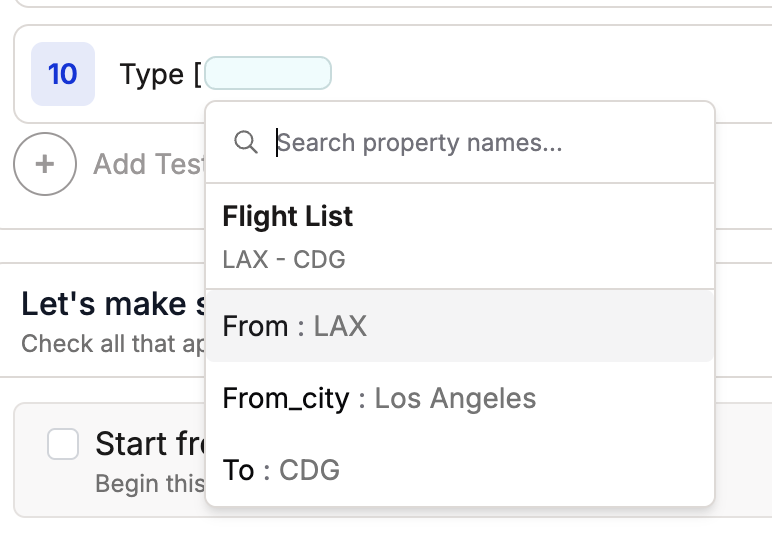

[From_city] with the actual value from each scenario row—for example:
- In Scenario 1
DFW - ATH:Type Dallas-Fort Worth - In Scenario 2
LAX - CDG:Type Los Angeles
Preview and Validation
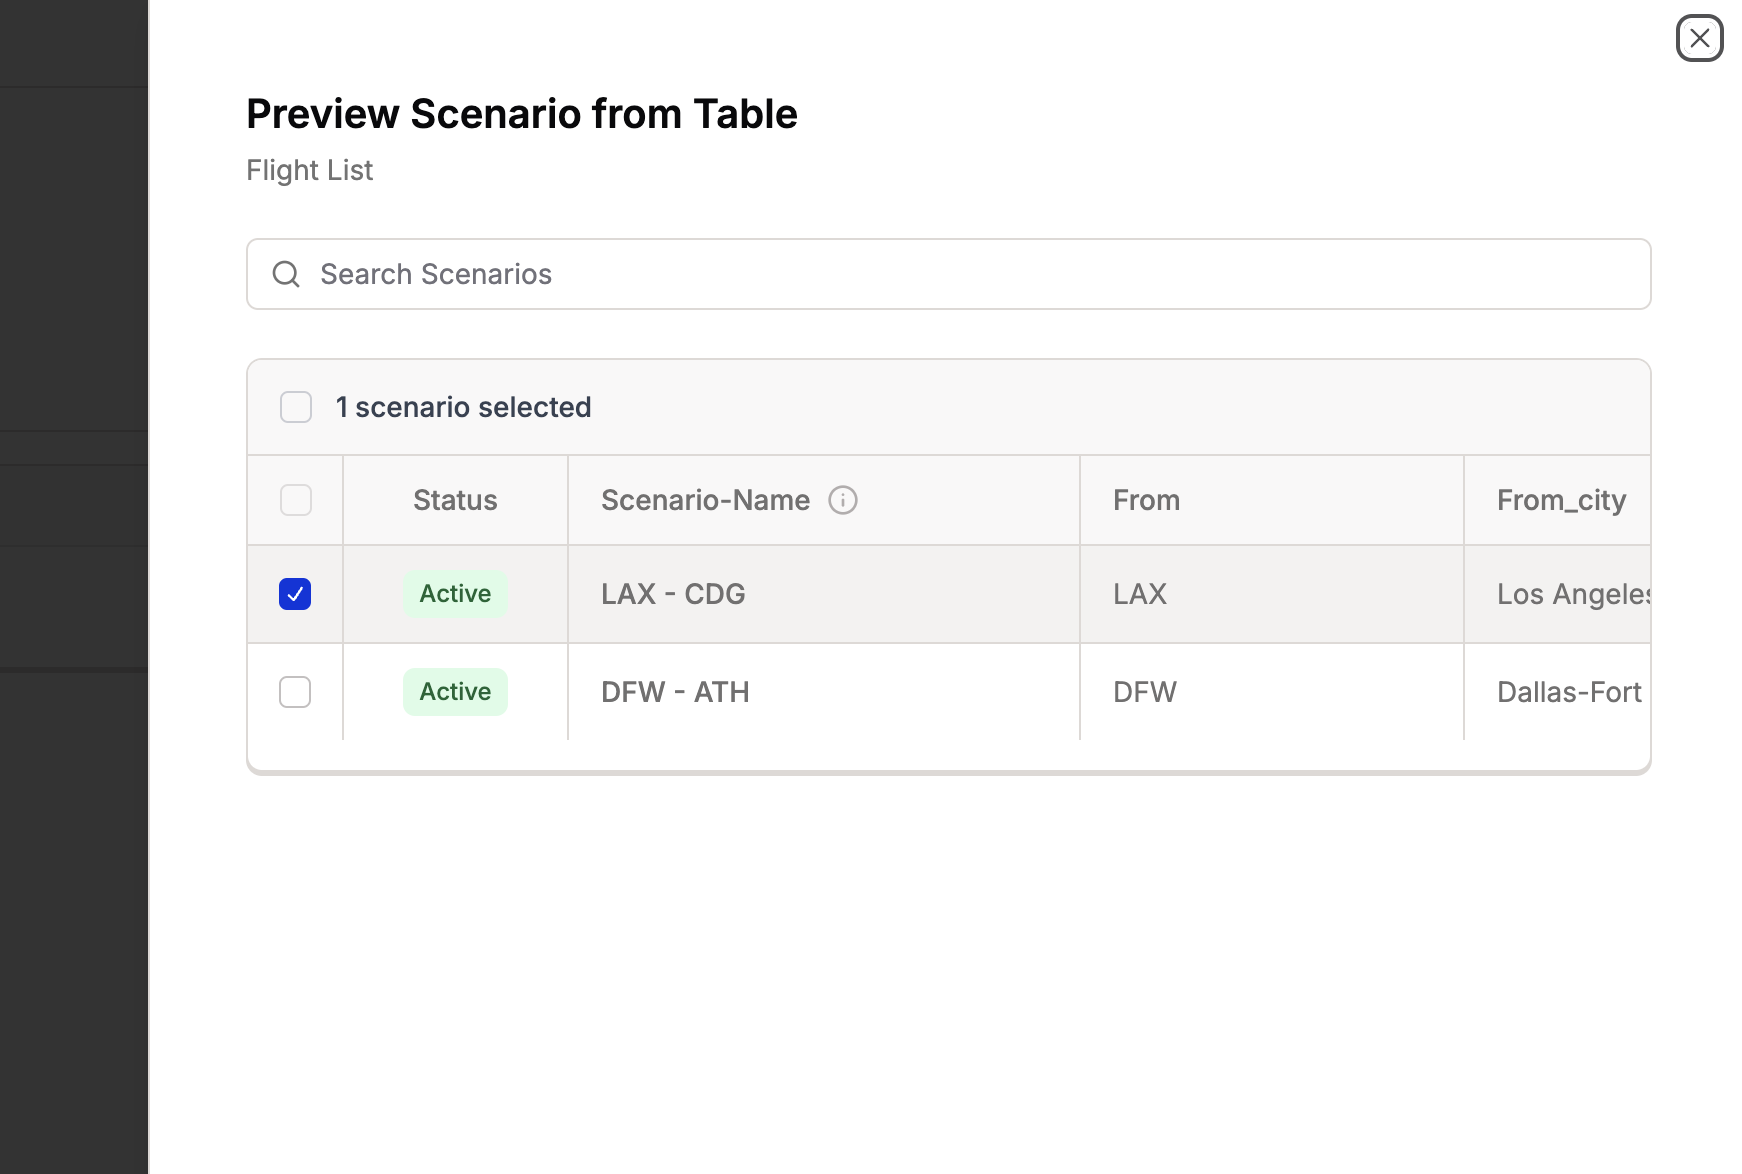
- You can preview a set of property values for a specific scenario by clicking the scenario preview icon ([ ]) in the test editor.\
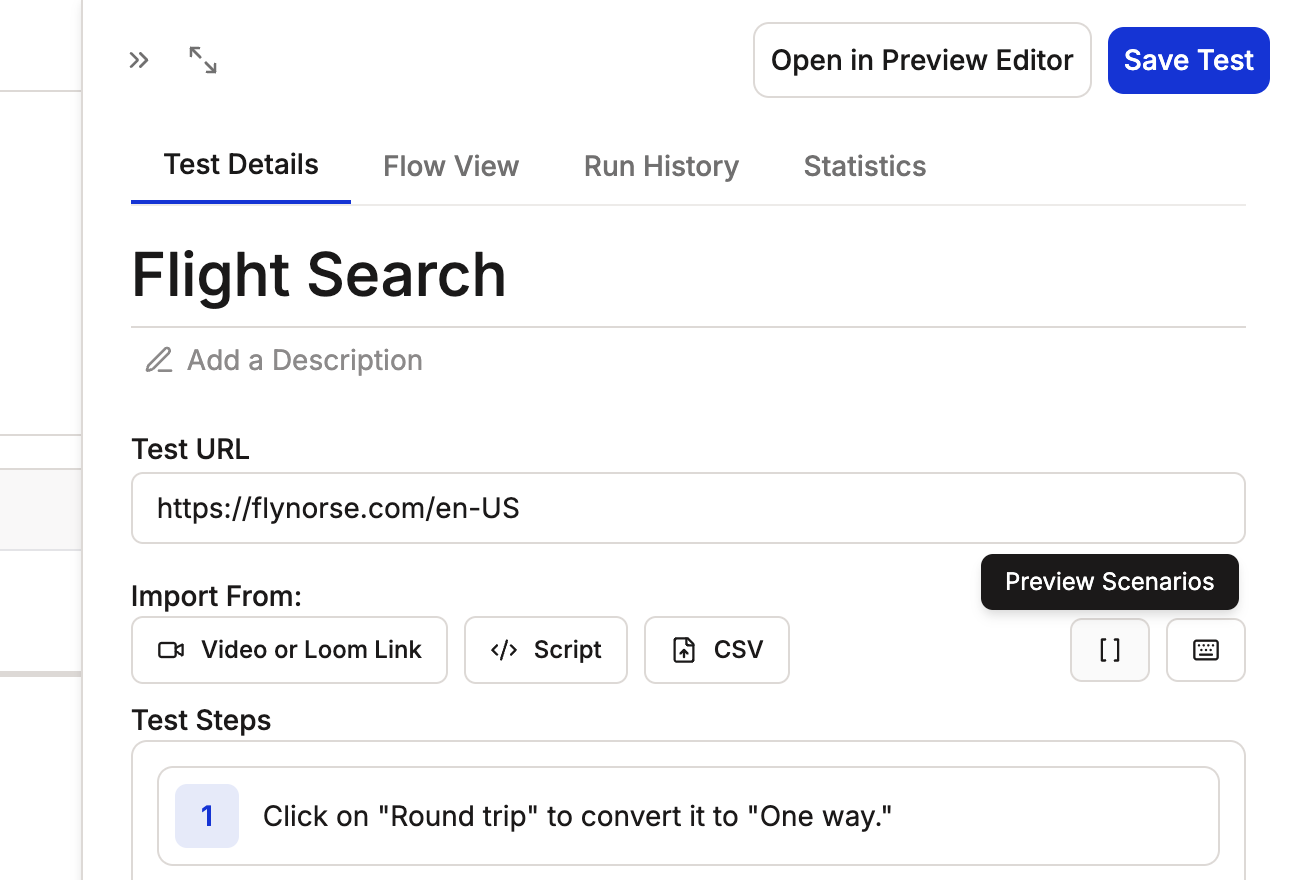
- Before running the test, you can preview with different scenarios to ensure that the values are represented correctly.
Scenario Activated Test Icon Indication

Tips
- Use clear column headers in your CSV—they become your property names.
- Make sure each property is referenced with square brackets (e.g.
[From_city]), or it won’t be substituted at runtime. - You can mix static and dynamic values in a step:
Verify this text "Searching flights" exists next to [From_city] and [To]