Generate from either an uploaded video or a Loom Recording Link:
Navigate through flows on your site, and upload the recording to Spur. These will be automatically turned into tests! Check out this walkthrough, or take a look at the below steps to get started!How to Use
Access Video Generation
Click on the video generation option in your test interface to begin the process.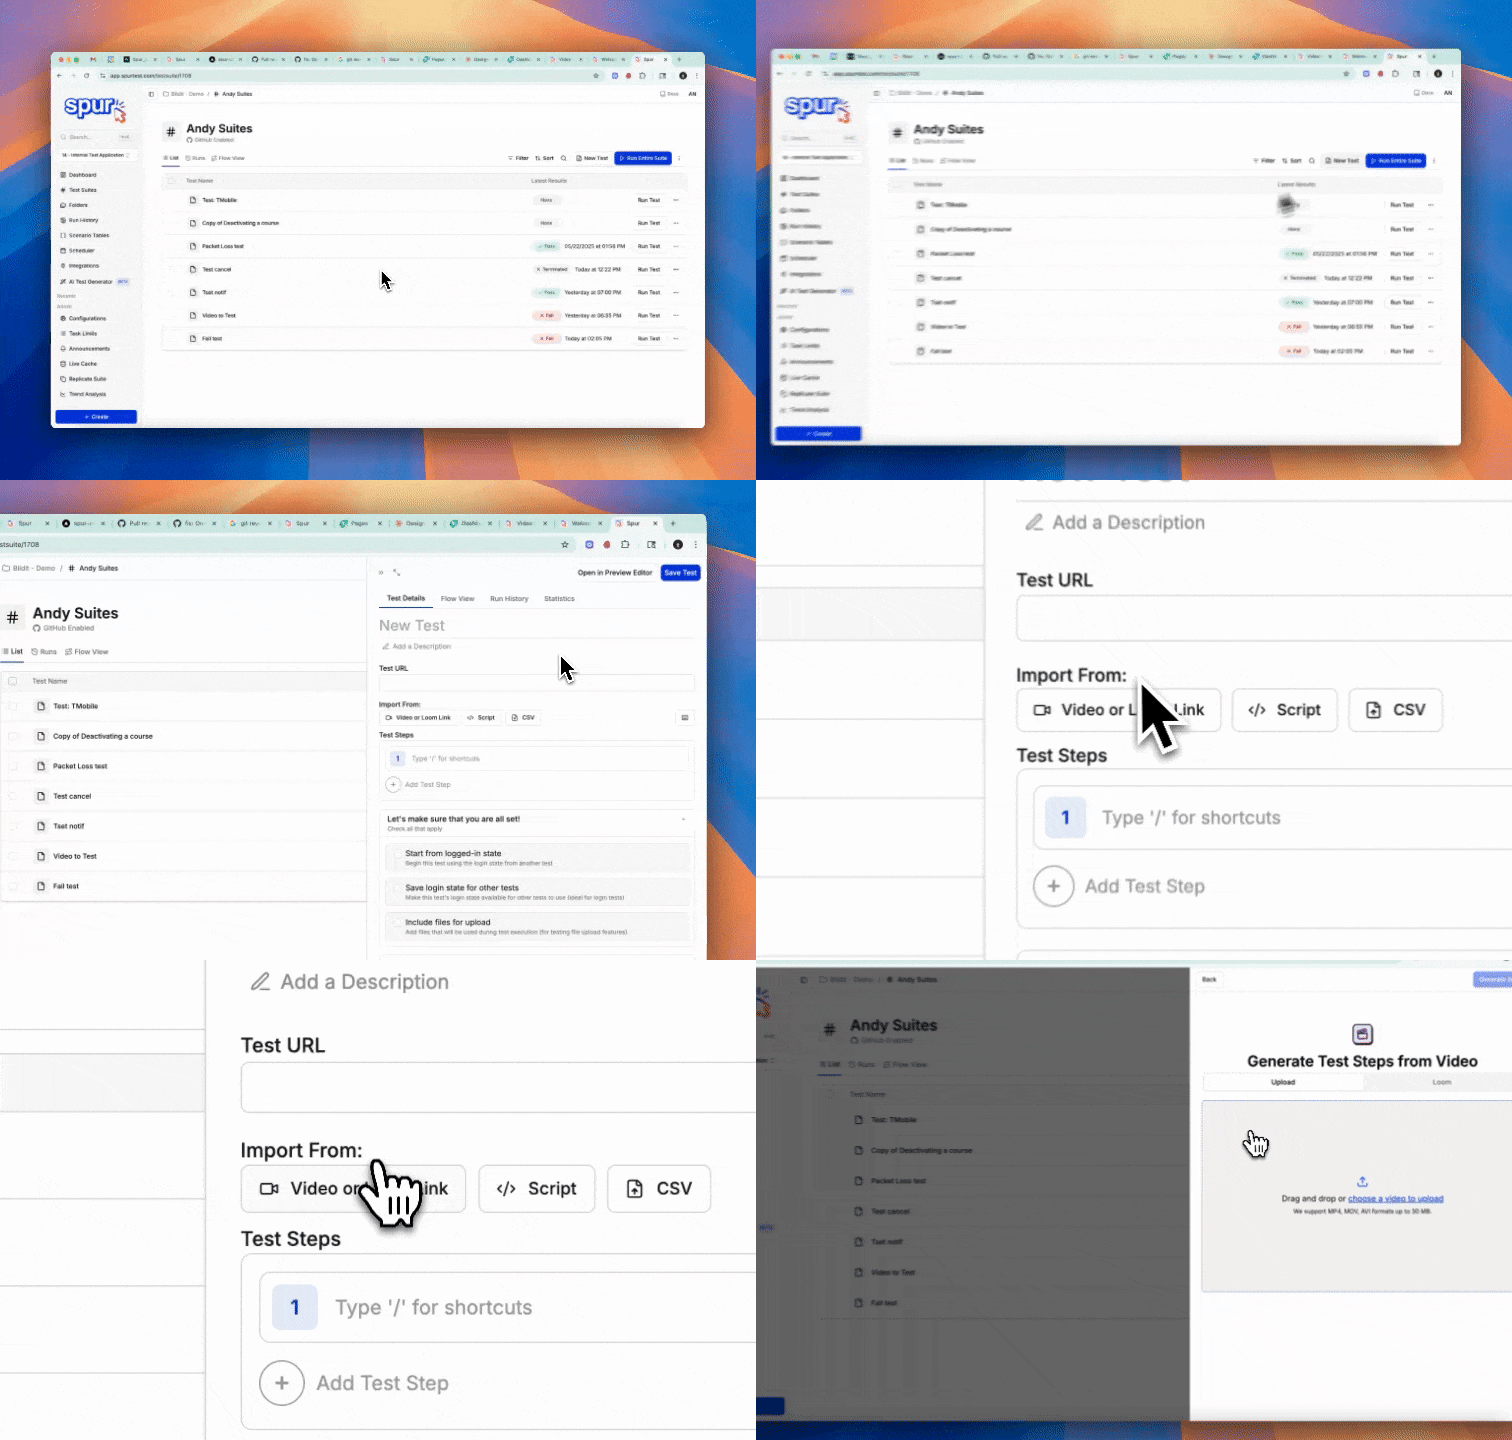

Provide a Video
Choose between uploading a Video File and pasting a Loom recording link.Important Note: Currently, we support video files up to 30MB. Support for larger files is in development!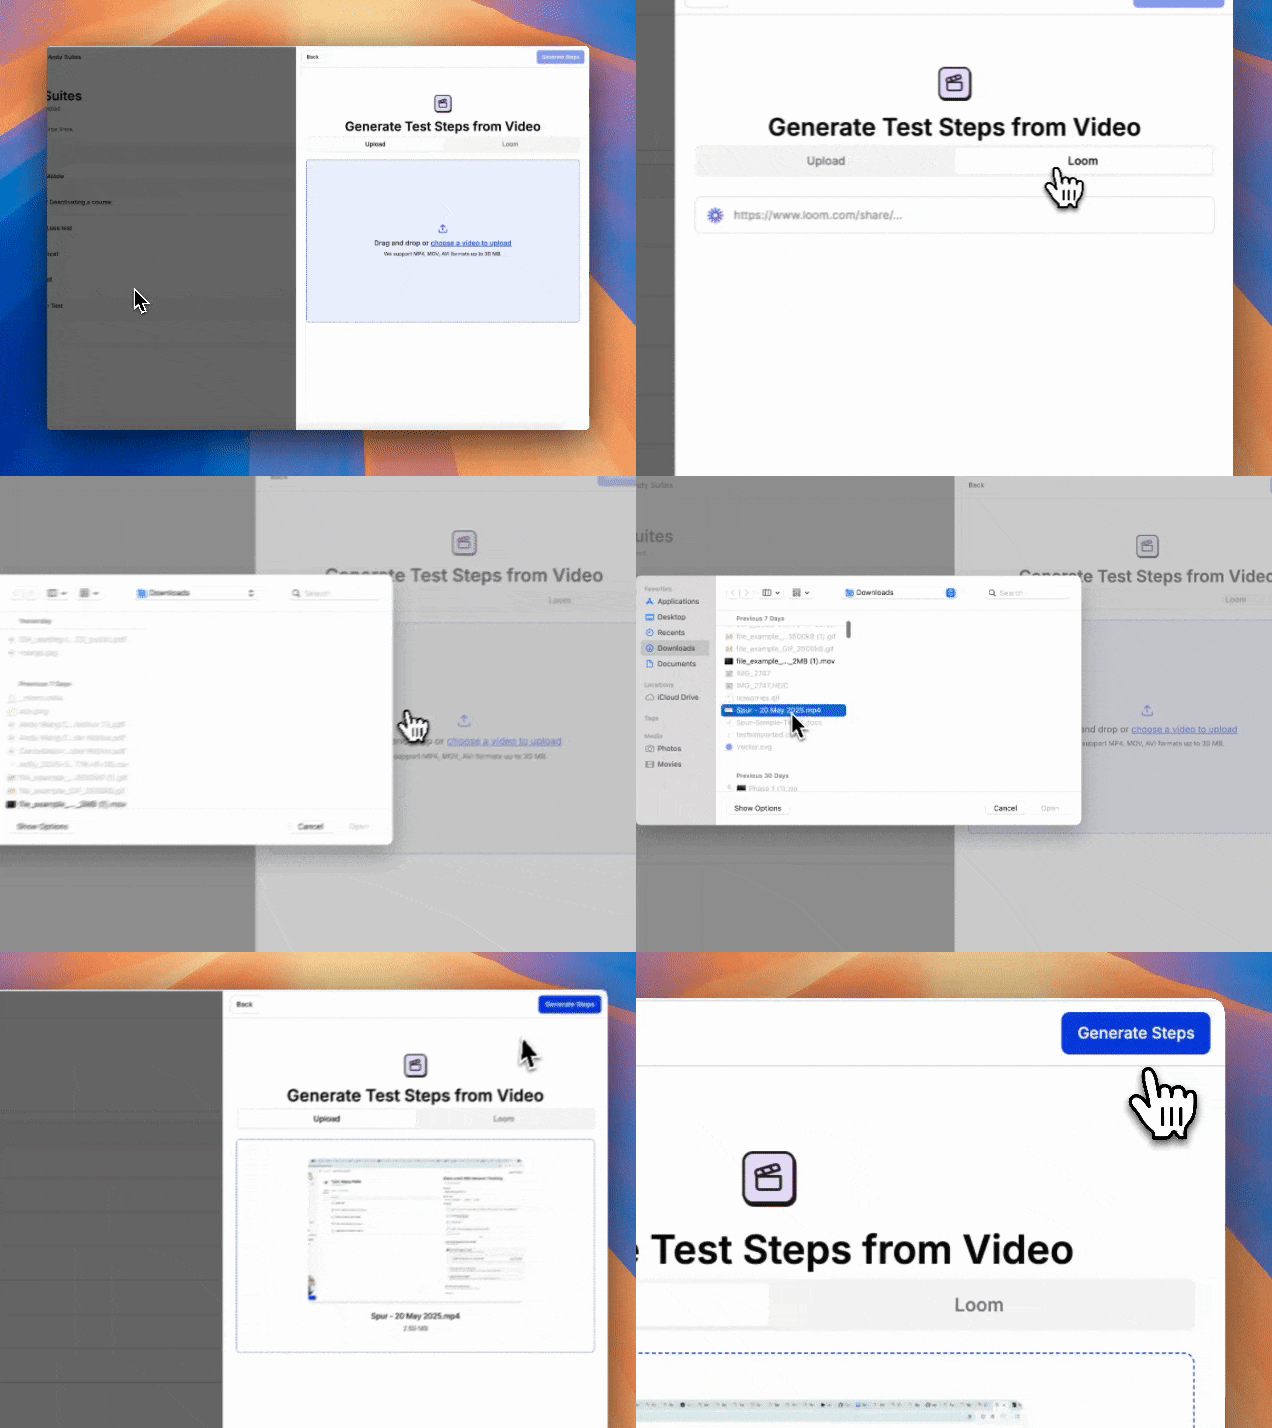


Start Generation
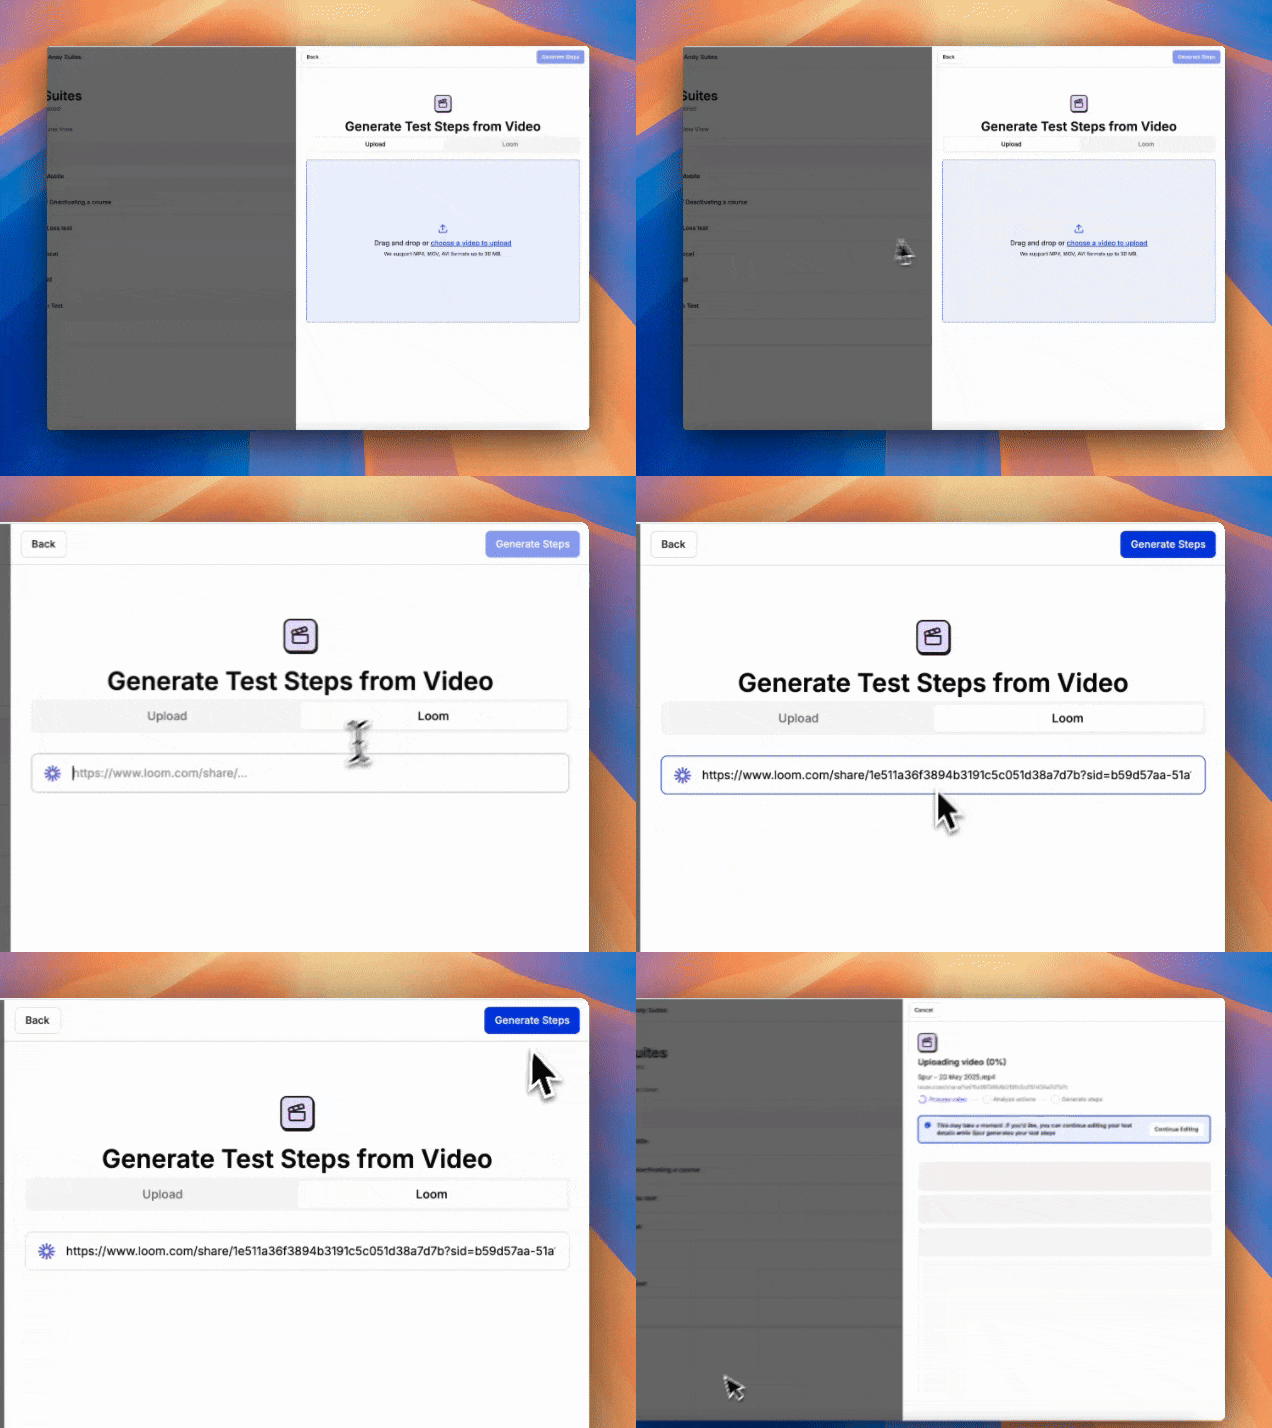
Click Generate Steps to start generation in the background. You can return to the test editor to change other attributes of the test, such as the URL and configurations.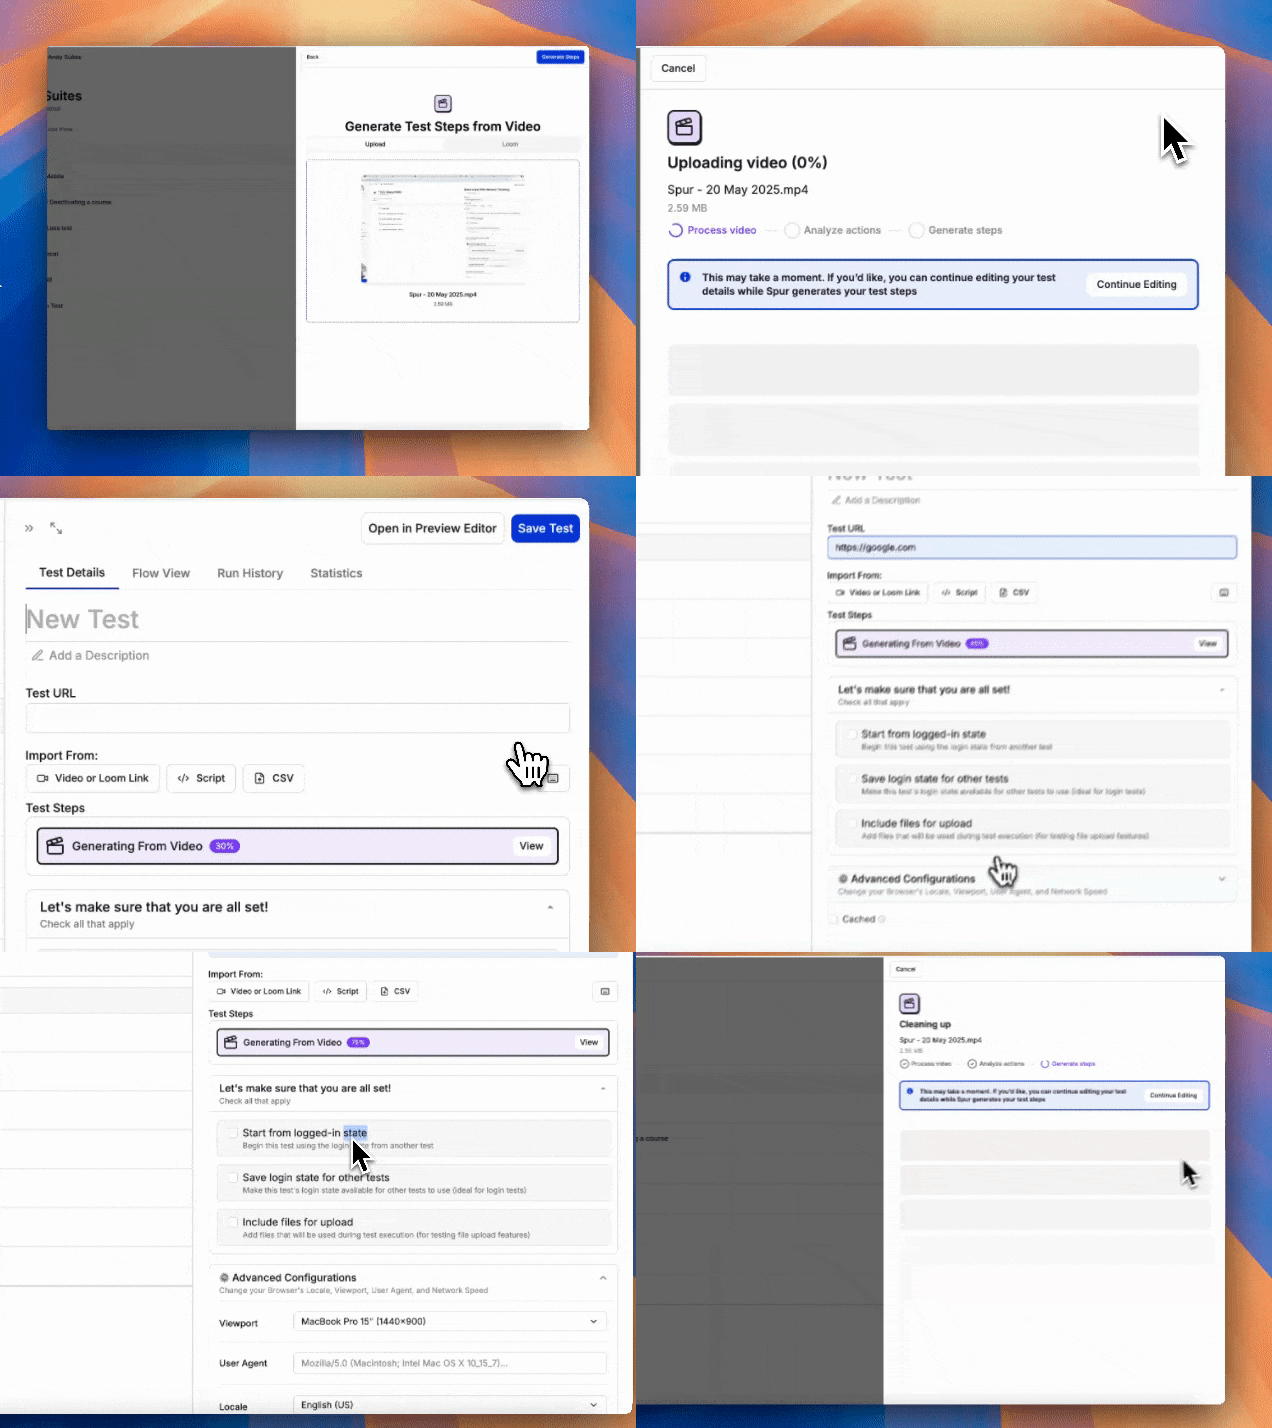

Evaluate, Edit, and Regenerate
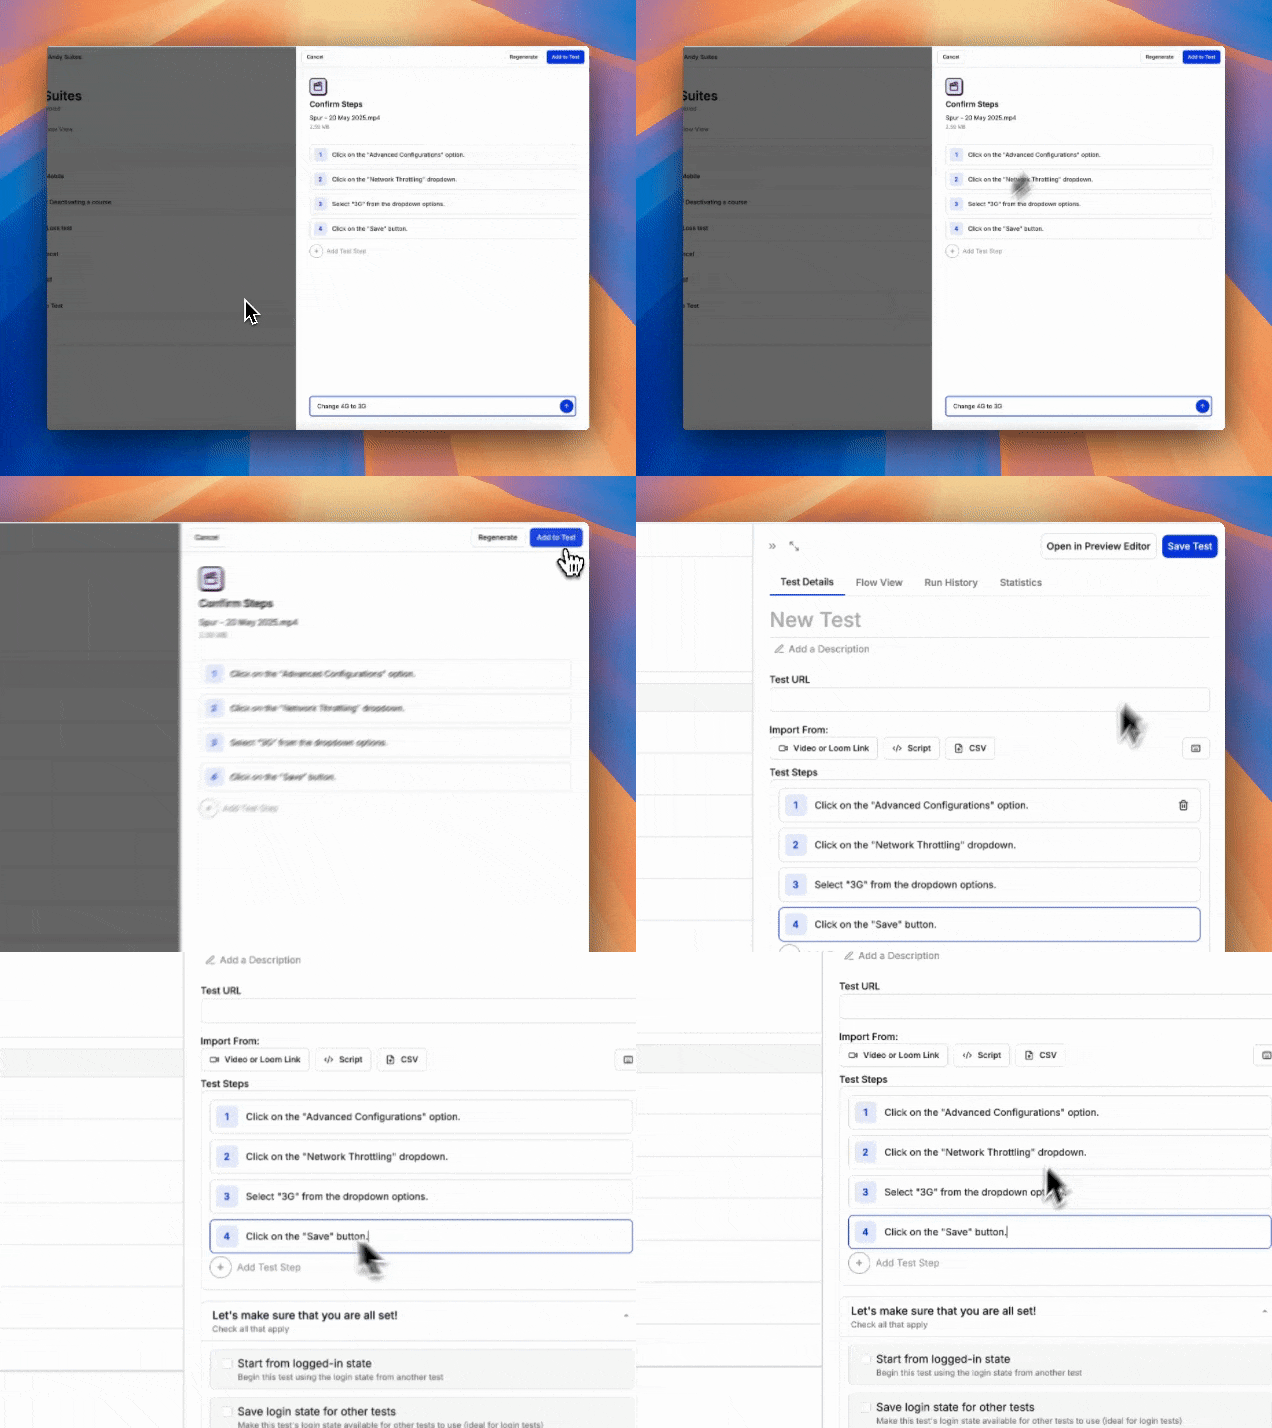
Review the generated test steps before adding to the test. Here, you can manually edit the test steps, or give the agent a corrective prompt to regenerate on.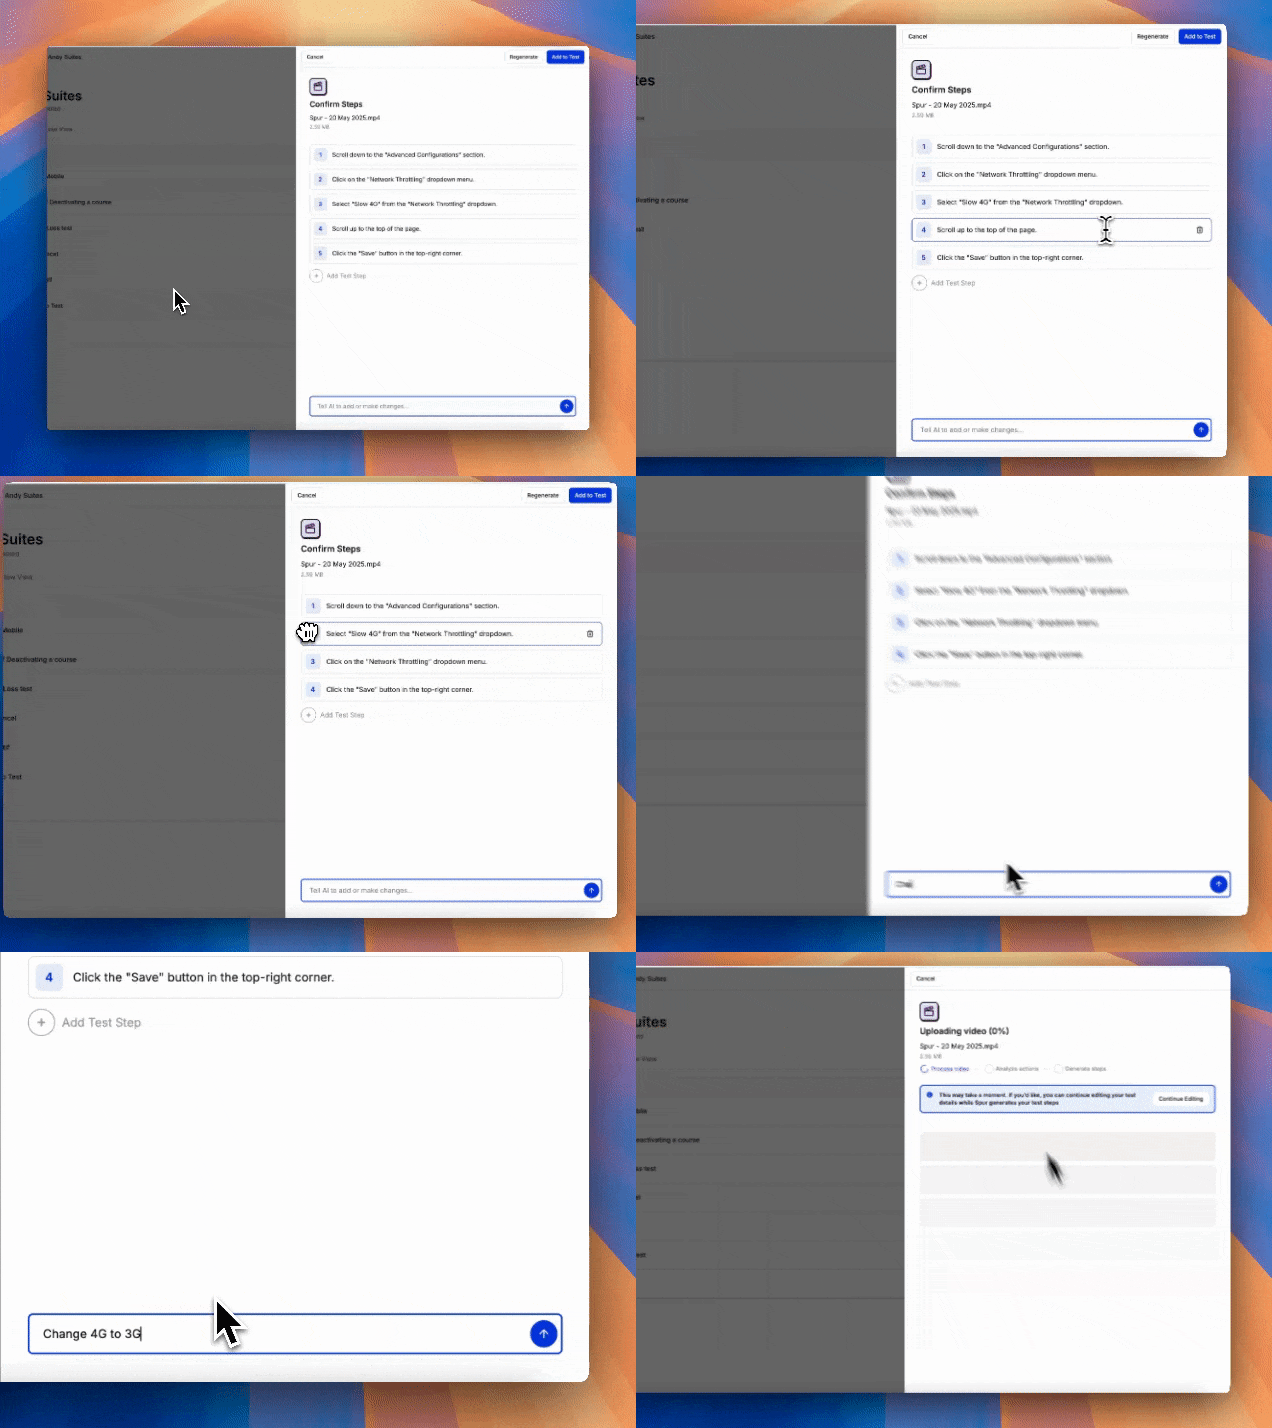

Best Practices for Recording
- If speaking, describe what actions you are taking and what rules exist for the action
- Record at a steady pace to ensure accurate step detection
- Perform clear, distinct actions
- Avoid rapid mouse movements
- Include any necessary waiting times in your recording
Next Steps
Now that you’ve generated your test from a video, you can:- Run your test to see it in action
- Use the debugger to troubleshoot any issues
- Learn about test dependencies to chain multiple tests together
- Explore test configurations for different test situations.

