Setup
If you have not integrated Spur with Jira, follow the setup process here.Overview
Connecting to our Jira integration allows you to create bug tickets directly from test failures. You can choose which project to send tickets to, along with details such as priority and assignee.Creating a Ticket Manually from a Test Failure
Reviewing a Test and Initiating a Bug Report
After reviewing a test run, open the Share menu and click the “Create a Ticket” button to open the Jira ticket creation modal: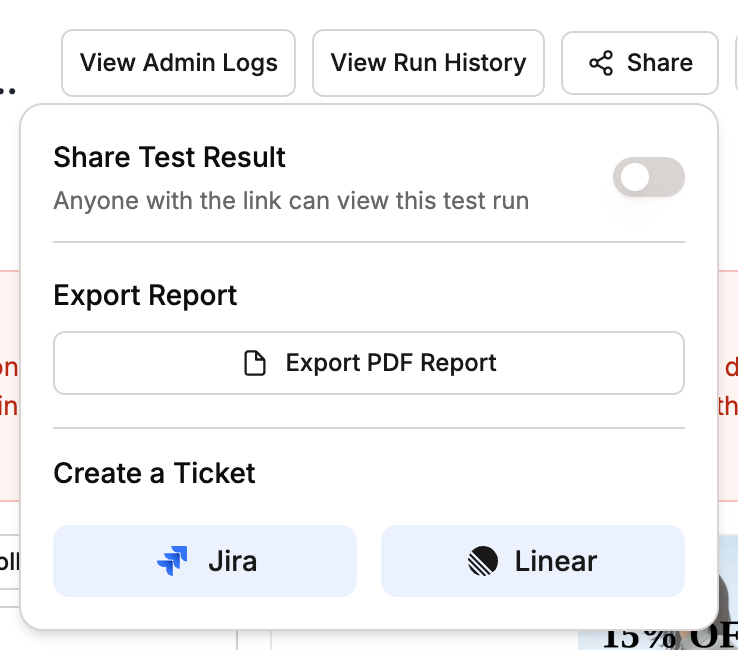
Jira Ticket Creation Modal
The modal opens with pre-populated information from the test failure: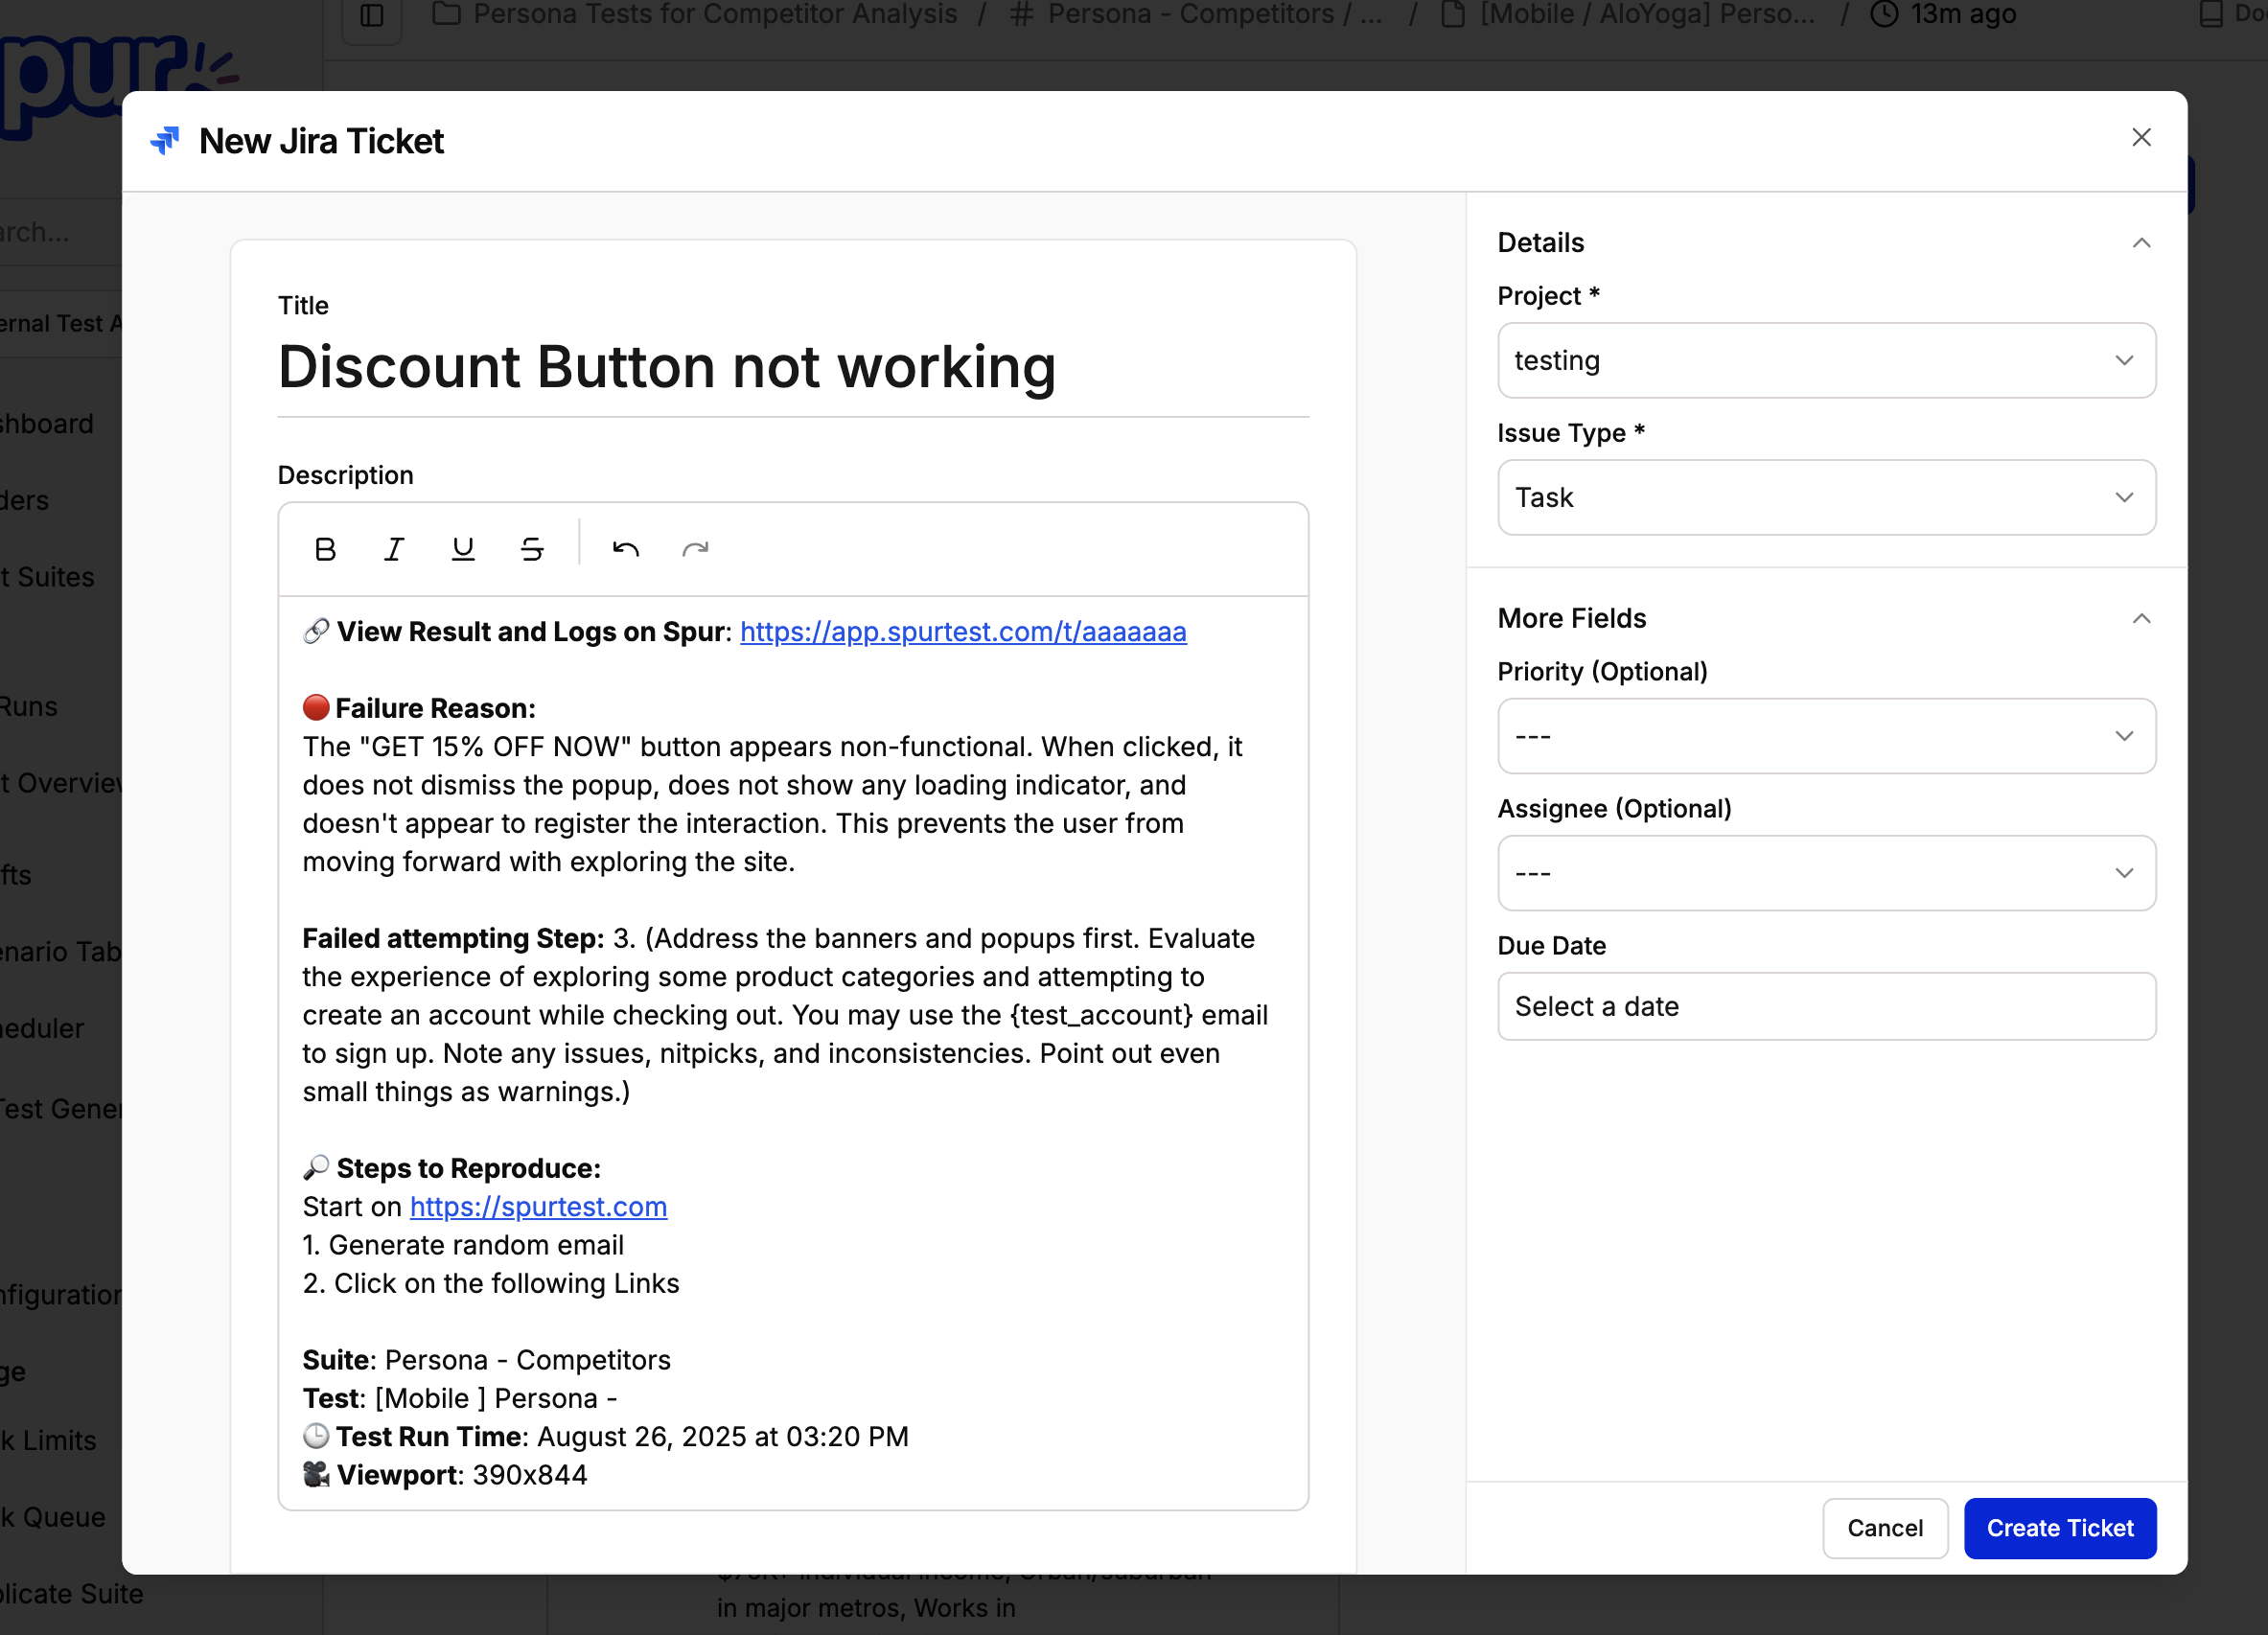
- Title: Name of the Test
- Description: Detailed bug report including:
- Failure Reason
- Reproduction steps
- Test name and execution details
- Project: The default project, if chosen in the Integrations page.
Customize Ticket Details
Edit the title and description, if necessary. Choose additional ticket details.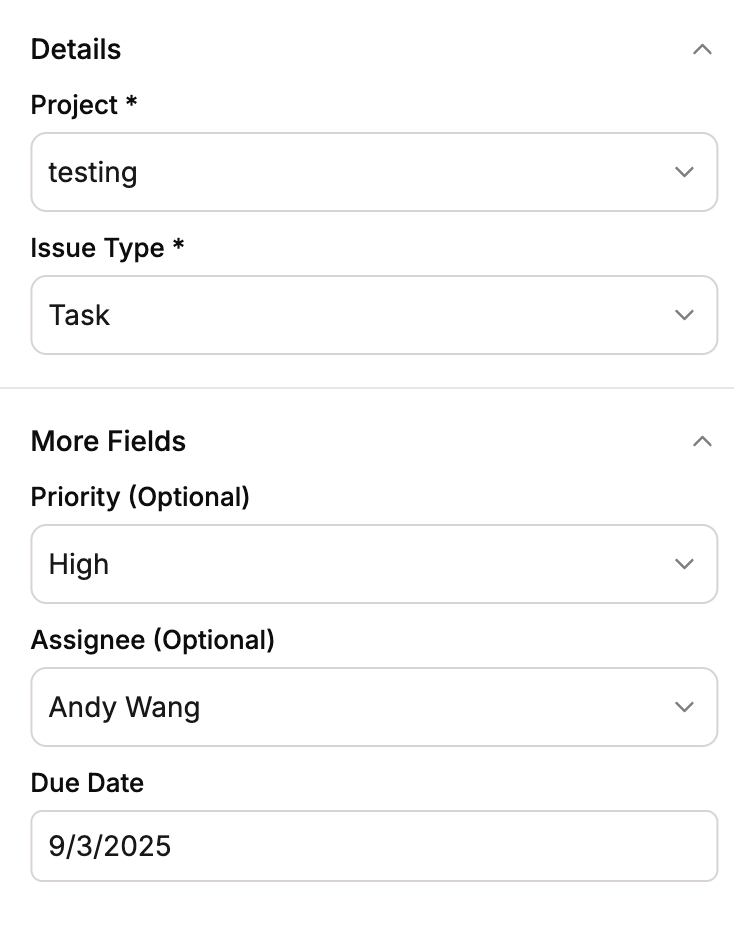
- Assignee: Set who should handle the ticket
- Priority: What is the urgency of this bug?
- Due Date: When will this ticket be considered overdue?
Troubleshooting
Common Issues
If fields are missing:- Your integration permissions may not be set properly. Try reintegrating from the Integrations page.
- Confirm you have chosen a proper project and issue type
- Check required field configurations
- If your Jira project has custom required fields, contact the Spur team for assistance with your integration setup.