1. Create a Test Plan
Open Test Plans in the left sidebar and click Test Plan.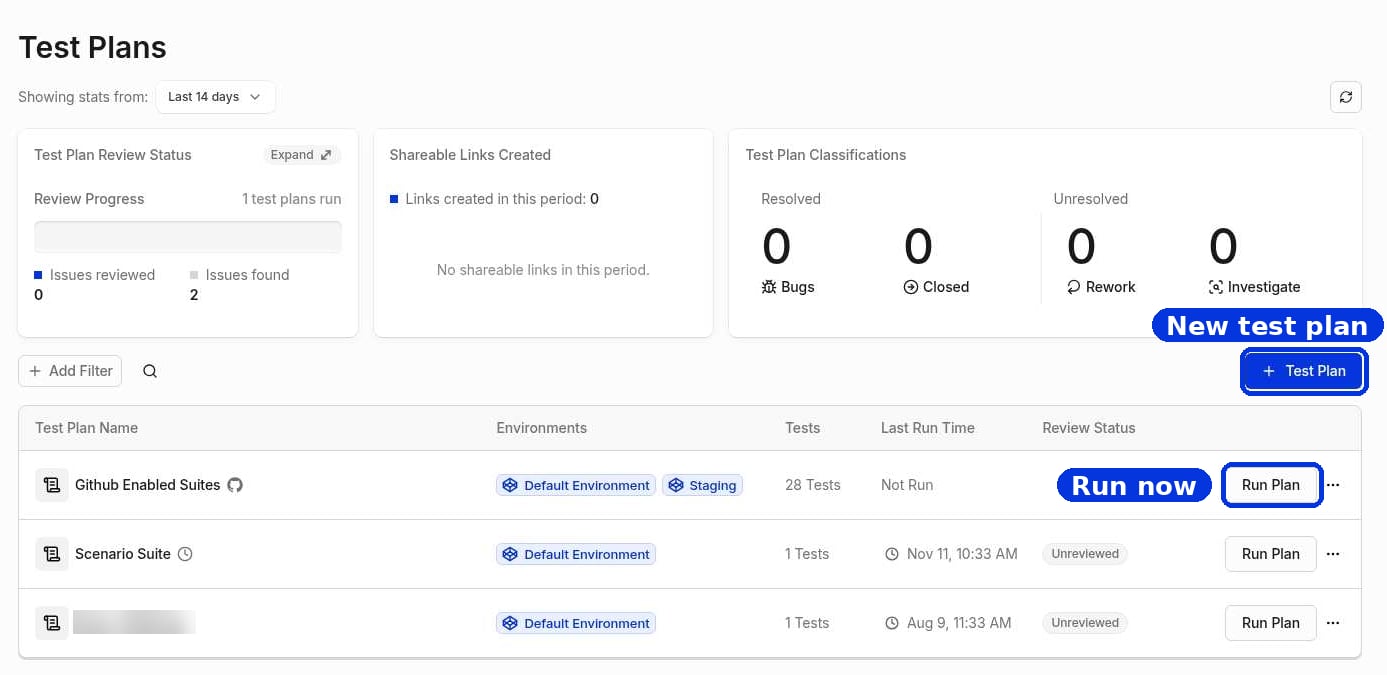
- Name the plan, for example “Production - Smoke Test”.
- Pick the Environments and default browsers.
- Click Add Suites and choose the suites, or specific tests, to include. The summary at the bottom shows how many runs the plan creates.
- Under Additional Settings, you can:
- Send results to Slack or email. Pick Failures only for email if you only want to hear about problems.
- Turn on Auto Retry Failed Tests (1 to 3 retries).
- Click Create Test Plan.
A test only runs on a schedule if a plan includes it. When you add new tests, check that they’re in the plan.
2. Run it now
Click Run Plan next to the plan. Each test runs once for every environment, browser, and scenario row you picked.3. Put it on a schedule
Open Scheduler in the left sidebar and click Schedule Test Plan.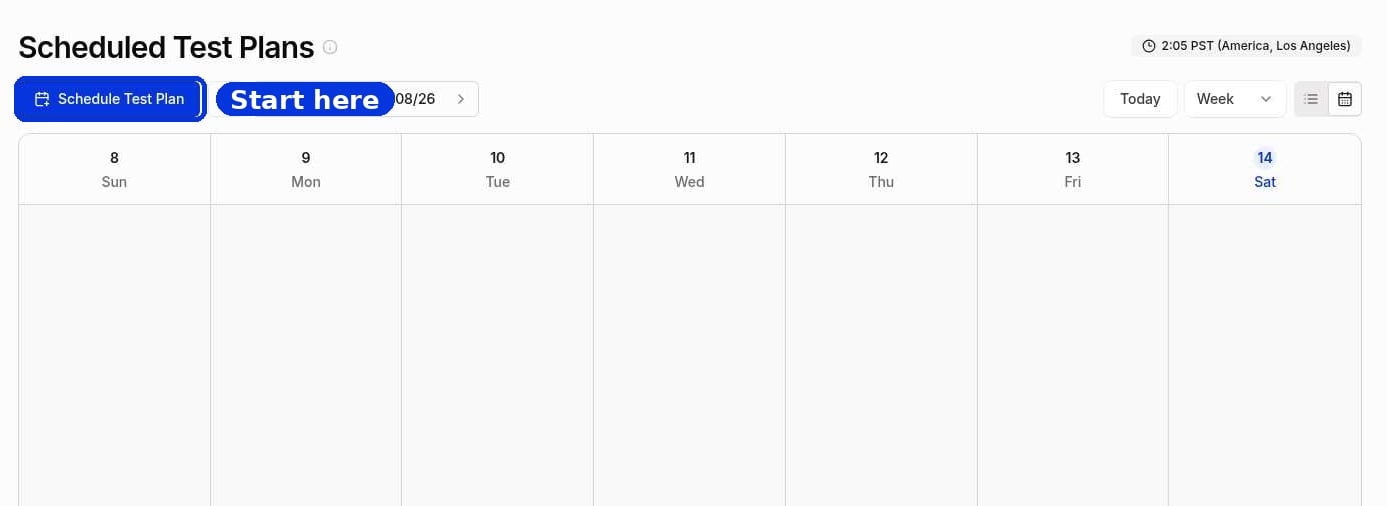
- Pick the Test Plan.
- Set the Start Date.
- Under Frequency, choose how often it runs. The shortest interval is one hour.
- Click Schedule Test Plan.
4. Review the results
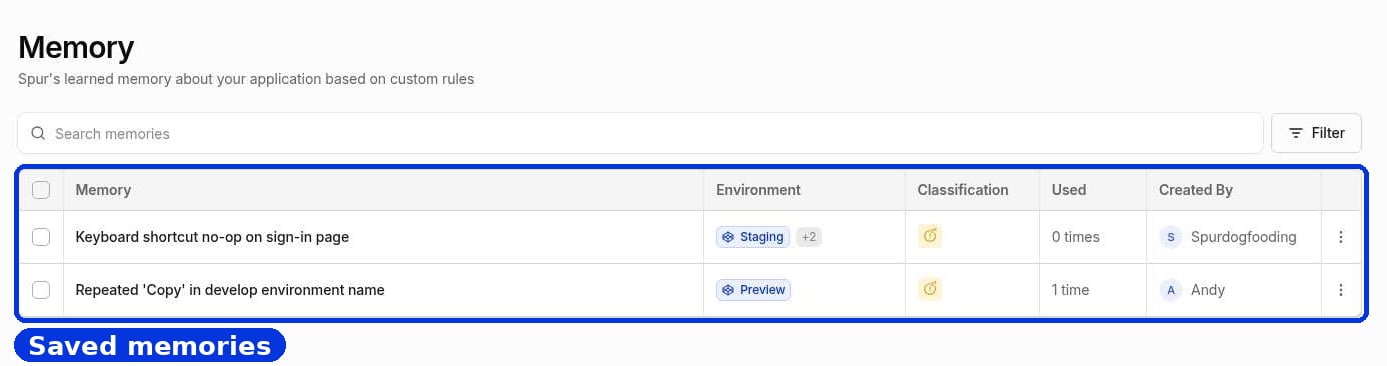
Open the run from Test Plans to see what failed and why. See Test Plan review. If Spur keeps warning about something you’ve already accepted, click Suppress Warning on that warning. Spur saves a rule on the Memory page and stops flagging it in later runs.