
Server details
Use these settings for any client that supports remote Model Context Protocol (MCP) servers:
When you connect for the first time, your browser opens so that you can authorize access to your Spur account.
Cursor
Click the button to install Spur directly in Cursor, or copy the deep link below and paste it into your browser address bar.
Claude Code
Run this command in your terminal:/mcp, and complete the OAuth flow.
Codex
Codex CLI and the Codex IDE extension share the same MCP configuration. Run these commands in your terminal:codex mcp list or /mcp in a Codex session to verify the connection.
Claude Desktop and Claude.ai
1
Open Connectors settings
Go to Settings and navigate to the Connectors tab. Claude.ai users can go directly to claude.ai/settings/connectors.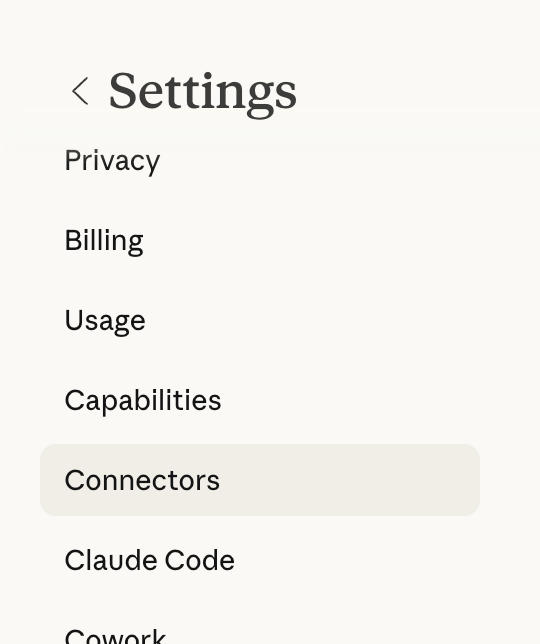
2
Add a custom connector
Click Add custom connector.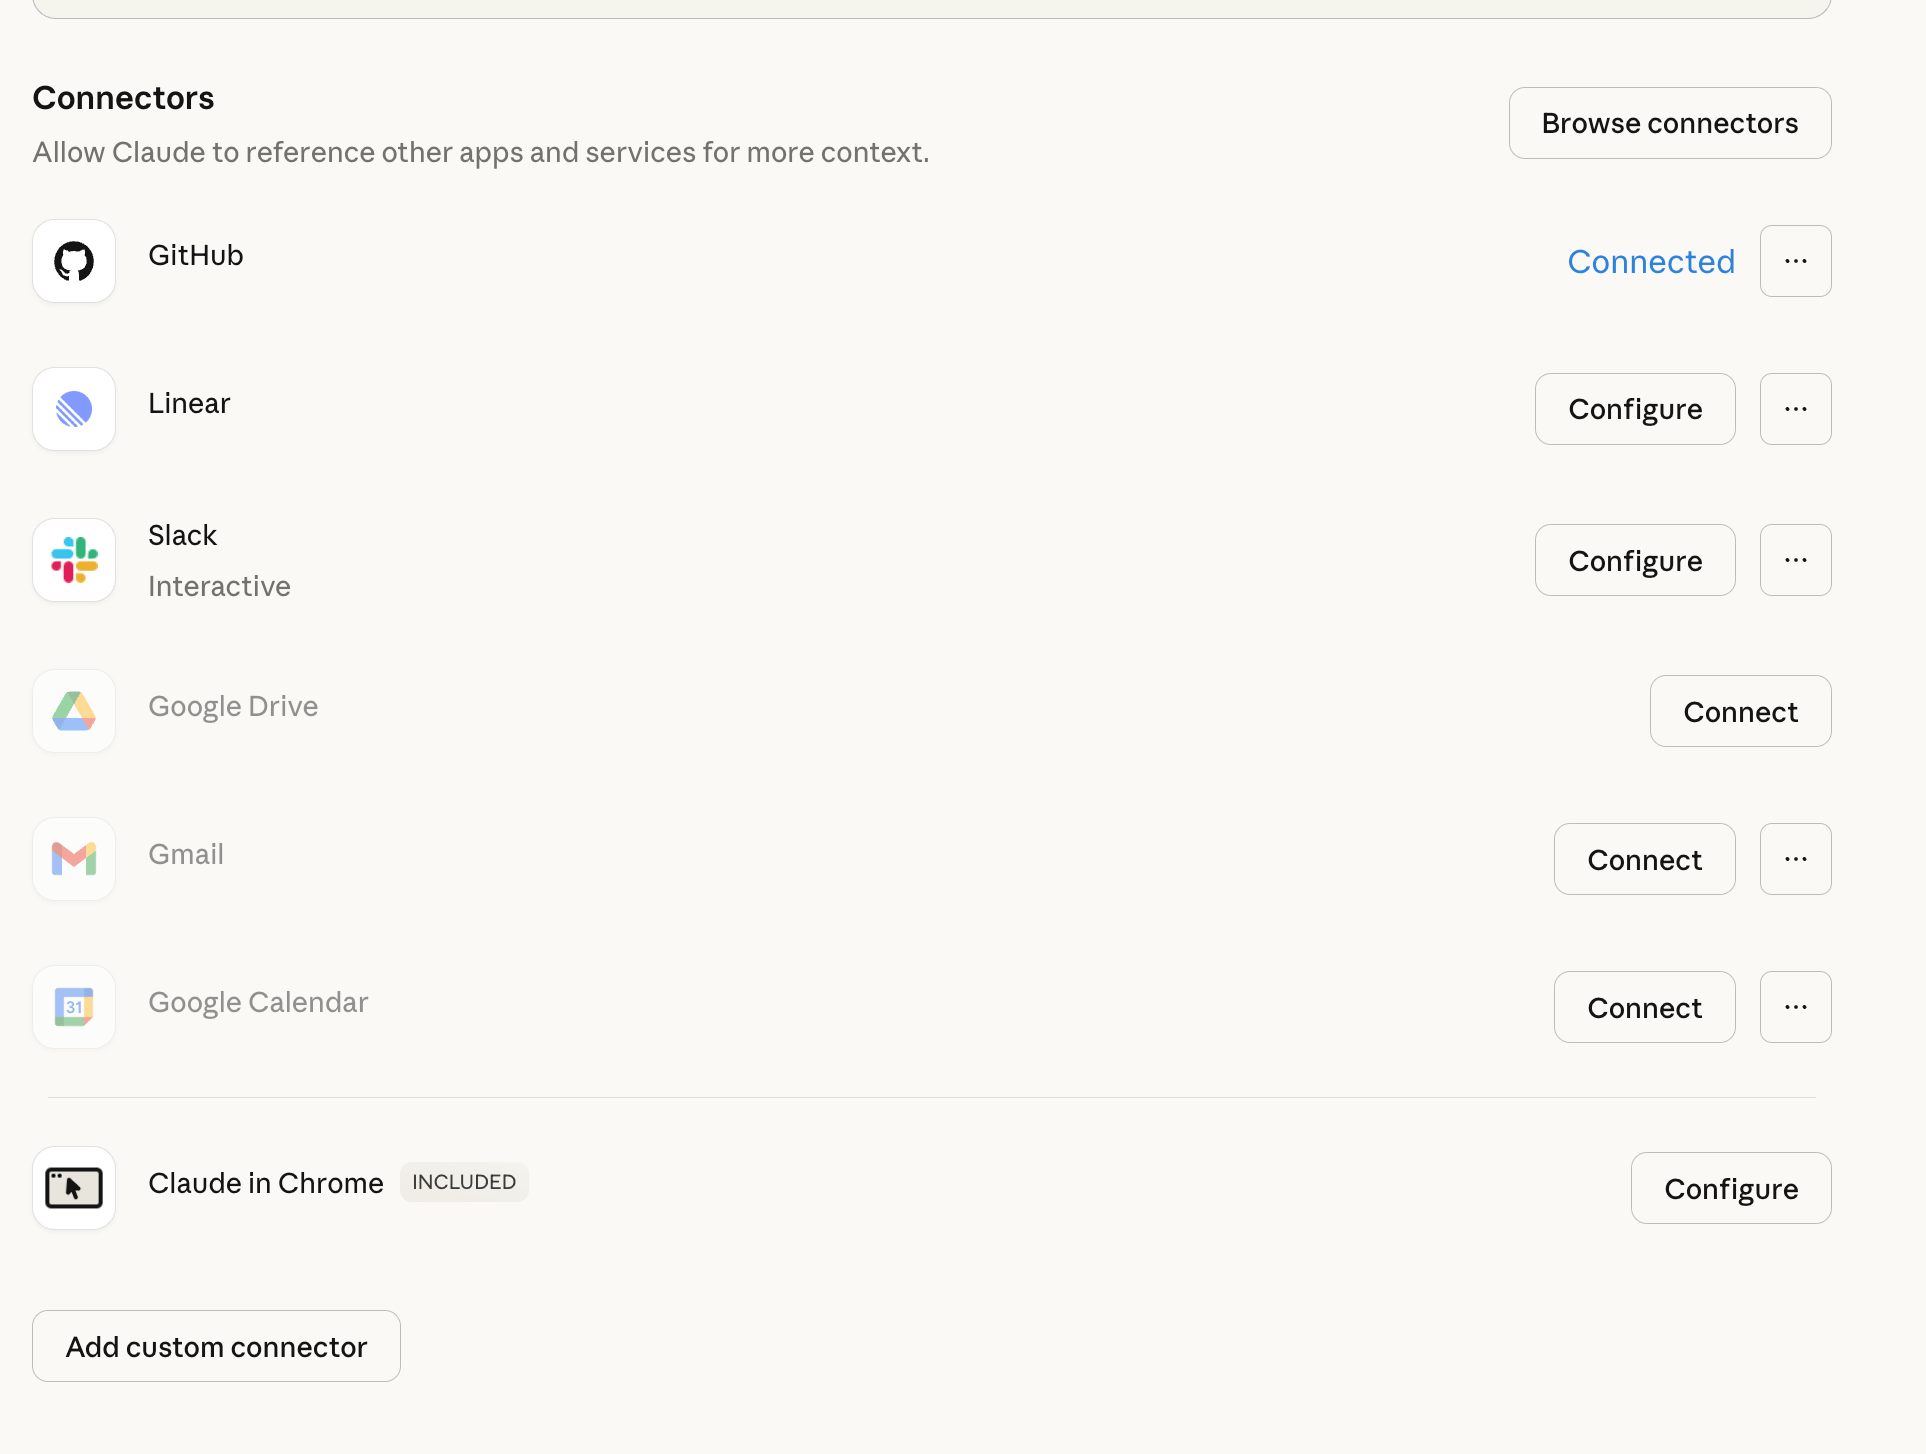
3
Enter the server URL
Set the URL to 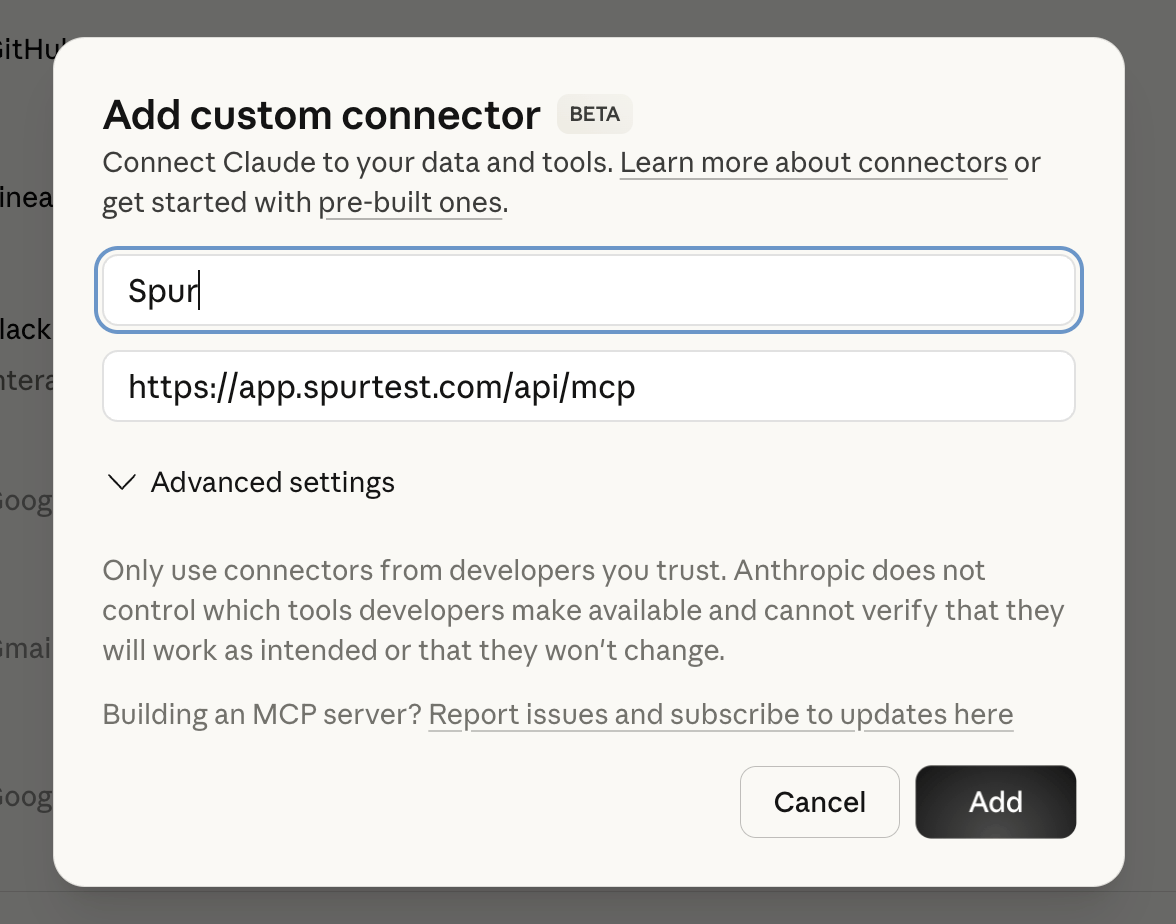
https://app.spurtest.com/api/mcp.4
Authenticate
Complete the OAuth authorization flow. Your browser opens so that you can authorize access to your Spur account.
GitHub Copilot in VS Code
1
Open the MCP Server section
Make sure the GitHub Copilot extension is installed. Open the Copilot panel and navigate to the MCP Servers section.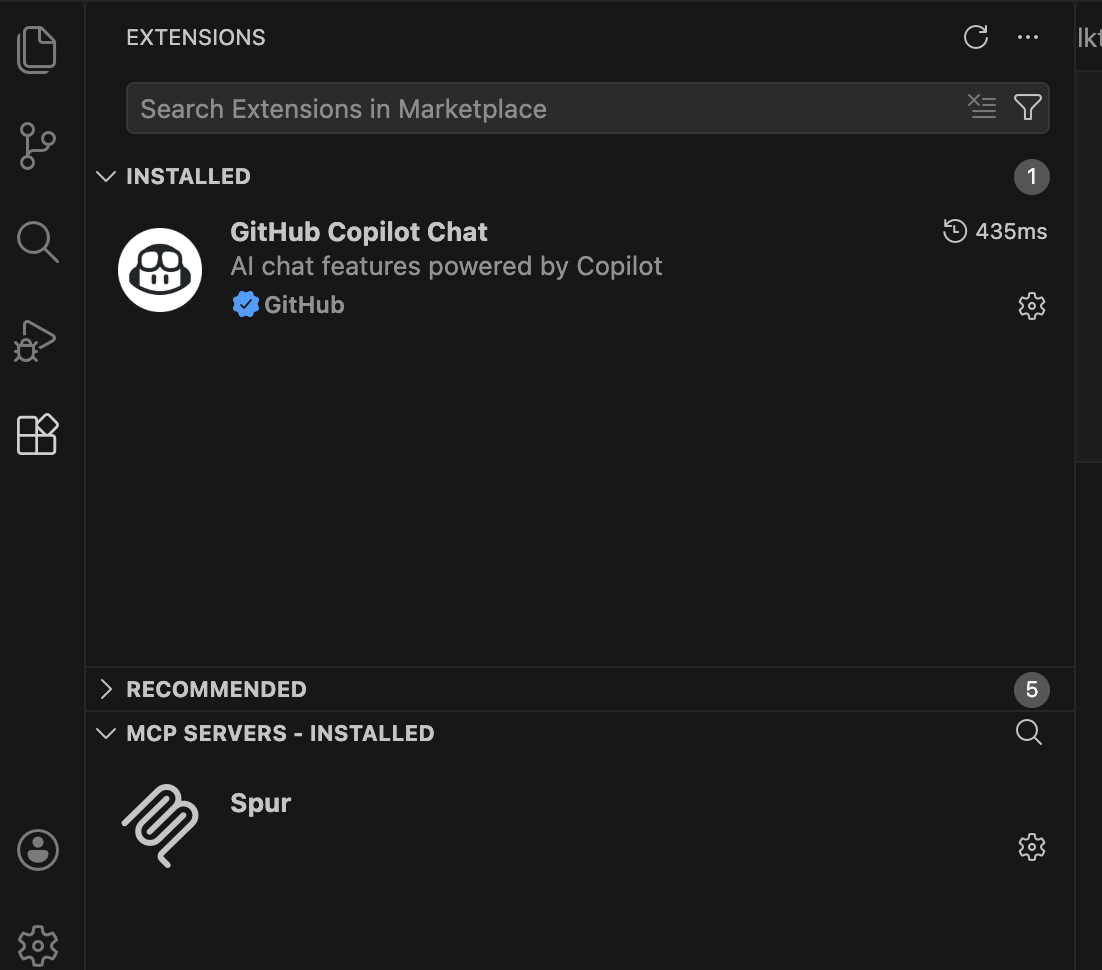
2
Add a new server
Open the Command Palette (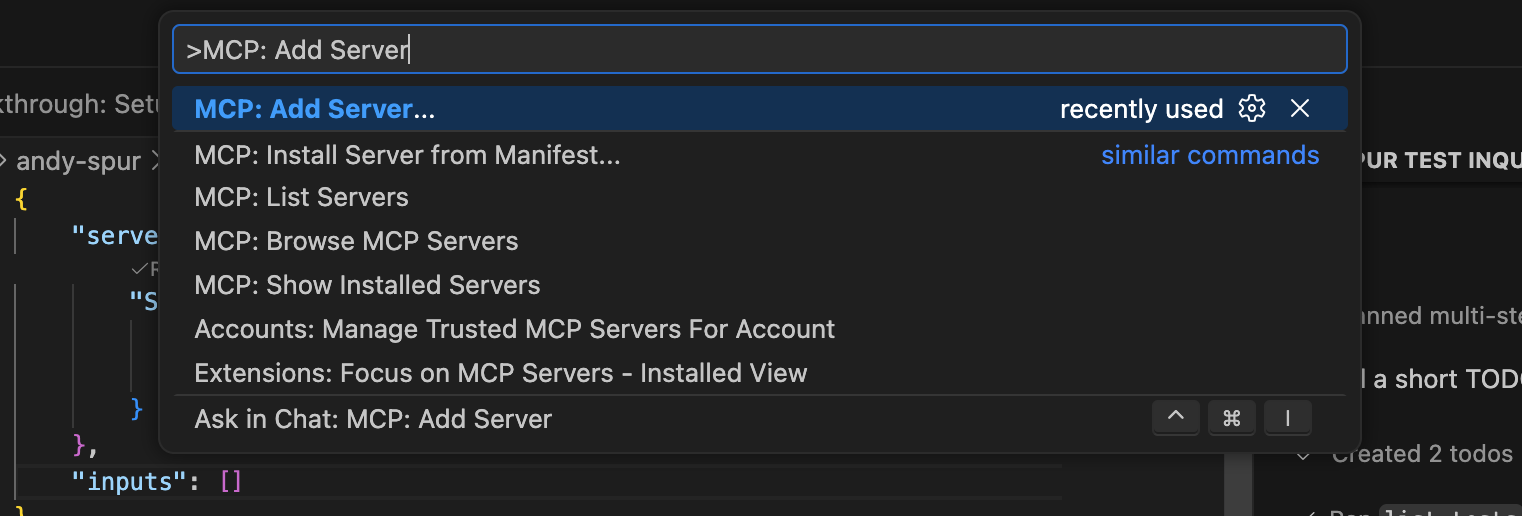
Cmd+Shift+P on Mac, Ctrl+Shift+P on Windows/Linux) and type MCP: Add Server.3
Select HTTP transport
Select HTTP (HTTP or Server-Sent Events).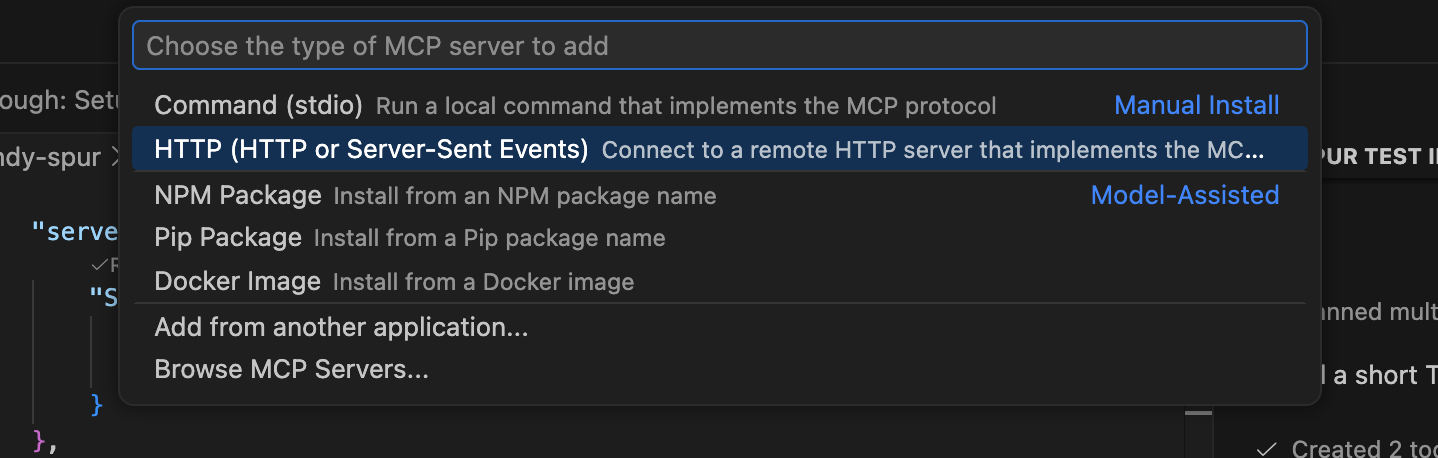
4
Enter the server URL
Set the URL to 
https://app.spurtest.com/api/mcp.5
Name the server
Enter a server name. Spur is recommended.
6
Authenticate
Complete the OAuth authorization flow. Your browser opens so that you can authorize access to your Spur account.
ChatGPT
1
Open settings
Select Settings from the drop-down menu.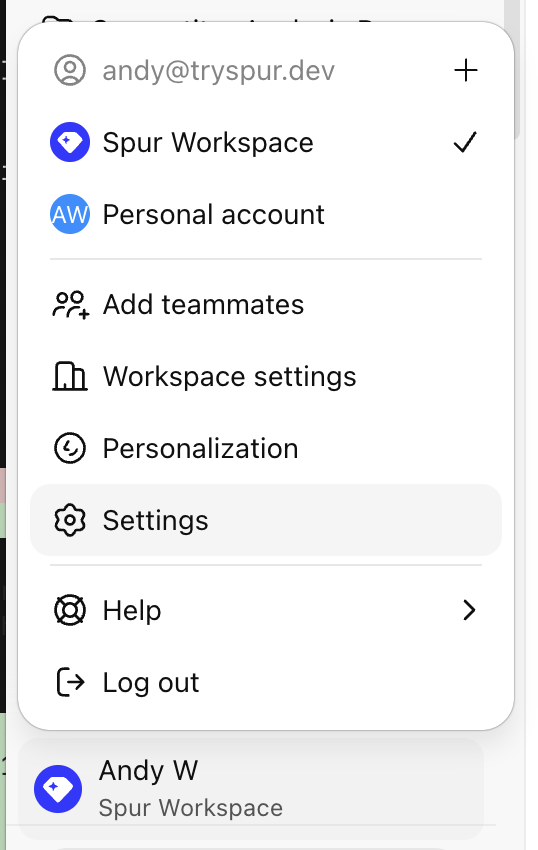
2
Navigate to Advanced Settings
Click Advanced Settings under the Apps tab.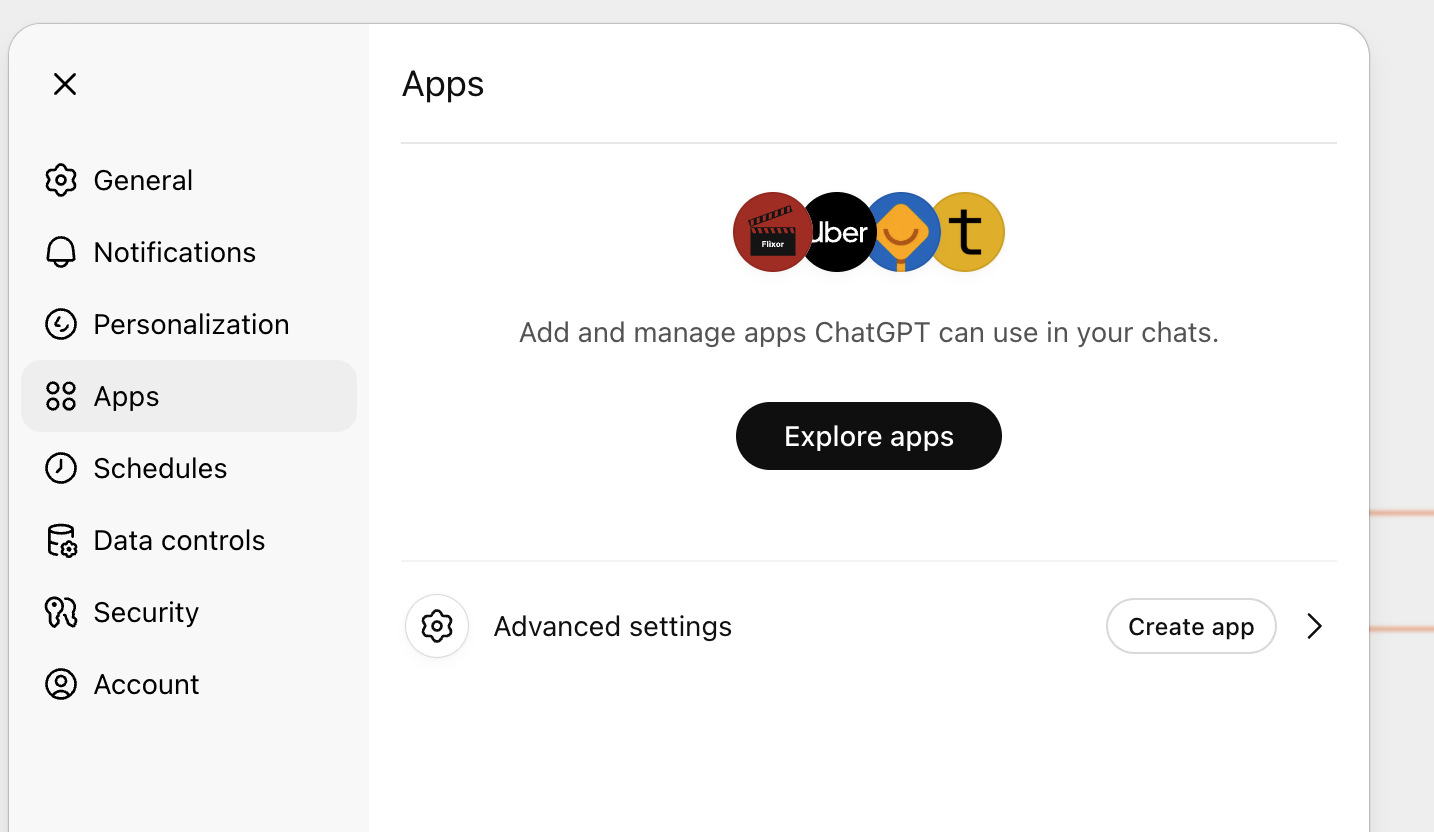
3
Enable developer mode
Toggle Developer mode on.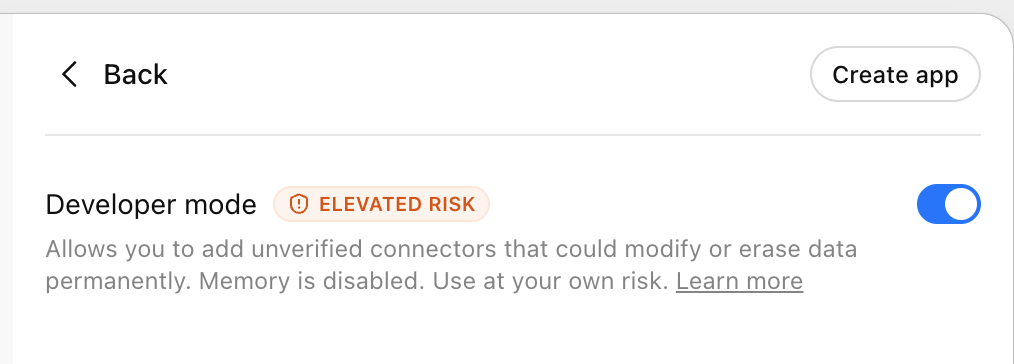
4
Create a new app
Click Create app.
5
Enter the MCP URL
Set the URL to 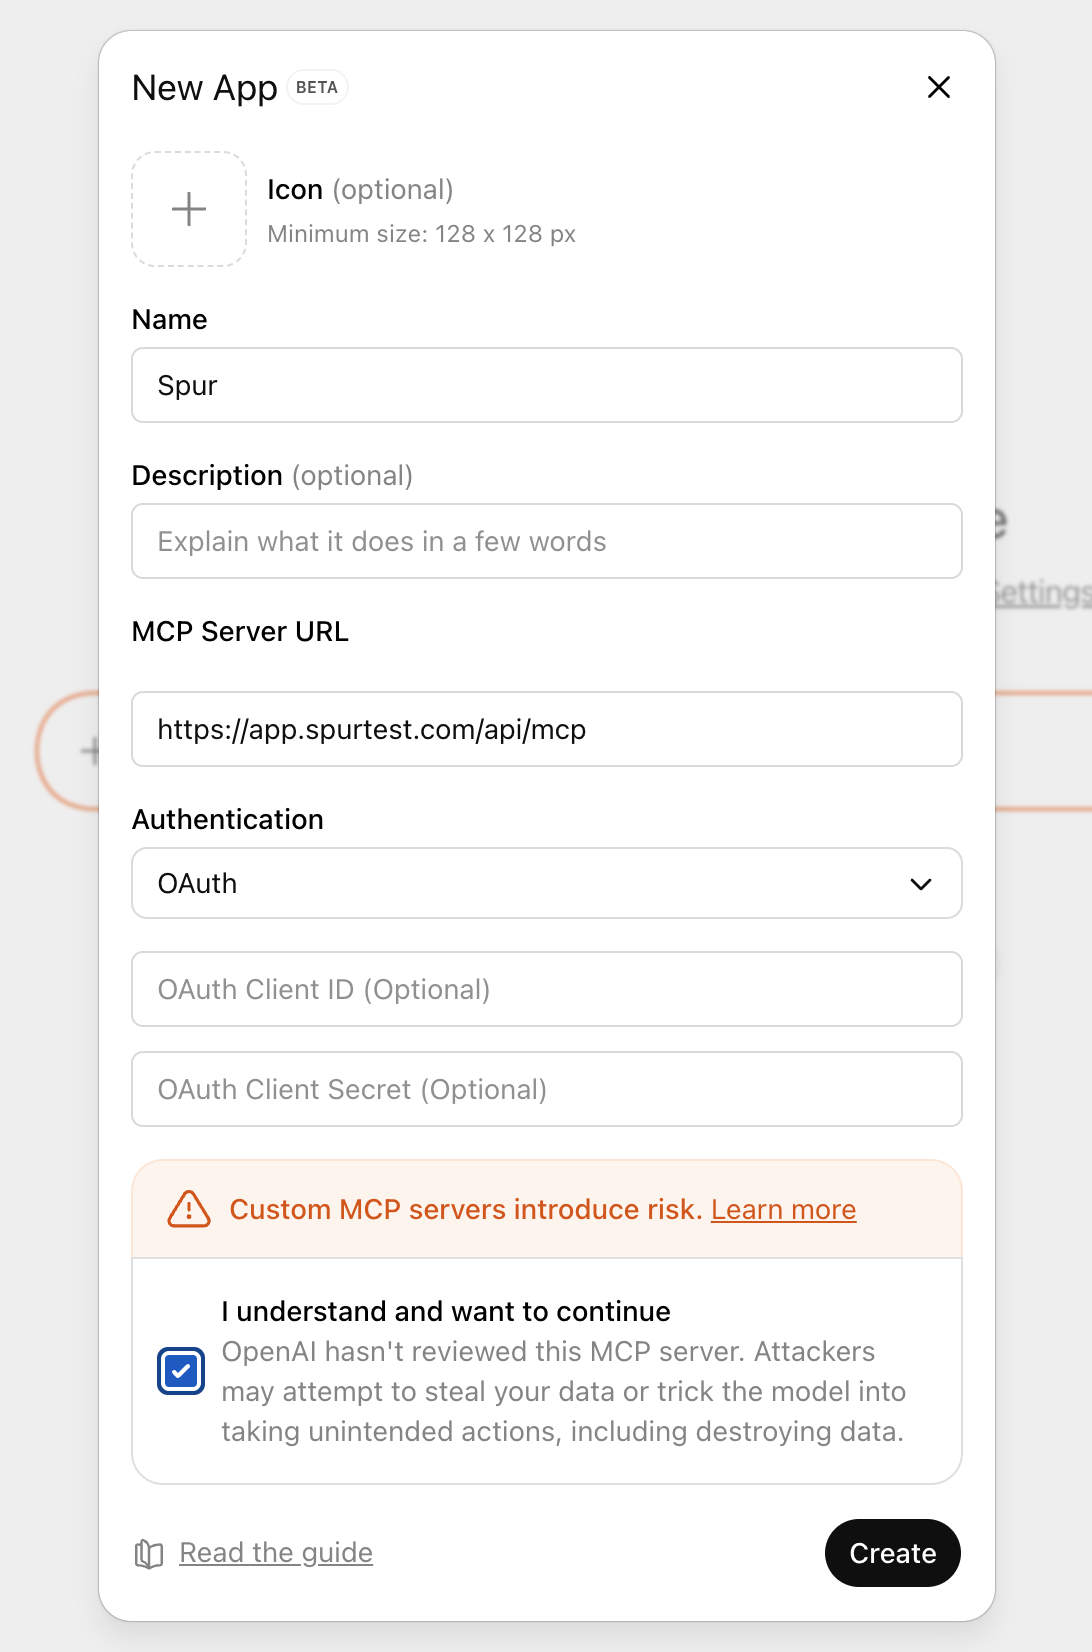
https://app.spurtest.com/api/mcp.6
Authorize the Spur app
Complete the OAuth authorization flow.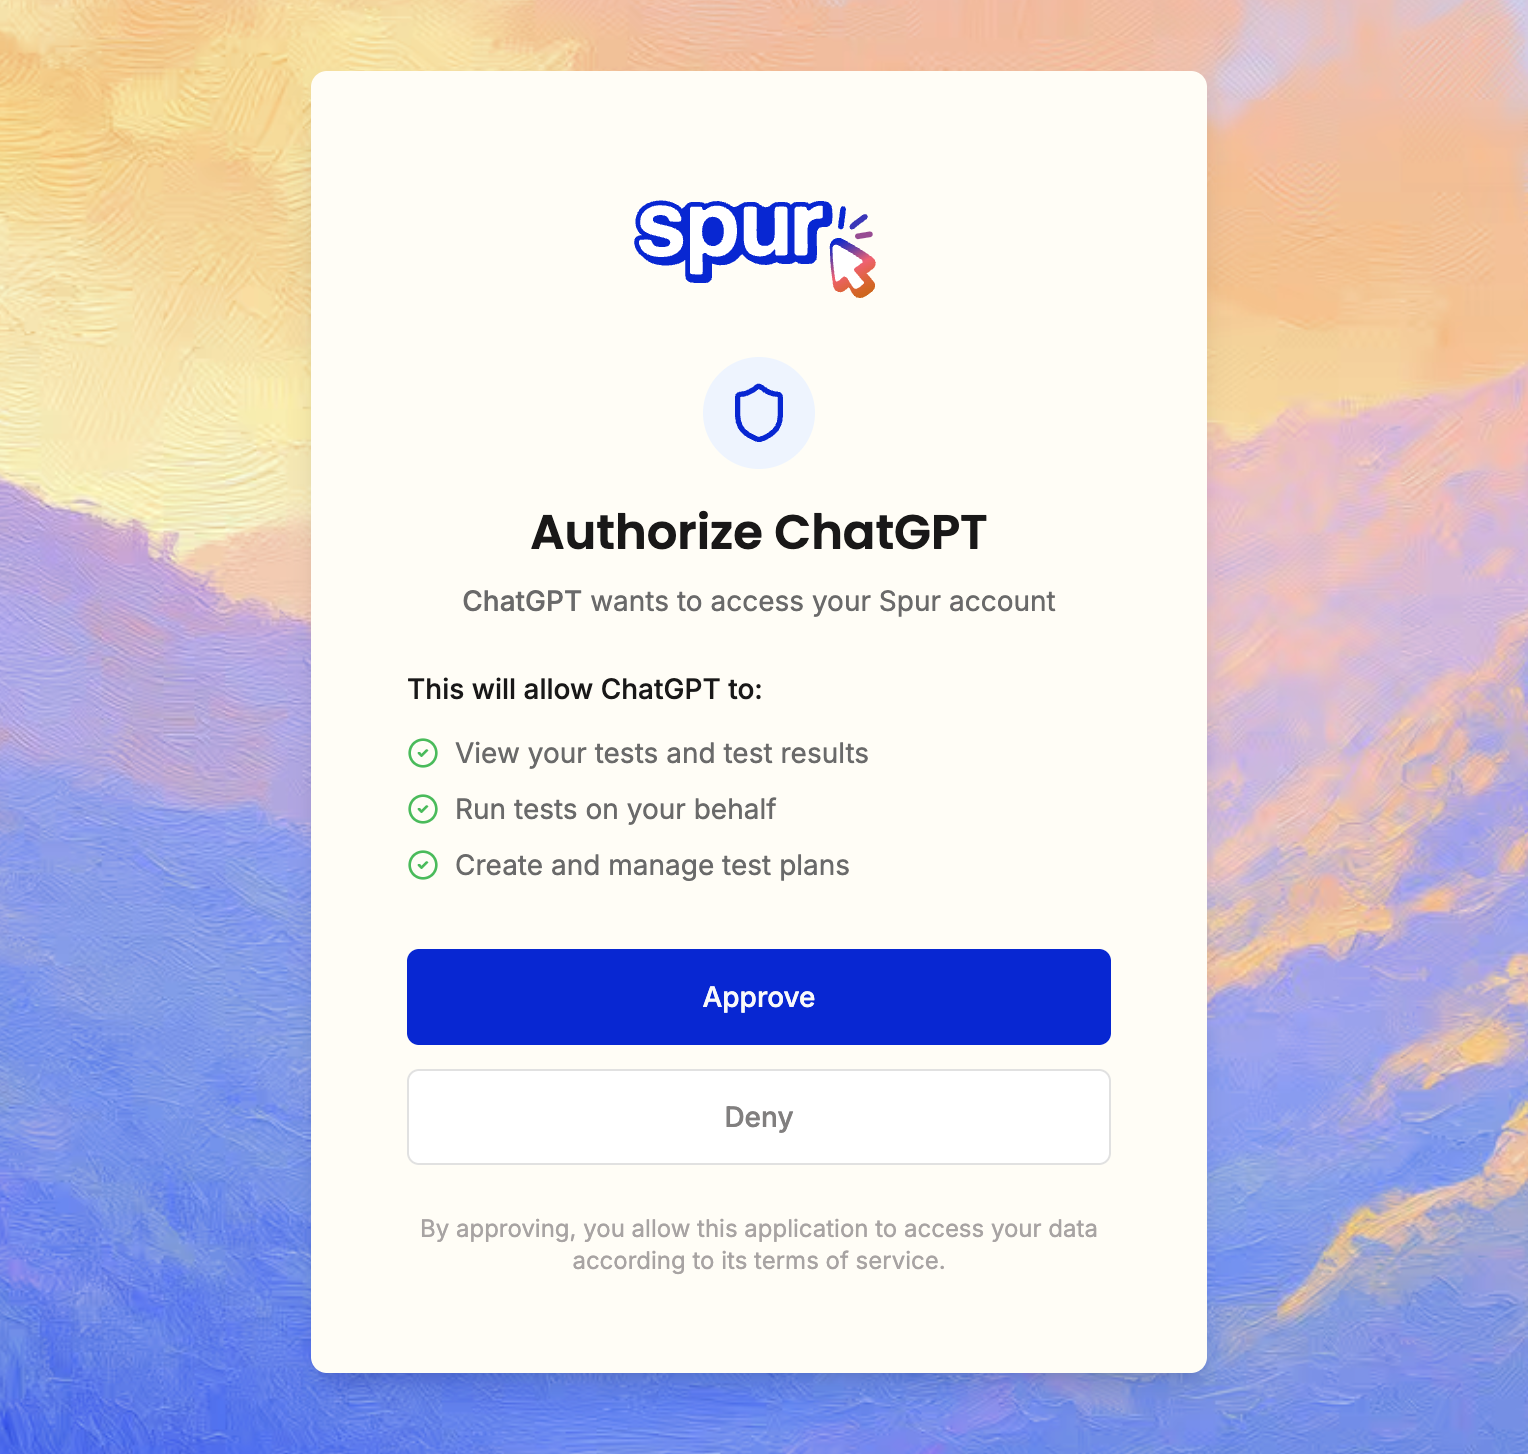
7
Confirm the new app
Verify the app was created successfully.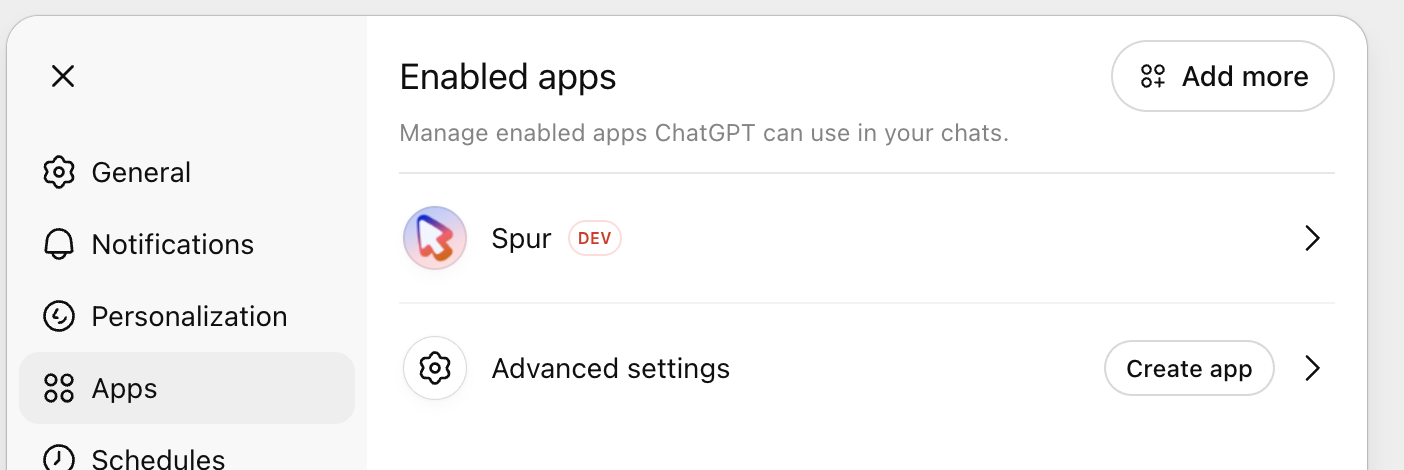
8
Select Spur in Connectors
Select Spur from the Connectors list.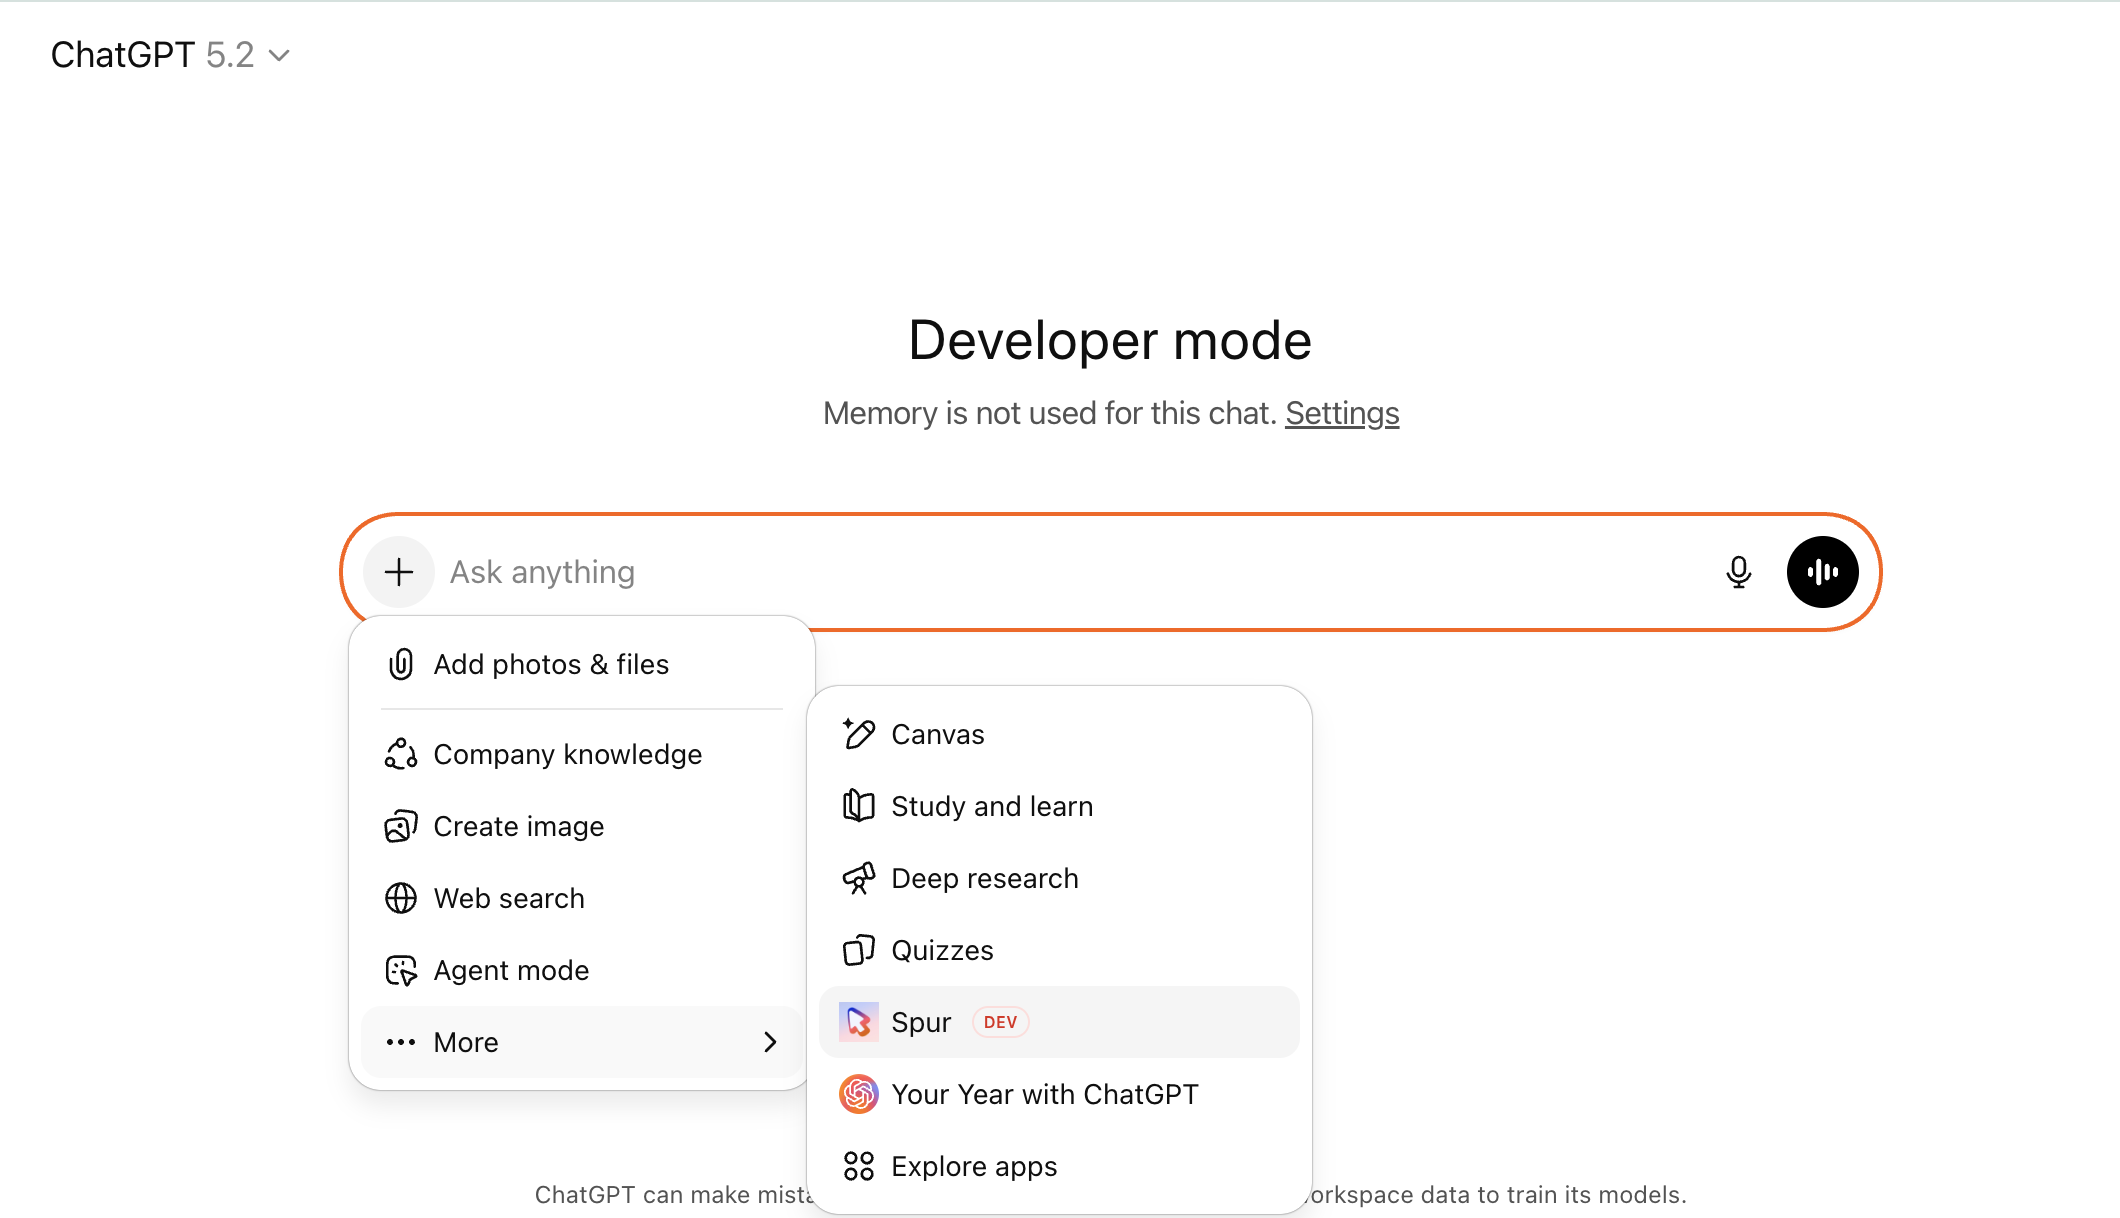
9
Start prompting
You’re all set. Start using Spur through ChatGPT.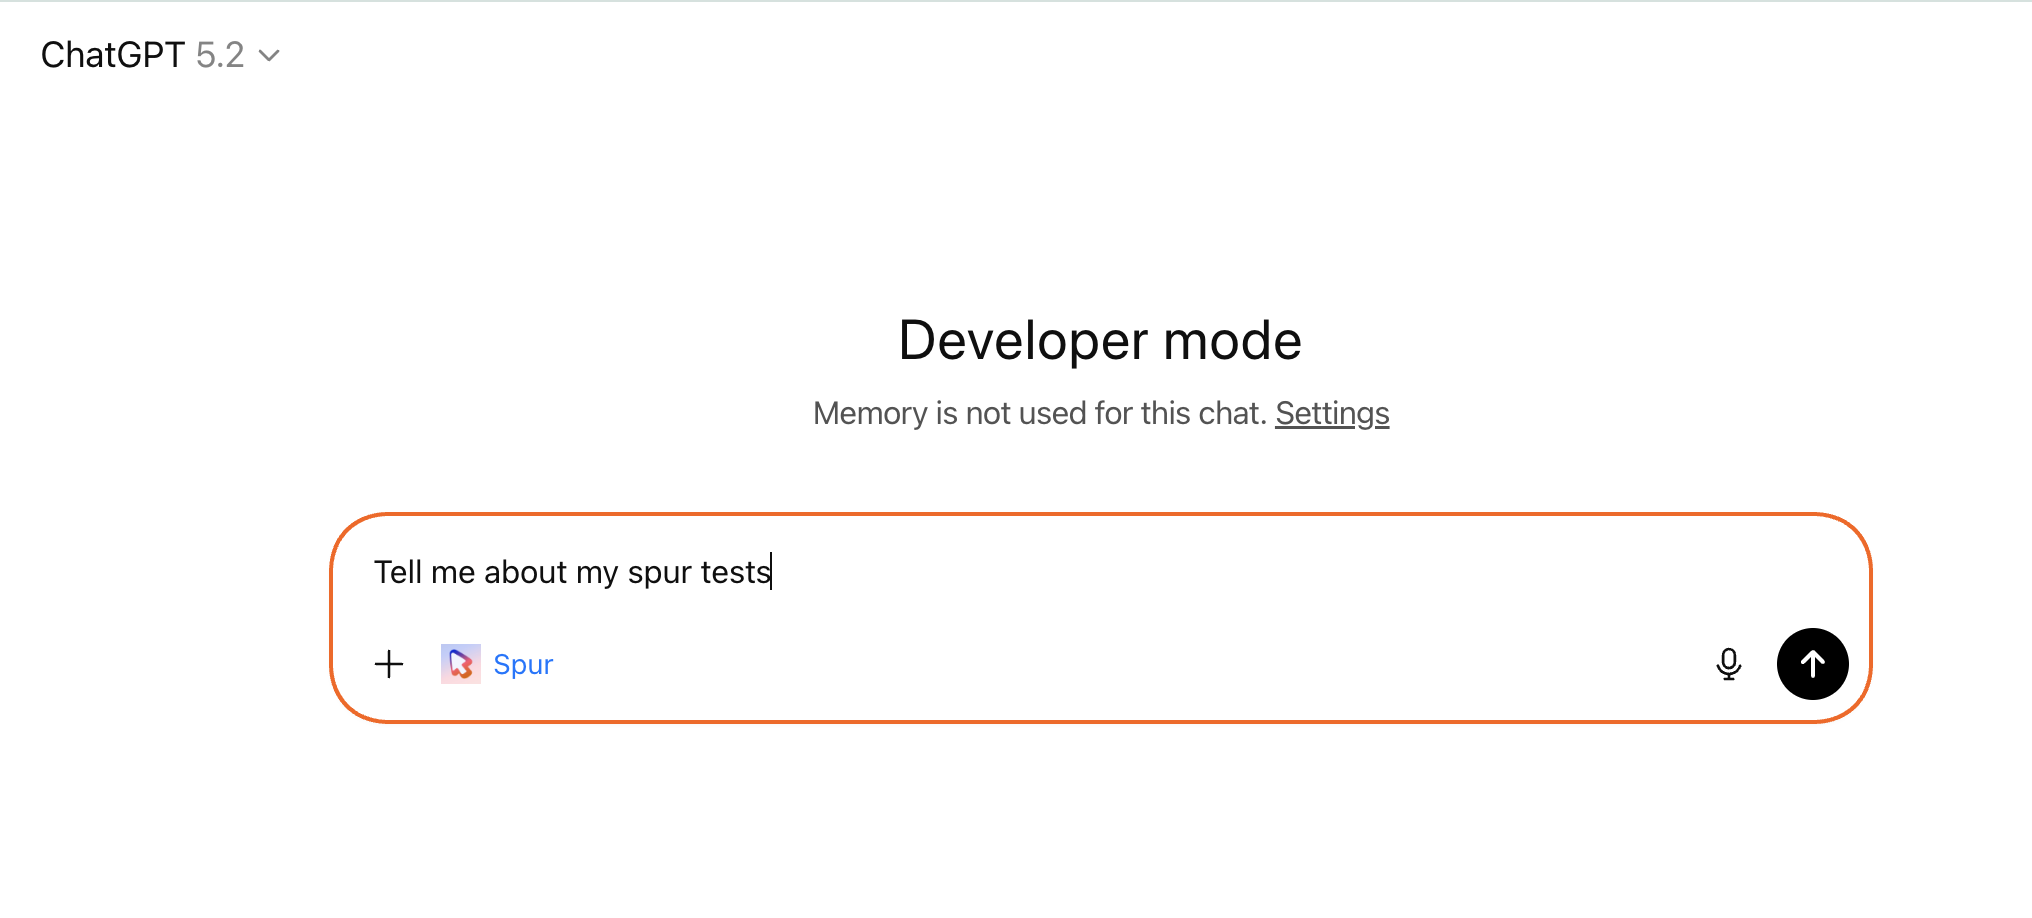
Gemini CLI
Run this command to add Spur to your user configuration:/mcp auth spur, and complete the OAuth flow in your browser.
Windsurf
1
Open the MCP configuration
In Cascade, click MCPs, or go to Windsurf Settings → Cascade → MCP Servers. Open the raw
mcp_config.json file.2
Add Spur
Add
spur to the existing mcpServers object:3
Authenticate
Save the file, connect to Spur, and complete the OAuth flow in your browser.
Zed
1
Open your settings file
Run zed: open settings file from the command palette.
2
Add Spur
Add
spur to the existing context_servers object:3
Authenticate
Save the file. Zed prompts you to complete the OAuth flow in your browser.